Towel and Glitter Ironing for Perler Beads: Effects, Patterns, and Beginner Tips
Learn what towel ironing and glitter ironing mean for fuse bead crafts, which patterns work best, how to think about materials, and how beginners can avoid common mistakes.
BeadsHub Studio
Author
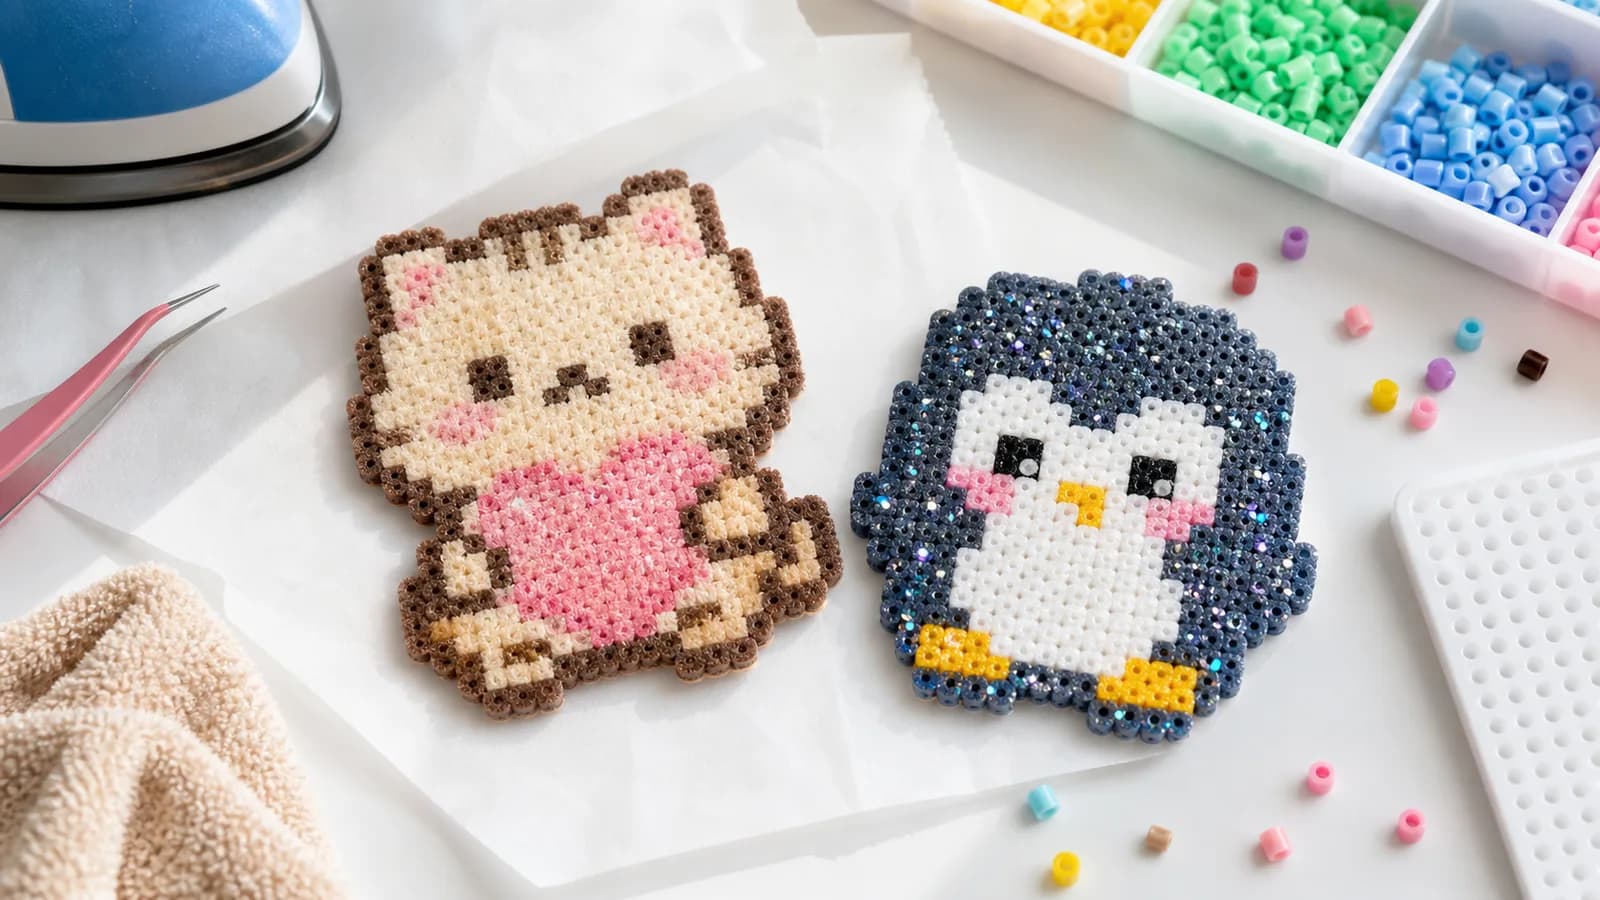
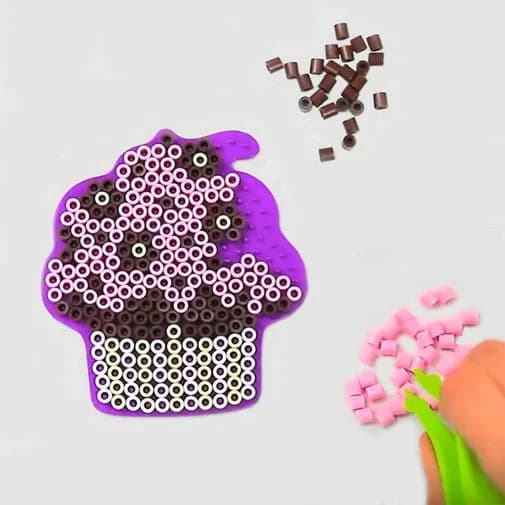
When people search for towel ironing or glitter ironing for fuse beads, they usually are not looking for a dictionary definition. They have seen a finished bead charm with a fuzzy plush surface or a sparkling glossy finish, and they want to know how a normal flat bead design turned into something that looks more like a handmade accessory.
That is the appeal of special ironing effects. The pattern may stay almost the same, but the surface changes completely. Towel-style ironing can make a cute animal or dessert pattern feel softer and more toy-like. Glitter or sequin-style ironing can make a small charm look brighter, more polished, and easier to photograph.
The trick is not just the final ironing step. The best results usually start earlier, with the right pattern choice.
Why people search for towel and glitter ironing
These searches usually come from four kinds of curiosity.
First, there is the visual question: what does it actually look like? Towel ironing promises a soft textured surface. Glitter ironing promises shine, sparkle, and a more finished accessory look.
Second, there is the process question: why does normal ironing not create this effect? Basic fuse bead ironing usually uses beads, ironing paper or parchment paper, and an iron. Special effects add another layer of material, such as a towel texture, glitter fabric, transfer film, or other surface material.
Third, there is the fear of failure: will it warp, peel, or look messy? Beginners worry about uneven texture, corners that do not stick, glitter that flakes, or a design that loses its details.
Fourth, there is the pattern question: which designs work for this? This is easy to miss. A special surface can make tiny details harder to read. If the pattern is already full of small color changes and thin connections, the final piece may look confusing after the effect is added.
What towel ironing means

Towel ironing is a textured finishing method for fuse bead crafts. It does not simply mean sticking beads onto a towel. Instead, the towel or towel-like material acts as a texture layer during pressing, helping the bead surface pick up a softer, fuzzy, plush-like look.
It works especially well for:
- Bears, cats, dogs, bunnies, and other cute animals
- Cakes, cookies, drinks, and soft dessert themes
- Planner clips, bag charms, magnets, and small decorations
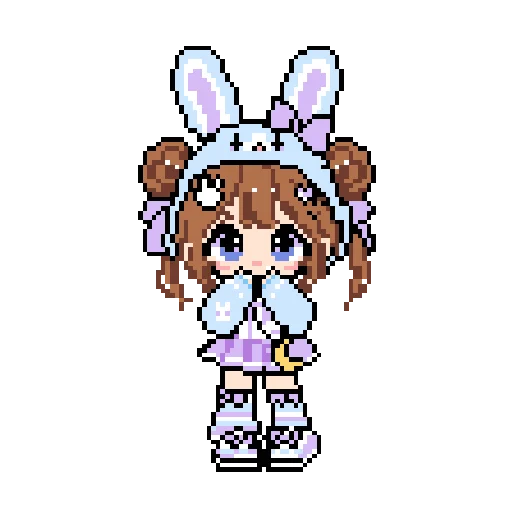
- Plush toy inspired characters with round shapes
The main idea is not to make every design as fuzzy as possible. The texture should support the pattern. Rounded shapes and larger color blocks usually look sweet and intentional. Tiny lines, single-bead facial details, and busy gradients can get lost.
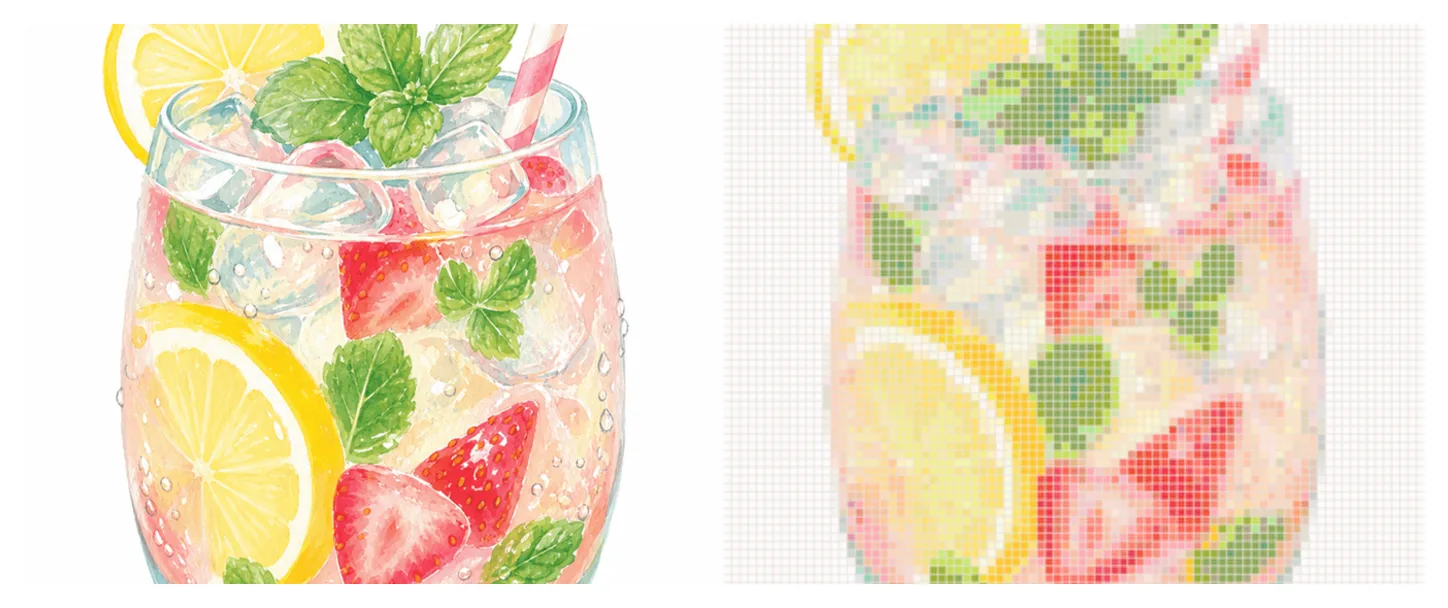
If you are making a towel-ironed project with BeadsHub, start by turning your image into a simpler pattern in the Perler bead pattern maker. Reduce scattered shadows and tiny color islands. A towel texture works best when the subject is easy to recognize from its outline.
What glitter ironing means
Glitter ironing is a broad name people use for shiny fuse bead finishes. Depending on the tutorial or material, you may also see terms like glitter fabric ironing, sequin ironing, sparkle ironing, or glossy ironing. The exact material can vary, but the goal is similar: give the bead surface a glittery or sequin-like finish.
It is a good fit for:
- Stars, hearts, butterflies, and bows
- Holiday charms and gift tags
- Hair clips, brooches, keychains, and phone charms
- Small pieces designed to stand out in photos
Glitter effects can make a simple pattern feel more complete very quickly. The same small bead design may look more giftable once the surface catches light. The tradeoff is that glitter effects are less forgiving. Cooling time, peeling, edge pressure, and surface cleanliness all matter.
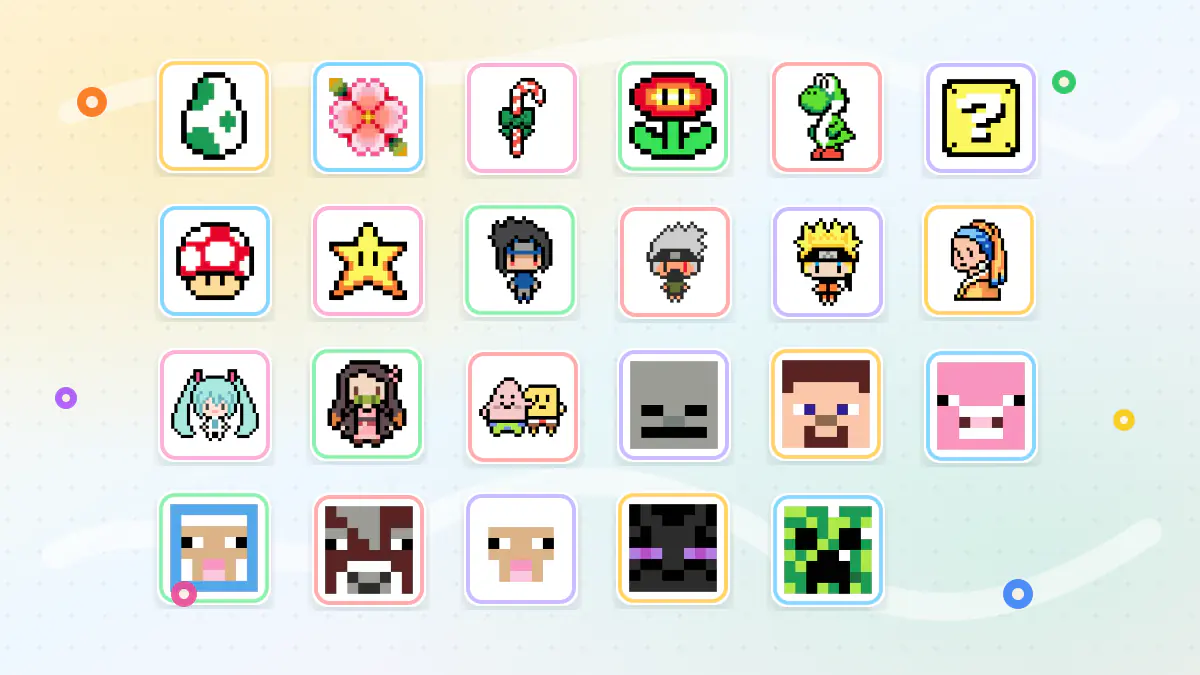
For glitter ironing, choose patterns with clear silhouettes and larger color areas. Too many fine details can compete with the shine. Too many similar colors can become harder to read once the surface reflects light. You can browse the pattern gallery for small charm ideas or simplify your own image in the pattern maker.
How to choose between towel and glitter ironing
| Detail | Towel ironing | Glitter ironing |
|---|---|---|
| Main effect | Soft, fuzzy, plush-like | Sparkly, polished, accessory-like |
| Best patterns | Animals, desserts, rounded characters | Stars, hearts, bows, small charms |
| Hard part | Even texture and clean edges | Smooth sparkle layer and patient peeling |
| Photo effect | Strong close-up texture | Strong shine from a distance |
| Beginner tip | Start with a simple cute animal | Start with a bold charm shape |
Choose towel ironing when you want something cute, soft, and cozy. Choose glitter ironing when you want something bright, polished, and gift-ready.
For a first attempt, avoid very complicated art. Special effects are less forgiving than standard ironing. A 20x20 to 30x30 bead design is usually a better test project than a large character portrait.
Start with the pattern, not the iron
Many special-effect projects fail because the pattern was not a good match for the finish.
Towel ironing works best when the pattern has:
- A rounded outline
- A large subject and little background
- Clear color blocks
- Facial details that do not depend on one or two beads
- Wide enough connections between parts
Glitter ironing works best when the pattern has:
- A strong silhouette
- Clear main colors
- Fewer tiny details
- A shape that suits a charm or accessory
- Important details that will not disappear under shine
In the BeadsHub pattern maker, use this checklist:
- Crop away busy background areas.
- Pick a size that keeps the important features readable.
- Reduce the maximum color count if the pattern feels noisy.
- Manually clean up eyes, mouths, outlines, and weak connections.
- Zoom out before exporting and check whether the subject is still recognizable.
It helps to reverse the usual question. Instead of asking, "Which finish should I use after I make this?", ask, "I want a fuzzy or sparkly finish, so what pattern structure will survive that surface?"
Basic workflow
Materials, irons, heat presses, bead brands, and pressure can all behave differently, so there is no single number that works forever. Use any tutorial settings as a starting point, then test with a small sample before pressing your real piece.

Before you start, lay out the materials clearly: a lightly fused bead piece, ironing paper or parchment paper, a clean towel, glitter film or glitter fabric, tweezers, masking tape, and a household iron or small heat press. A tidy setup makes the process easier to follow and reduces rushed mistakes.
A safer preparation workflow looks like this:
- Build the design from your pattern.
- Use ironing paper or parchment paper to lightly fuse the design so it holds together.
- Let it cool enough to check whether the connections are stable.
- Remove dust and lint from the beads, paper, towel, or glitter material.
- Test first with spare beads or a tiny sample from the same bead brand.

For towel ironing, think in layers: towel on the bottom, the pre-fused bead piece in the middle, parchment paper on top, then a short vertical press with the iron or heat press. The important idea is to press straight down, keep the press short, and check often. Do not drag the iron back and forth like ironing clothes, because that can shift the edges and make the texture uneven.
If the corners do not pick up enough texture after the first press, avoid overheating the whole design again. Let the piece settle, then add a few seconds of local pressure only where needed. Towel material, thickness, and moisture can all change the result, so your first small sample is also a useful note-taking test.

For glitter ironing, the key details are material direction and cooling time. Place the glitter film, glitter fabric, or sparkle material according to the method you are following, then press through a protective paper layer. After pressing, do not peel immediately. Let the bead piece cool completely, then lift the film slowly from one corner. If the film resists, stop and check whether the edge needs another short press instead of pulling hard.
If the final piece will become a keychain, hair clip, or brooch, decide the hole, backing, and hardware placement before the glitter finish. Reworking the structure after the surface is finished can scratch the shine or lift the edges.
If you use a household iron, turn off steam and always use a protective paper layer. Do not press the iron directly onto loose beads, plastic pegboards, or unknown materials. A tiny test sample is the cheapest way to avoid ruining the real project.
Beginner mistakes to avoid
Mistake 1: Starting with a complicated design.
Special surfaces can hide fine details. Practice with a simple pattern before trying a detailed character or large portrait.
Mistake 2: Too much heat for too long.
Over-melted beads can close up, warp, or lose the intended texture. Short presses with checks are safer than one heavy press.
Mistake 3: Dust and lint on the surface.
Both towel and glitter effects depend on a clean surface. Check the beads, paper, and effect material before pressing.
Mistake 4: Peeling before the piece cools.
Warm beads and transfer layers can stretch or deform. Glitter-style effects especially need patience.
Mistake 5: Copying settings without testing.
The same temperature can act differently with another iron, pressure level, material thickness, or bead brand. Test first.
Mistake 6: Forgetting the final use.
If the piece will become a keychain, brooch, or hair clip, plan the connection points and hardware before you finish the surface.
FAQ
Does towel ironing work for every fuse bead pattern?
No. It works best for rounded, cute, larger-block designs. Fine lines and tiny facial details can become less readable.
Is more glitter always better?
Not always. Small designs need a balance between shine and readability. If the sparkle overwhelms the face or outline, the pattern becomes harder to recognize.
Can I use a regular household iron?
You can try, but test carefully. A heat press gives steadier pressure, while a household iron requires more patience and small adjustments.
Which one should I try first?
Try towel ironing if you like plush, cute effects. Try glitter ironing if you want a small accessory-style charm. Either way, start small.
How does BeadsHub help?
BeadsHub helps before the ironing step. Use the pattern maker to convert images into bead grids, reduce colors, clean up outlines, and export a PDF pattern that fits the finish you want.
In short: towel ironing and glitter ironing are not just extra materials. They are finishing choices. Start with a pattern that suits the texture, test your material stack, and the final piece will be much easier to control.