How to Iron Perler Beads: Temperature, Time, and Easy Steps
Learn how to iron Perler beads with the right paper, heat setting, timing, pressure, and cooling steps. Prevent weak joins, warping, and over-melting.

BeadsHub Studio
Author
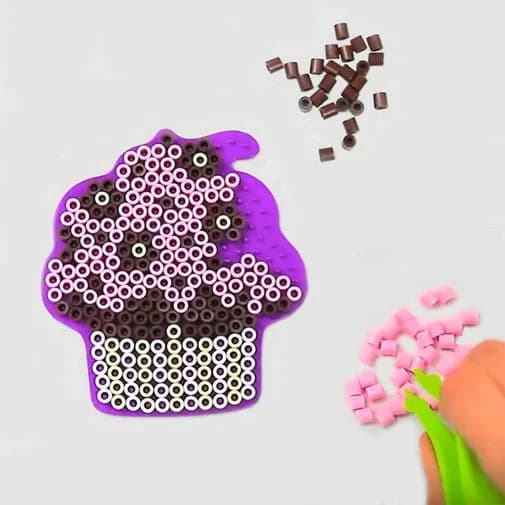
Learning how to iron Perler beads is mostly about controlling four things: heat, motion, pressure, and cooling. Use a dry household iron, cover the entire design with ironing paper, move the iron evenly, and stop as soon as neighboring bead edges have fused. Let the piece cool before lifting or bending it.
The exact heat and time are not universal. Perler recommends starting with a medium setting, while Hama generally recommends the cotton setting for its beads. Irons, bead brands, colors, and project sizes behave differently, so the safest method is to follow the package instructions and test a small bead patch before ironing the real design.
For the short version of how to iron Perler beads, turn off steam, start at medium heat, cover every bead with protective paper, and keep the iron moving. Inspect the design after about 10 seconds, add short passes only where needed, fuse the back for strength, and cool the finished piece flat. An adult should handle the iron. Never put a hot iron directly on the plastic beads or pegboard.
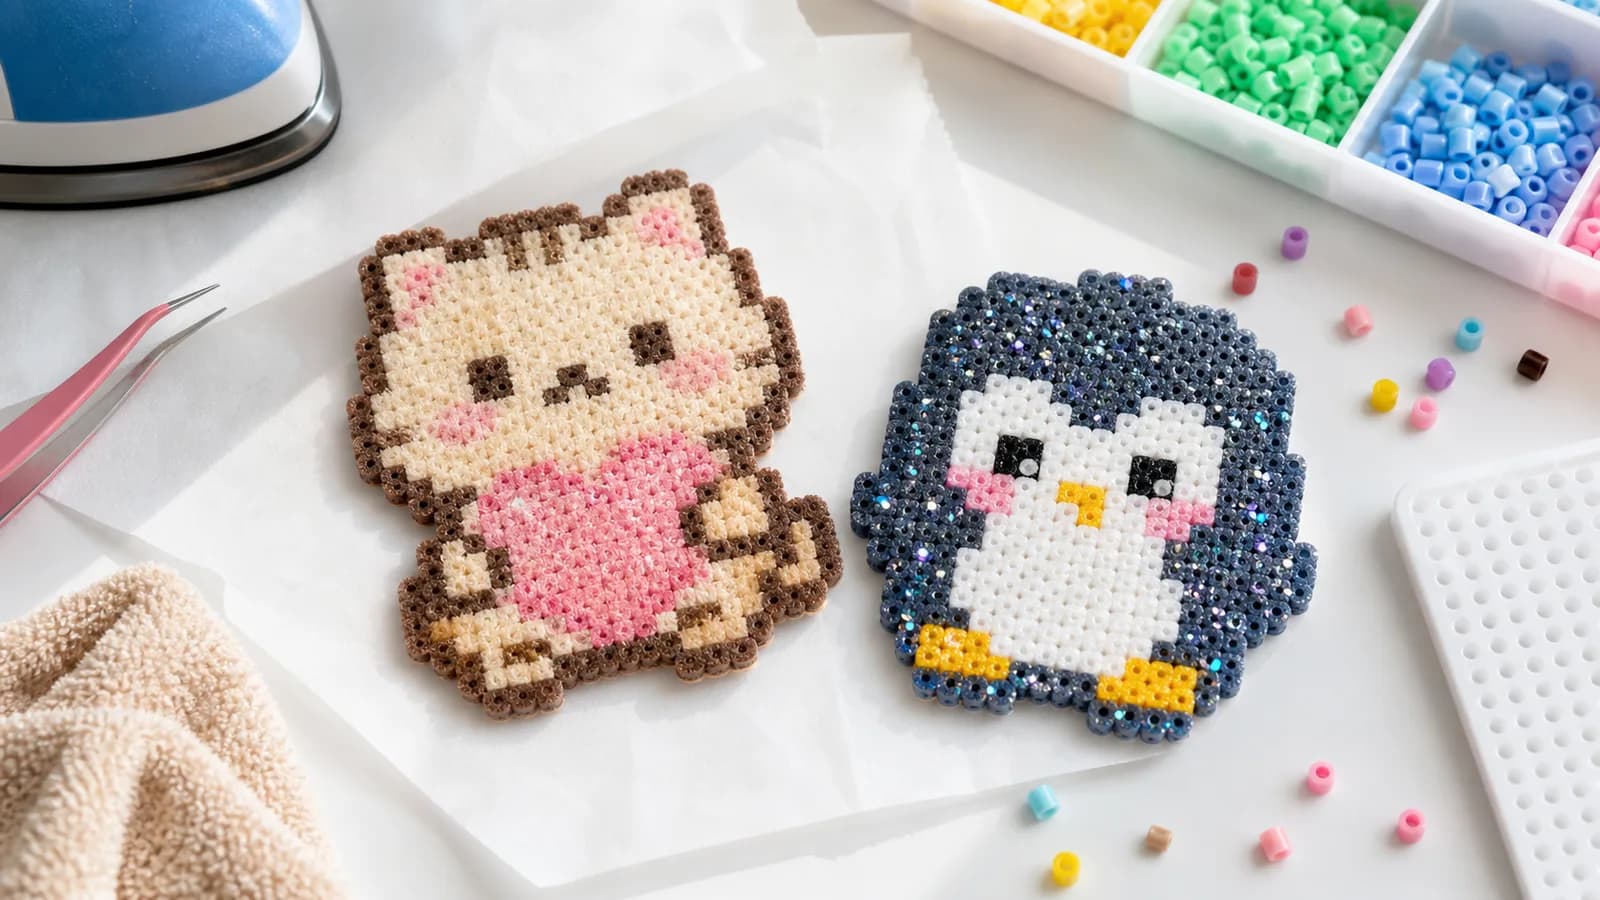
Hero photo: Perler official Standard Fusing Method guide. Used here as a factual reference to the materials and setup.
What you need before ironing fuse beads
Prepare everything before the iron becomes hot:
- A completed Perler bead or fuse bead design on a compatible pegboard
- Perler ironing paper or the protective paper recommended by your bead brand
- A dry household iron with steam turned off
- A flat, stable, heat-safe work surface
- A second protective sheet or heat-safe surface for ironing the back
- A small test patch made from spare beads
- A flat board or book to help the finished piece cool evenly
The manufacturer-supplied ironing paper is the simplest choice because it is designed for this job and can be reused. Heat-safe, non-waxed parchment paper is commonly used by crafters, but check the bead manufacturer's instructions first. Do not substitute wax paper, printer paper, paper towels, or an unknown coated sheet. These materials can stick, scorch, transfer coatings, or heat unevenly.
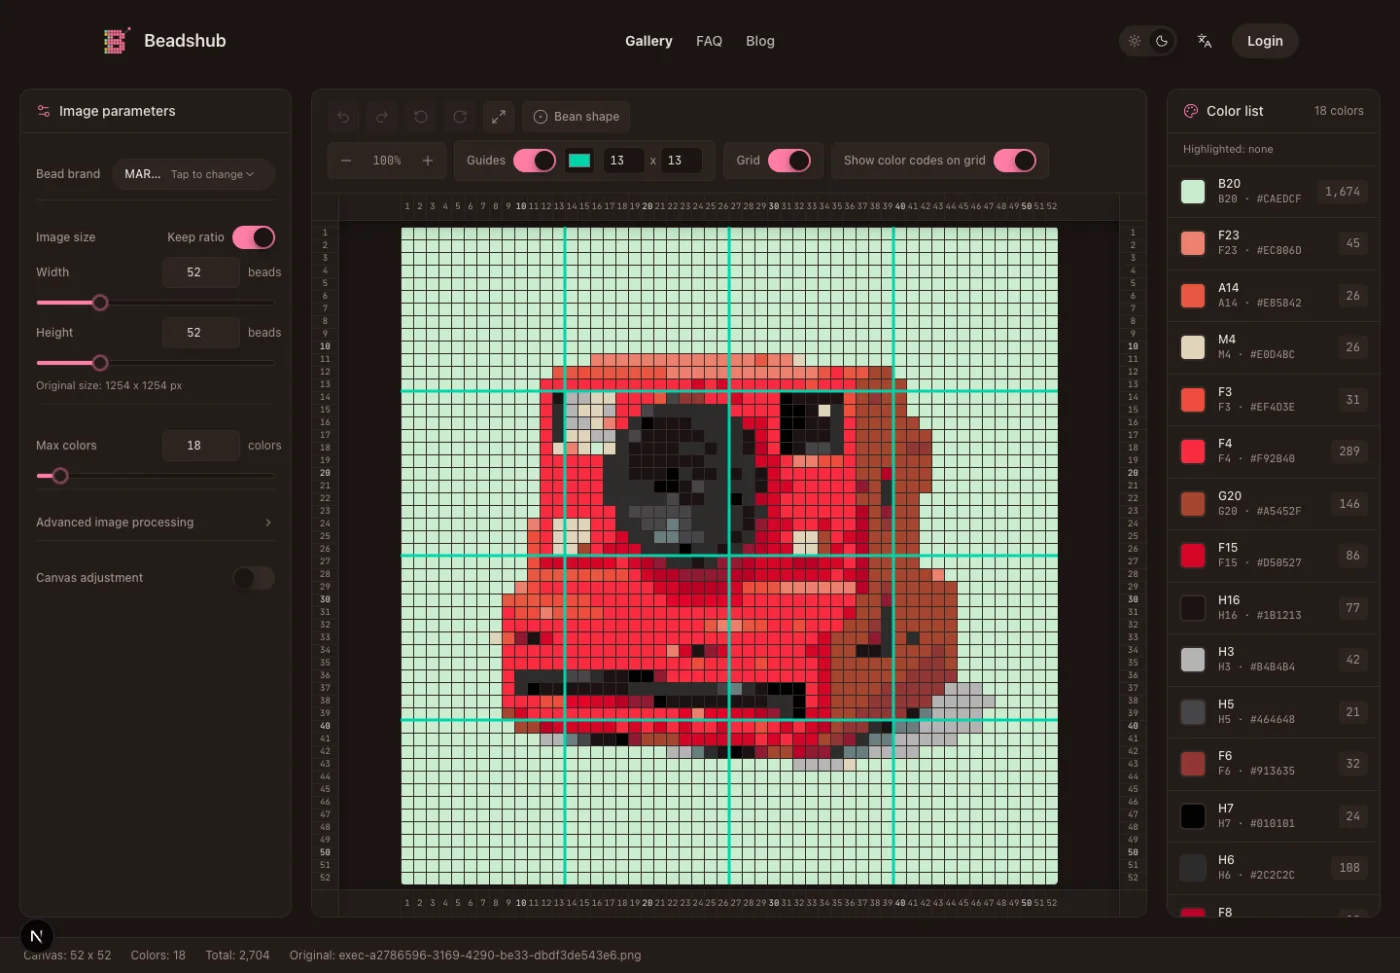
Before applying heat, inspect the pattern one last time. Confirm that no bead is missing, tilted, or sitting on top of another bead. Heat locks mistakes into the design. If you still need a pattern, start with the Perler bead pattern maker, or browse the public pattern gallery for a small beginner project.
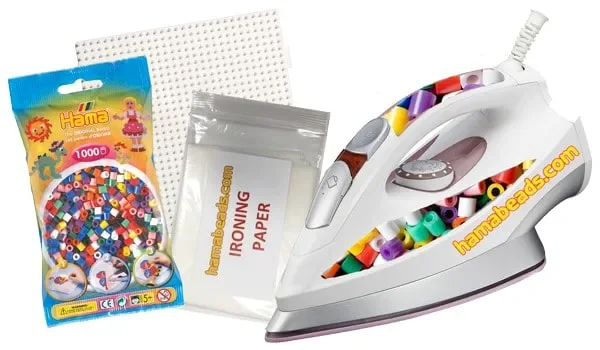
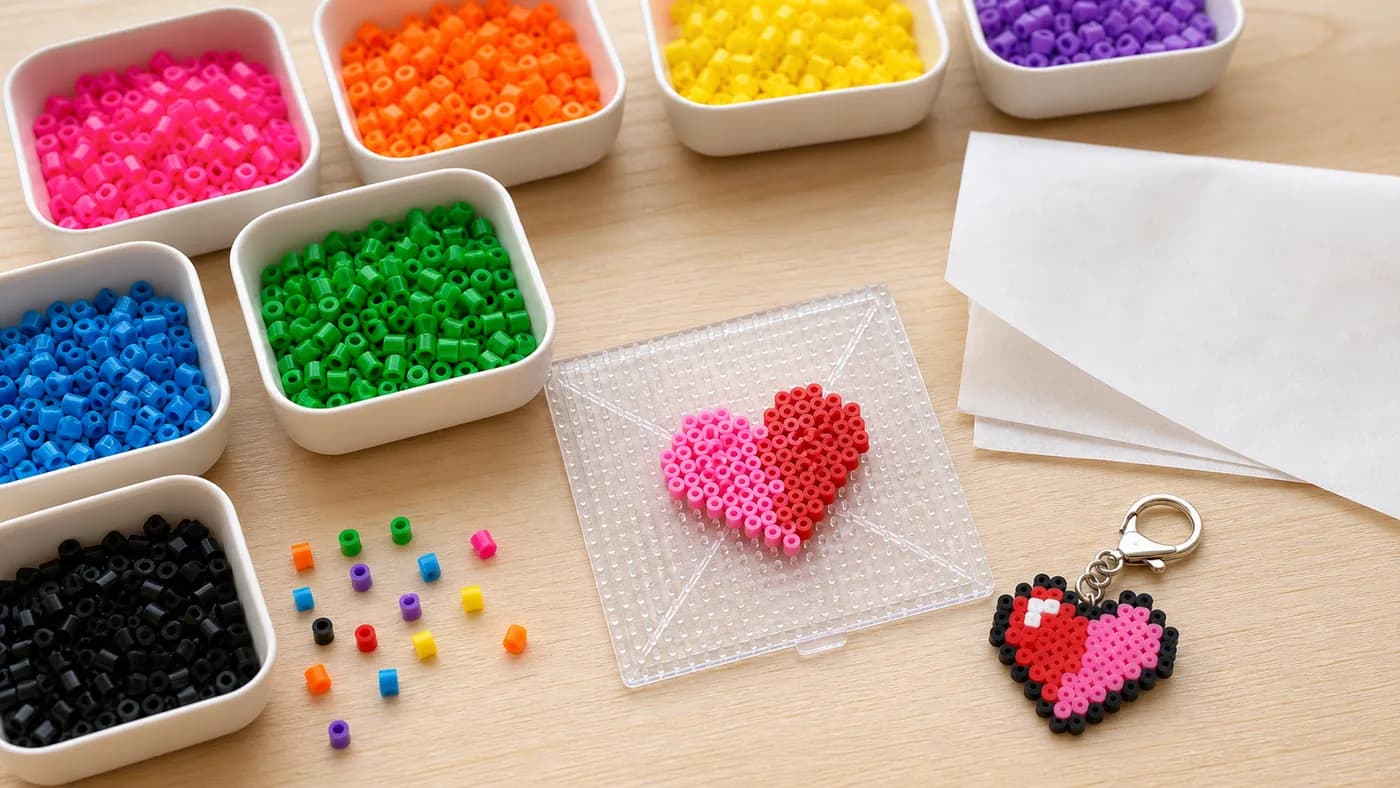
Photo source: Hama Beads official How to Use guide. The pictured Hama materials illustrate the same covered-iron workflow; follow the instructions for your own bead brand.
What temperature should the iron be for Perler beads?
Perler's official guidance recommends starting with a medium setting on a dry iron with no steam. If bead holes close quickly or the project becomes too flat, reduce the heat. If neighboring bead edges do not join after an even pass, increase the temperature slightly and test again.
Do not convert “medium” into one guaranteed temperature. Household irons regulate heat differently, and the dial labels are not standardized. Bead size and brand matter too. Hama's official instructions generally recommend the cotton setting for Hama beads, which is another reason not to use one brand's settings blindly for every fuse bead product.
The small test patch is more useful than a temperature chart. Arrange a square of spare beads, cover it with the same paper, and use the same surface and iron planned for the final project. The test will show whether the beads join, remain weak, close their holes, or flatten too quickly.
Should you use steam? No. Turn steam off and empty the water reservoir if your iron tends to release moisture unexpectedly. Perler specifically recommends a dry iron. Steam can dampen the protective paper and make heating less predictable.
How do you iron Perler beads step by step?
The seven steps below show how to iron Perler beads while keeping the heat even and the finished design strong.
1. Prepare a stable, heat-safe workspace
Place the pegboard on a flat surface that will not wobble or react to heat. Keep the iron cord and loose beads away from the work area. Excessive heat, pressure, or holding the iron still can warp the board, so heat every section gradually.
2. Cover the entire design with ironing paper
Lay the protective paper flat over every bead and smooth out folds before heating. Use a sheet large enough for the whole design. If a large project requires overlapping sheets, make sure no bead is exposed and avoid creating a thick seam that heats differently.
3. Set the iron and turn off steam
For Perler beads, begin at medium and wait for the iron to reach a stable temperature. High heat can close bead holes, flatten details, and warp the pegboard before you can correct the problem. Follow the package instructions for another brand, and avoid mixing brands in the same test because similar-looking beads can soften at different rates.
4. Fuse the first side with continuous motion
Set the iron on the paper and move it slowly in smooth circular or back-and-forth motions. Keep steady contact without pressing down hard, and never park the iron over one spot. If the project is larger than the iron, work in overlapping sections while continuing to move.
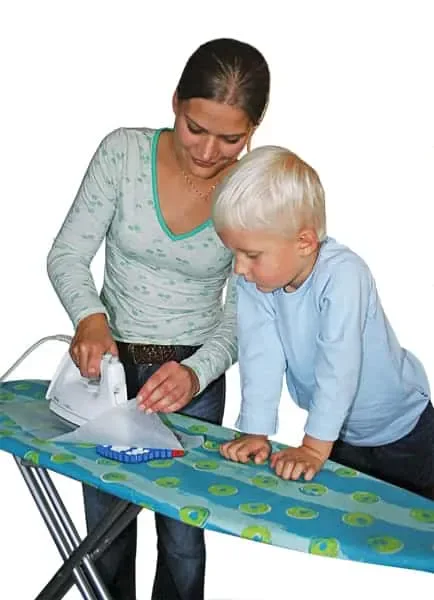
Real process photo: Hama Beads official How to Use guide. An adult should always handle the hot iron.
Perler says many projects need about 10–20 seconds per side, but treat that as a starting range. Begin checking around 10 seconds. The correct endpoint for how to iron Perler beads is visual: neighboring outer edges join, the piece holds together, and the center holes can remain visible. Add short passes to weak edges instead of overheating the whole design.
| What you see | What it means | What to do |
|---|---|---|
| Beads remain separate | Too little heat or time | Add a short, even pass |
| Edges join and holes stay open | Standard fusion | Stop and let the side cool |
| Holes shrink very quickly | Heat is high | Lower the setting before continuing |
| Beads flatten or smear | Too much heat or pressure | Stop; reduce both on the next test |
| Edge beads stay loose | Uneven coverage | Reheat only the weak edge with continuous motion |
5. Cool briefly and inspect the first side
Remove the iron and wait a short time before lifting the paper. Peel one corner slowly. If beads stick to the sheet or separate from their neighbors, lower the paper and apply another short, even pass.
A normally fused Perler bead design has joined outer edges and can lift as one piece. The center holes may remain open. A fully closed, very flat surface is a style choice, not a requirement for a strong standard project, and it leaves less room for correcting over-melting.
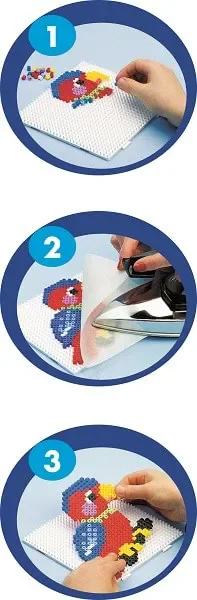
Process image: Hama Beads official How to Use guide. It shows the manufacturer's place, cover-and-iron, then remove sequence.
6. Flip and fuse the back
Once the first side holds together, remove the piece from the pegboard carefully. Place it fused-side down on another sheet of ironing paper or a protected heat-safe surface, cover the back, and repeat the controlled heating process. Perler recommends fusing both sides for reliable strength. One-sided ironing can preserve a more open front but usually leaves the piece more flexible and fragile. Support large or narrow projects with flat cardboard while flipping them.
7. Let the finished piece cool completely
After fusing the second side, keep the project flat while it cools. If it begins to curl, leave the protective paper in place and put a clean, flat board or book on top after the hottest heat has dissipated. Do not handle the finished piece until it is firm and at room temperature.
How to keep Perler beads flat after ironing
Perler bead projects curl when one side contracts more than the other or when the warm plastic cools unevenly. To reduce warping:
- Heat the design evenly instead of finishing one small area completely before moving on.
- Avoid hard pressure, which can flatten the hot side more than the rest.
- Fuse both sides unless the project instructions say otherwise.
- Keep the piece on a flat surface during cooling.
- Place a clean flat weight over the protected project if the edges begin to rise.
- Wait until the design is completely cool before hanging or bending it.
Large solid designs are more prone to curl than small open designs because more plastic changes temperature at once. Give large pieces extra support when flipping and a longer undisturbed cooling period.
Common Perler bead ironing problems
The Perler beads are not sticking together
The beads need a little more heat, time, or contact. Cover the design and make another short moving pass over weak sections. If a narrow connection breaks, realign it on a protected flat surface and fuse both sides. Mixed brands or colors may soften at different rates, so test them separately.
The bead holes are closing
Closed holes indicate a flatter melt. If that is not the intended finish, stop and lower the temperature. Use less pressure and shorter passes on the second side. A closed hole cannot be reopened neatly after the plastic cools.
The beads stick to the ironing paper
Let the design cool briefly before peeling and lift the paper slowly. If a few beads rise with it, put them back into position, cover the project, and fuse that area again. Replace damaged, dirty, or creased paper.
The pegboard starts to warp
Remove the heat immediately. Warping means an area received too much heat, the iron stayed still, or pressure was too high. Let the board cool naturally on a flat surface. Next time, reduce the heat, keep the iron moving, and use a test patch.
Perler bead ironing FAQ
These common questions cover the final details people ask after learning how to iron Perler beads.
What paper should you use to iron Perler beads?
Use Perler ironing paper or the protective sheet recommended by your bead manufacturer. Heat-safe, non-waxed parchment paper is a common alternative, but manufacturer paper is the most predictable option. Never put the iron directly on the beads.
What setting should the iron be on for Perler beads?
Start at medium with steam turned off, following Perler's official guidance. Adjust only after testing because household irons and bead products vary.
Can you use the same method for Hama beads?
The overall process is similar, but use Hama's instructions for Hama products. Hama generally recommends the cotton setting and smooth circular movements for a few seconds, while noting that irons vary.
What should properly ironed Perler beads look like?
For the standard finish, the outer bead edges are joined, the pattern lifts as one piece, and the center holes remain visible. The project should feel firm after cooling without loose beads around the edges.
Once you know how to iron Perler beads consistently, the pattern becomes the creative part. Use BeadsHub to explore bead tools, read the guide to making your own Perler bead patterns, or try towel and glitter ironing effects after you are comfortable with a standard finish.
Sources
Always follow the instructions included with the exact beads, pegboard, protective paper, and iron you are using. An adult should handle the ironing step.