How to Make Perler Bead Art Using BeadsHub
A step-by-step beginner guide to making Perler bead art with BeadsHub, from choosing a pattern to ironing, cooling, and displaying the finished piece.
BeadsHub Studio
Author
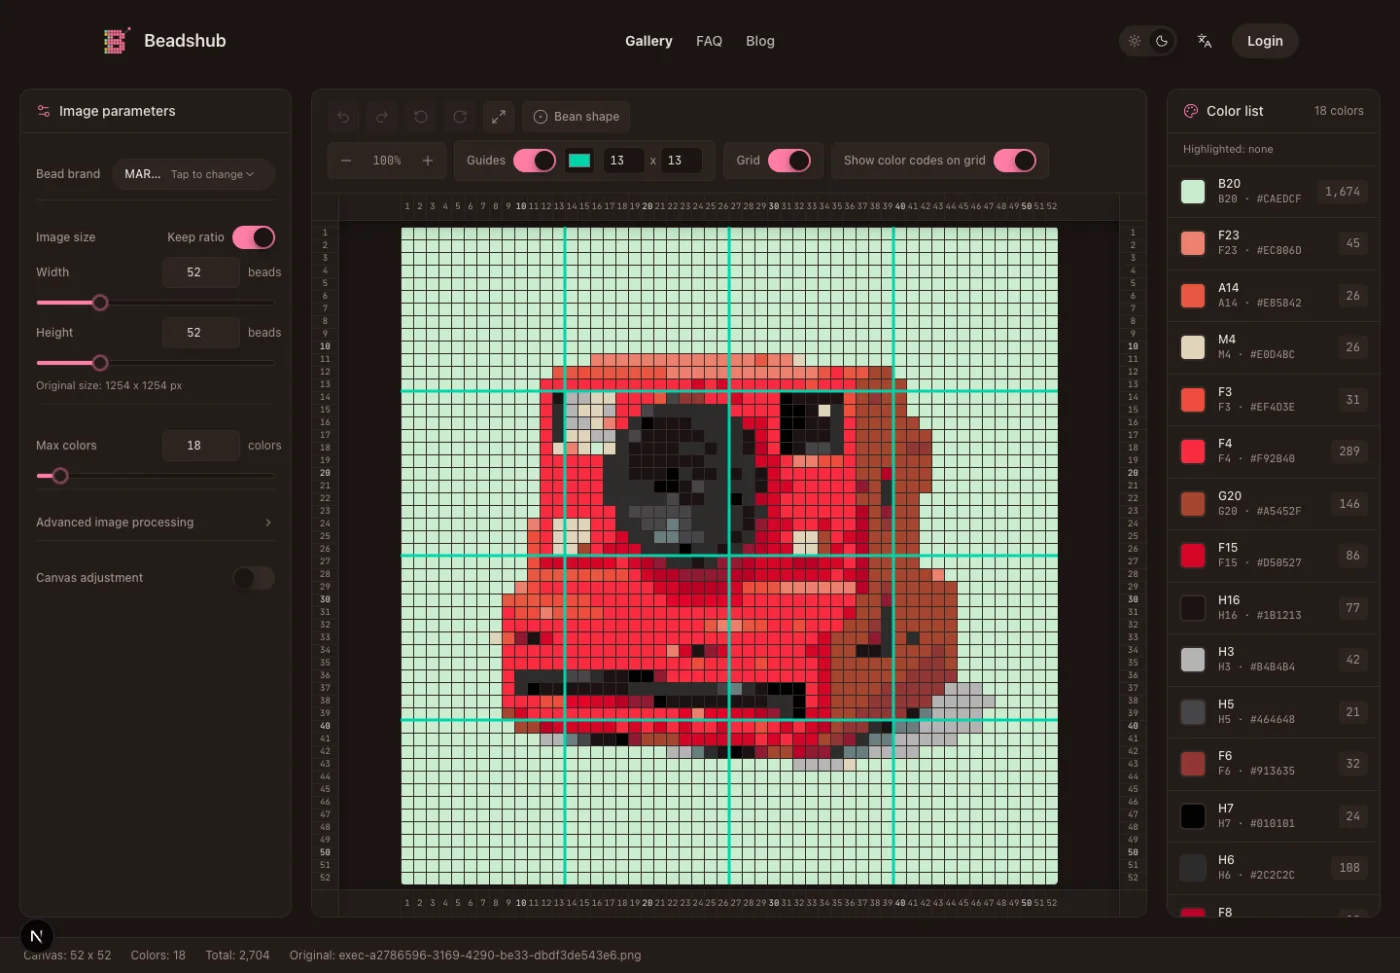
Learning how to make Perler bead art using BeadsHub is a simple workflow: choose a grid, gather the listed colors, place the beads on a pegboard, fuse the design with heat, and let it cool flat. BeadsHub helps with the part that often slows beginners down: finding or creating a pattern that is sized for real beads instead of guessing from a picture.
You can start from the BeadsHub Perler bead pattern gallery, or turn your own image into a grid with the Perler bead pattern maker. Once the pattern is ready, the craft becomes careful placement and controlled ironing. Perler is a trademark of its respective owner; BeadsHub is an independent fuse-bead pattern tool and gallery.
How to make Perler bead art using BeadsHub: quick answer
For a first project, use this short version:
- Open BeadsHub and choose a small pattern, or create one from your own image.
- Check the width, height, color list, and bead count before placing anything.
- Gather matching beads, a compatible pegboard, tweezers, ironing paper, and a dry iron.
- Place the outline and important landmarks first, then fill the larger color areas.
- Inspect every row before heating.
- Cover the complete design with protective paper.
- Have an adult iron the beads with steady motion, following the bead manufacturer's instructions.
- Let the piece cool, remove it from the board, optionally fuse the back, and cool it flat.
That is the whole process. The details below help you choose a better pattern, avoid color surprises, and prevent the common fusing problems that can ruin an otherwise good design.
What supplies do you need?
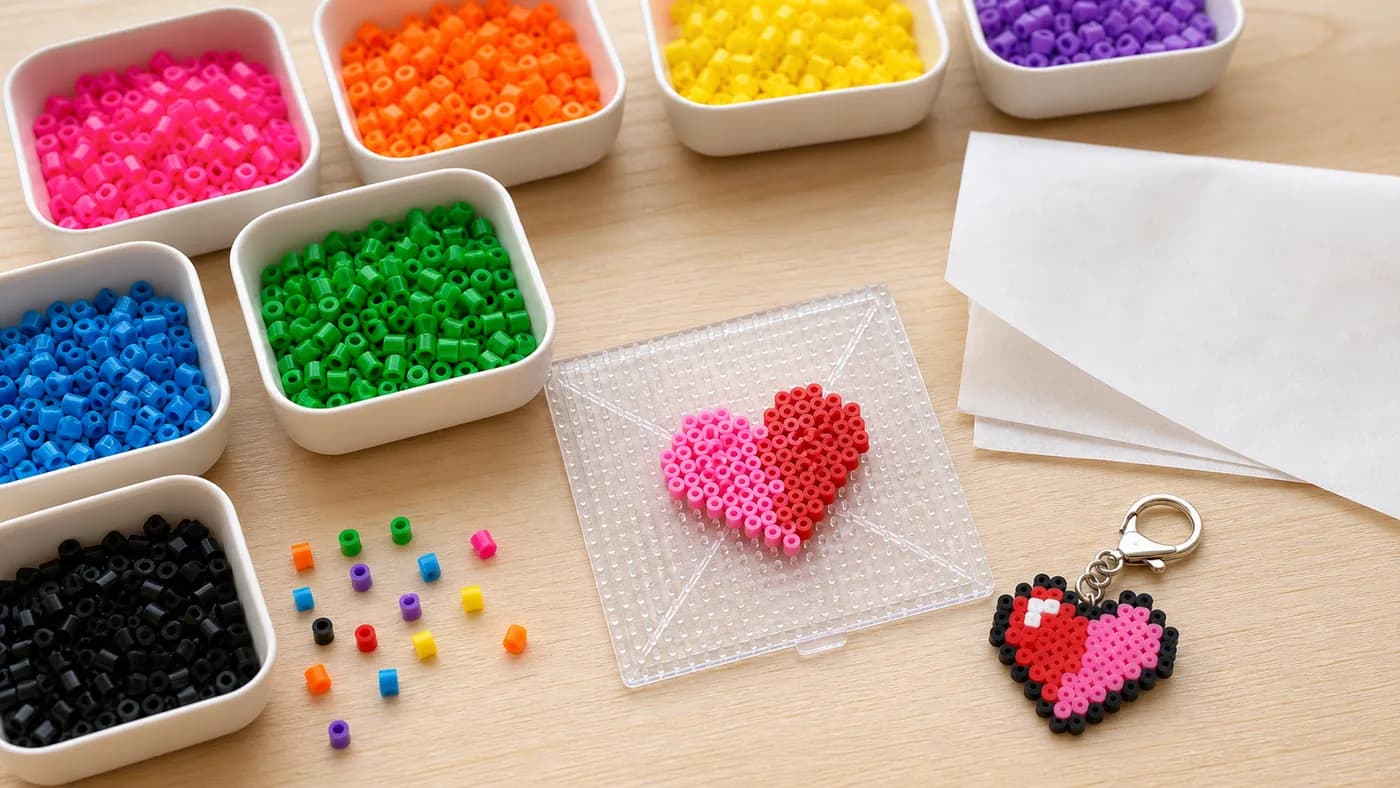
Prepare the supplies before you open the bead containers:
- A BeadsHub pattern, either from the gallery or exported from the pattern maker
- Fuse beads in the colors listed by the pattern
- A pegboard that matches your bead size
- Tweezers or a bead pen for corrections
- Ironing paper or the protective sheet recommended by your bead brand
- A dry household iron, handled by an adult
- A flat, stable, heat-safe work surface
- A book, board, or other clean flat weight for cooling

For beginners, regular-size fuse beads and a square transparent pegboard are the easiest setup. Transparent boards can be helpful if you want to place a printed grid underneath. Mini beads can produce finer detail, but they are slower to place, easier to bump, and less forgiving when fused.
Do not mix bead sizes in one design. Regular and mini beads use different peg spacing. Similar-looking brands can also soften at different rates, so test a small patch before using unfamiliar materials in a project you care about.
Choose a BeadsHub pattern that is buildable
The easiest way to make Perler bead art is to start with a pattern that already fits your skill level. Browse the Perler bead pattern gallery, then look for three practical signals:
- Grid size: A first project is usually easier under about 30 x 30 cells.
- Color count: Three to six strong colors are easier than many similar shades.
- Shape strength: Thick outlines, connected blocks, and clear silhouettes survive fusing better than long one-bead lines.
Small charms, fruit, hearts, animals, simple game icons, and holiday ornaments make good early projects. Large portraits, lettering with thin strokes, and multi-board characters are better after you have practiced placement and ironing.
If a pattern has a detail that matters, such as an eye, nose, logo mark, or letter stroke, zoom out before choosing it. If the subject still reads at thumbnail size, the main shapes are probably strong enough for bead art.
Create your own pattern in BeadsHub
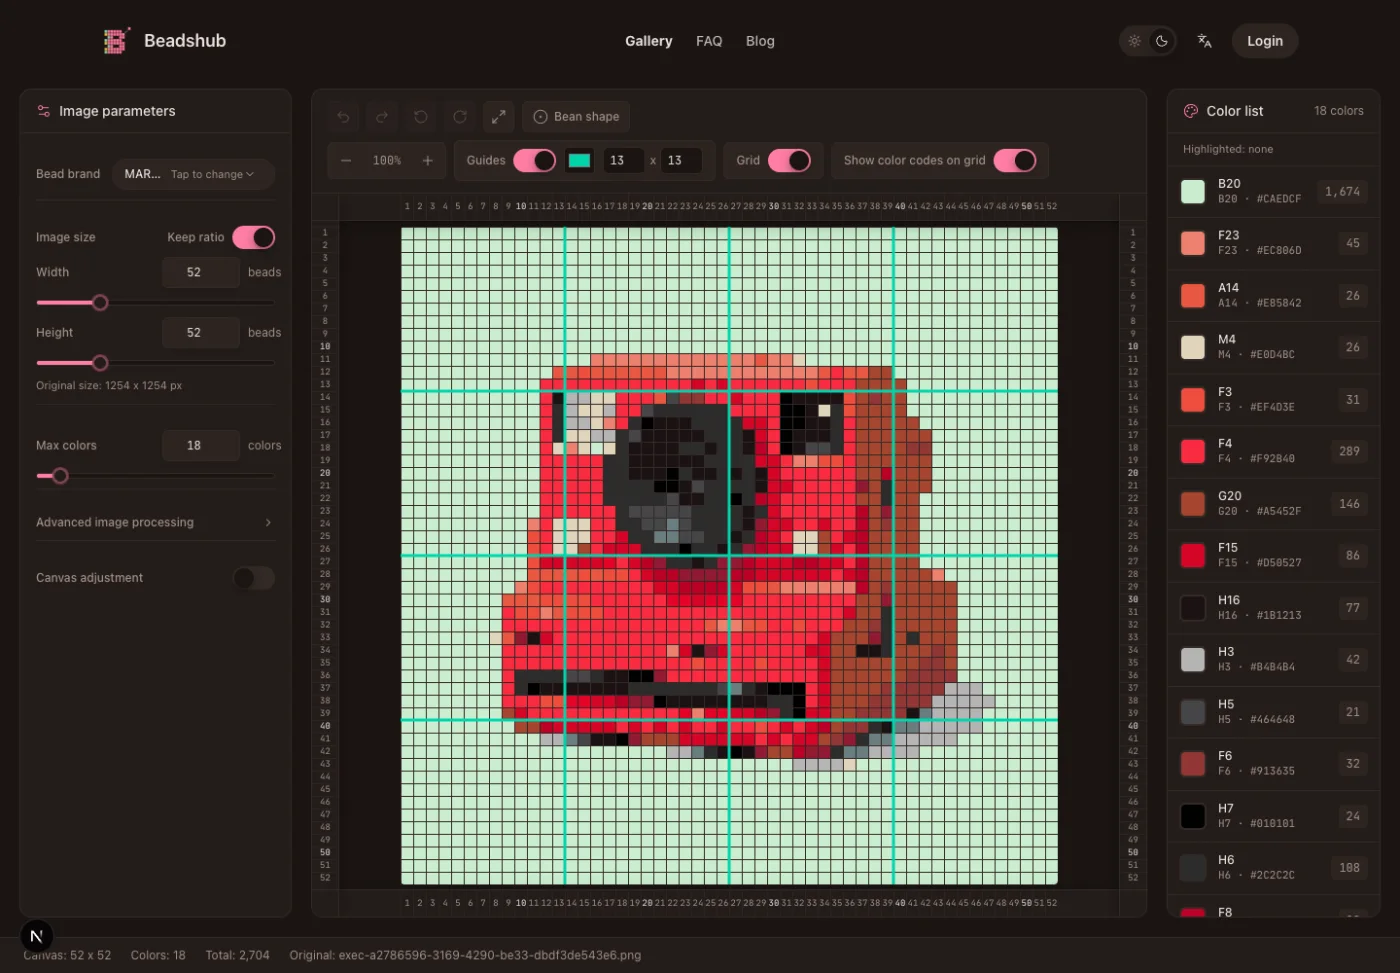
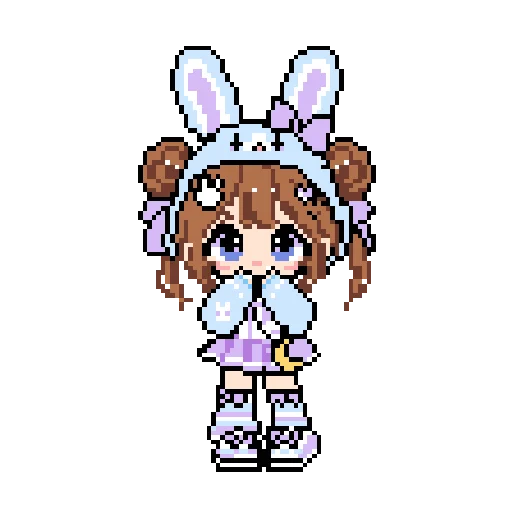
If you want to make Perler bead art from a photo, avatar, pet picture, drawing, or logo you have permission to use, open the BeadsHub pattern maker. The goal is not to copy every detail. The goal is to create a clean grid that you can physically build.
Work in this order:
- Upload and crop the image. Remove empty background so the subject gets more usable cells.
- Choose the bead palette. Select the bead brand or palette closest to the colors you own.
- Set the width and height. Treat each cell as one bead, and confirm the result fits your pegboard.
- Limit the colors. Fewer colors usually make stronger beginner patterns.
- Clean up the result. Remove stray single cells, repair outlines, and protect important details.
- Export or save the pattern. Use the PDF or on-screen grid as your placement reference.
For a deeper pattern-design workflow, use the full guide to making your own Perler bead patterns. This page focuses on turning that pattern into finished bead art.
Prepare the beads before placing them
Use the BeadsHub color list as a small materials checklist. Pull each color from storage before you begin, and keep the palette visible while working. If a color is missing, replace it in the pattern before placing beads rather than improvising halfway through the board.
Sort the colors into small trays, bowls, or labeled piles. Put similar colors apart from one another so you do not confuse light gray with white, dark brown with black, or two close reds. If the pattern uses a color for only a few cells, decide whether that color is essential. A two-bead eye highlight might matter; a random two-bead shadow may be easier to merge into a nearby color.
Before placement, check that the board arrangement matches the pattern size. A 32 x 32 grid needs a board or board combination with at least that many usable pegs. If you plan to connect boards, make sure they sit level and do not separate while you work.
Place beads on the pegboard

Place the beads in a sequence that makes mistakes easy to catch:
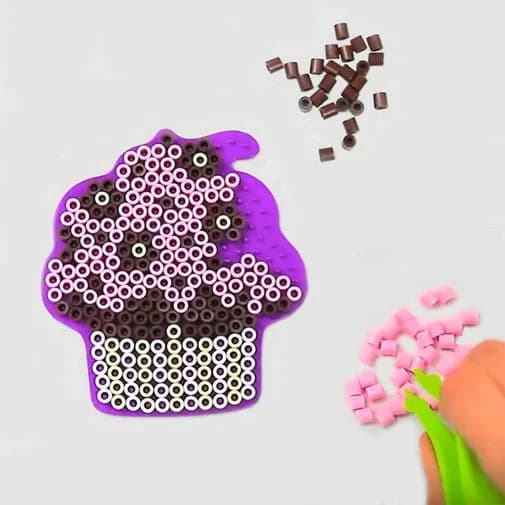
- Build the outer outline.
- Add the eyes, letters, corners, or other landmarks.
- Fill large color areas.
- Check every few rows against the pattern.
- Use tweezers to lift mistakes straight up.
Avoid pushing beads sideways across the board. One sideways correction can disturb a whole row. If you lose your place, count from a corner or another landmark instead of guessing.
Large designs are easier if you divide them into sections. Finish a 5-row or 10-row band, then compare it with the grid before moving on. If you are working from a printed PDF, row guides and color codes can reduce eye strain.
Before ironing, run one final inspection. Look for missing beads, duplicate beads, shifted rows, wrong colors, tilted beads, and fragile one-bead bridges. Heat makes mistakes harder to fix.
Iron and cool the Perler bead art
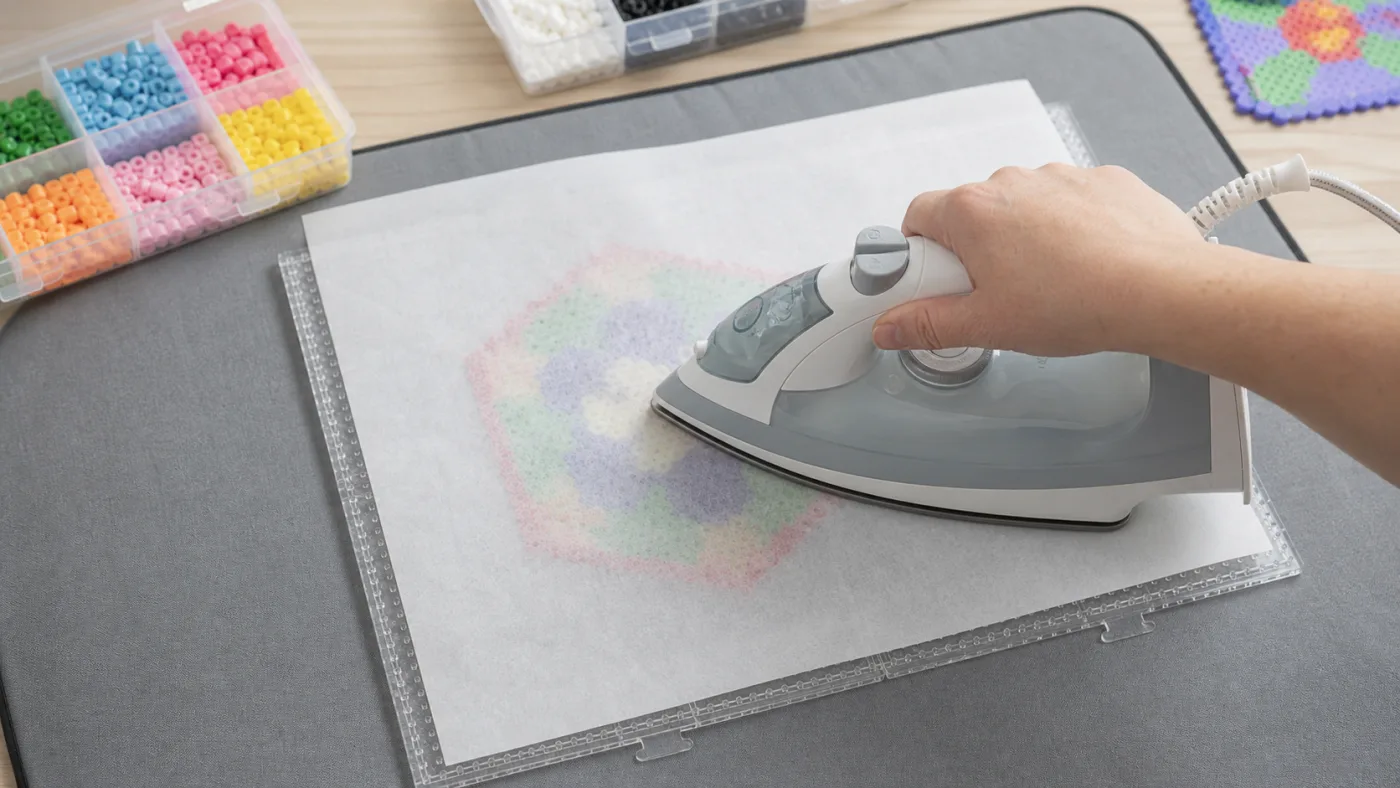
The fusing step should be handled by an adult. Use the instructions that came with your beads, pegboard, and protective paper. As a general workflow, cover the complete design with ironing paper, turn steam off, use controlled heat, and keep the iron moving. Never touch the iron directly to plastic beads or to an exposed pegboard.
The exact time and heat setting depend on the bead brand, bead size, iron, paper, surface, and desired finish. A small test patch is safer than memorizing one universal number. You are usually looking for neighboring bead edges to join while the design still keeps its shape.
After the first side holds together, let it cool briefly before lifting the paper. Remove the piece carefully from the pegboard. If the project needs more strength, flip it onto a protected heat-safe surface, cover the back, and fuse the reverse side. Keep the finished art flat while it cools completely.
For detailed heat, pressure, timing, and warping guidance, follow the full guide to how to iron Perler beads.
Turn the fused piece into finished bead art
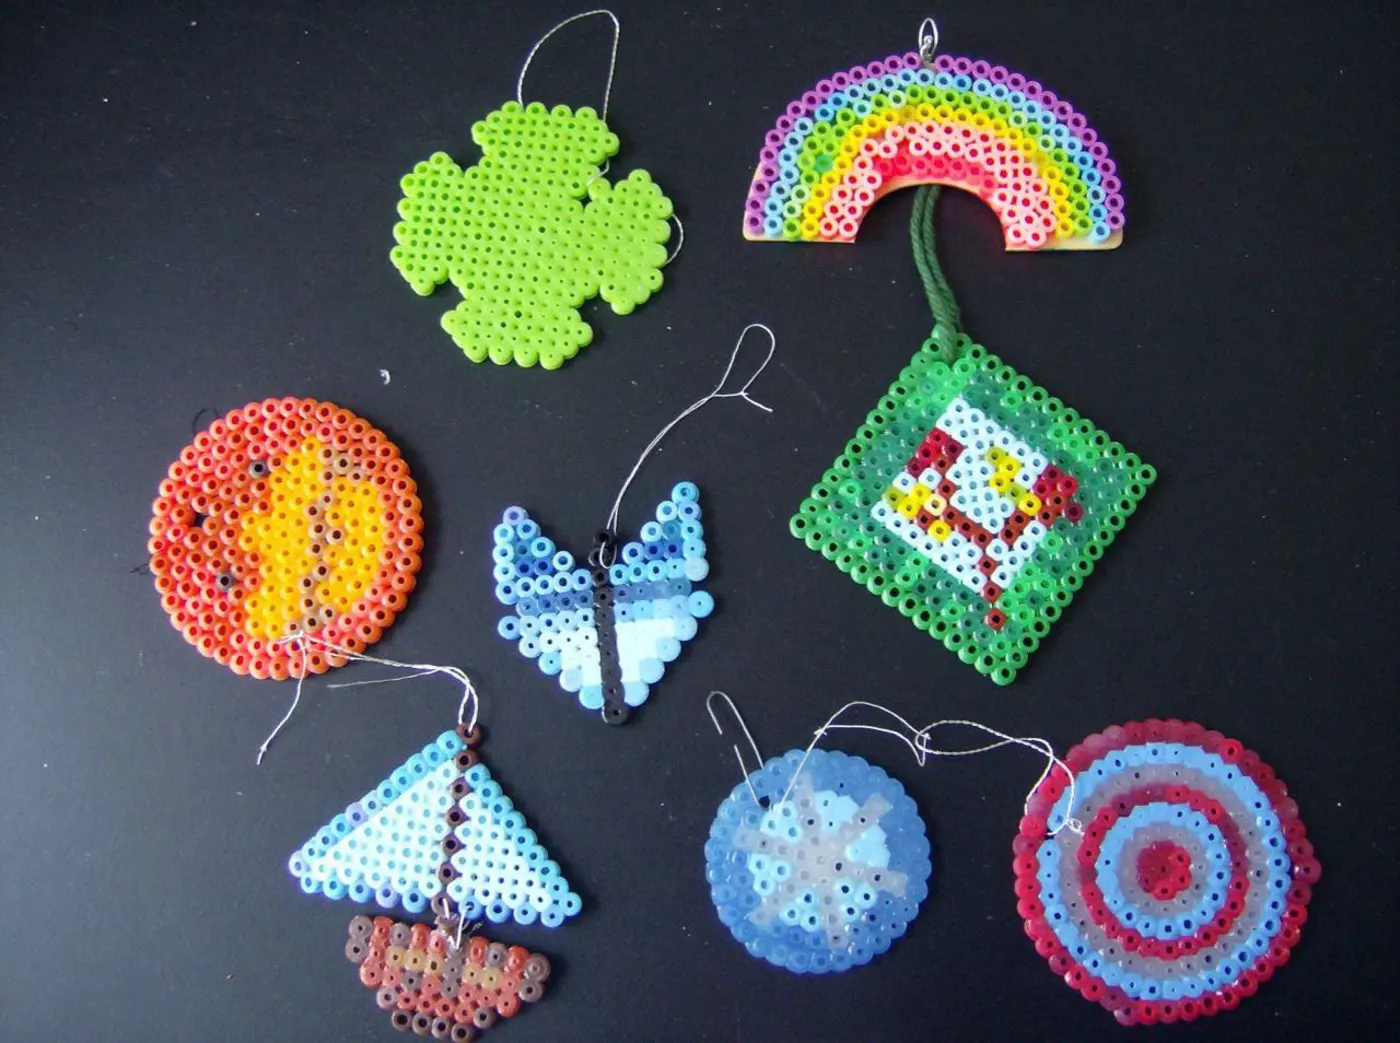
Once the piece is cool and firm, decide how it will be used. Small projects can become magnets, ornaments, keychains, bag charms, gift tags, or card decorations. Medium pieces can become coasters, desk signs, garlands, or framed mini art. Larger projects usually need backing, careful hanging, or a frame so they stay flat.
If you plan to add hardware, choose a sturdy connection point. A jump ring through a single thin bead connection can tear out. It is often better to add a small hole before ironing, design a thicker hanging loop into the pattern, or glue the finished piece to a backing.
Photograph the finished art on a simple background before putting it away. A good photo helps you compare future projects and spot whether the pattern size, color count, and fusing style worked the way you wanted.
Common mistakes when making Perler bead art
Starting with a pattern that is too large. Large designs are not only bigger. They create more chances to shift rows, run out of colors, bump the board, and fuse unevenly. Finish one small BeadsHub pattern first.
Ignoring the color list. A pattern can look easy until you discover that one main color is missing. Check every listed color before you place beads.
Using too many similar shades. Many near-identical colors can make a design look muddy and slow down placement. Merge tiny color clusters unless they carry an important detail.
Checking only at the end. A row shifted early can affect everything above it. Pause often, especially after outlines and landmarks.
Ironing too aggressively. Pressing hard or leaving the iron still can flatten beads, close holes, blur colors, or warp the board. Use steady movement and small checks instead.
Handling the piece while it is warm. Warm plastic bends easily. Cool the art flat before hanging, framing, or adding hardware.
FAQ about making Perler bead art with BeadsHub
Can I use BeadsHub to make Perler bead art from a photo?
Yes. Upload an image you own or have permission to adapt, crop it tightly, choose a bead palette, reduce the color count, and clean up the result before building. Portraits and pet photos usually need more editing than simple icons.
Is BeadsHub only for making patterns?
BeadsHub helps before the physical crafting step. It gives you the grid, size, color list, bead counts, editing tools, and printable reference. You still place the beads, iron them, cool them, and finish the physical art.
What size should a beginner choose?
Start with a small pattern around 16 x 16 to 30 x 30 cells and a limited color palette. The right size is the smallest one that keeps the subject recognizable and still fits your board.
Do I need to print the BeadsHub pattern?
No, but printing helps if you work away from the screen or need row guides. You can also follow the on-screen grid if your workspace makes that comfortable.
How long should I iron Perler bead art?
There is no single safe time for every project. Follow the instructions for your bead brand and test a small patch. Use short, moving passes and inspect the joins rather than relying only on a timer.
Where should I start if I have never made bead art before?
Choose a small design from the BeadsHub pattern gallery, gather the exact listed colors, and complete one simple project before converting a personal photo. A small win teaches placement, checking, fusing, and cooling with less risk.
Making Perler bead art with BeadsHub works best when you treat the digital pattern as a real build plan. Pick a manageable grid, simplify the colors, check the counts, place slowly, and fuse with patience. The finished piece will look cleaner because the planning happened before the beads reached the pegboard.