Perler Beads for Beginners: What You Need and How to Start
A practical beginner guide to Perler beads, including bead sizes, pegboards, starter tools, a seven-step first project, and mistakes to avoid.
BeadsHub Studio
Author
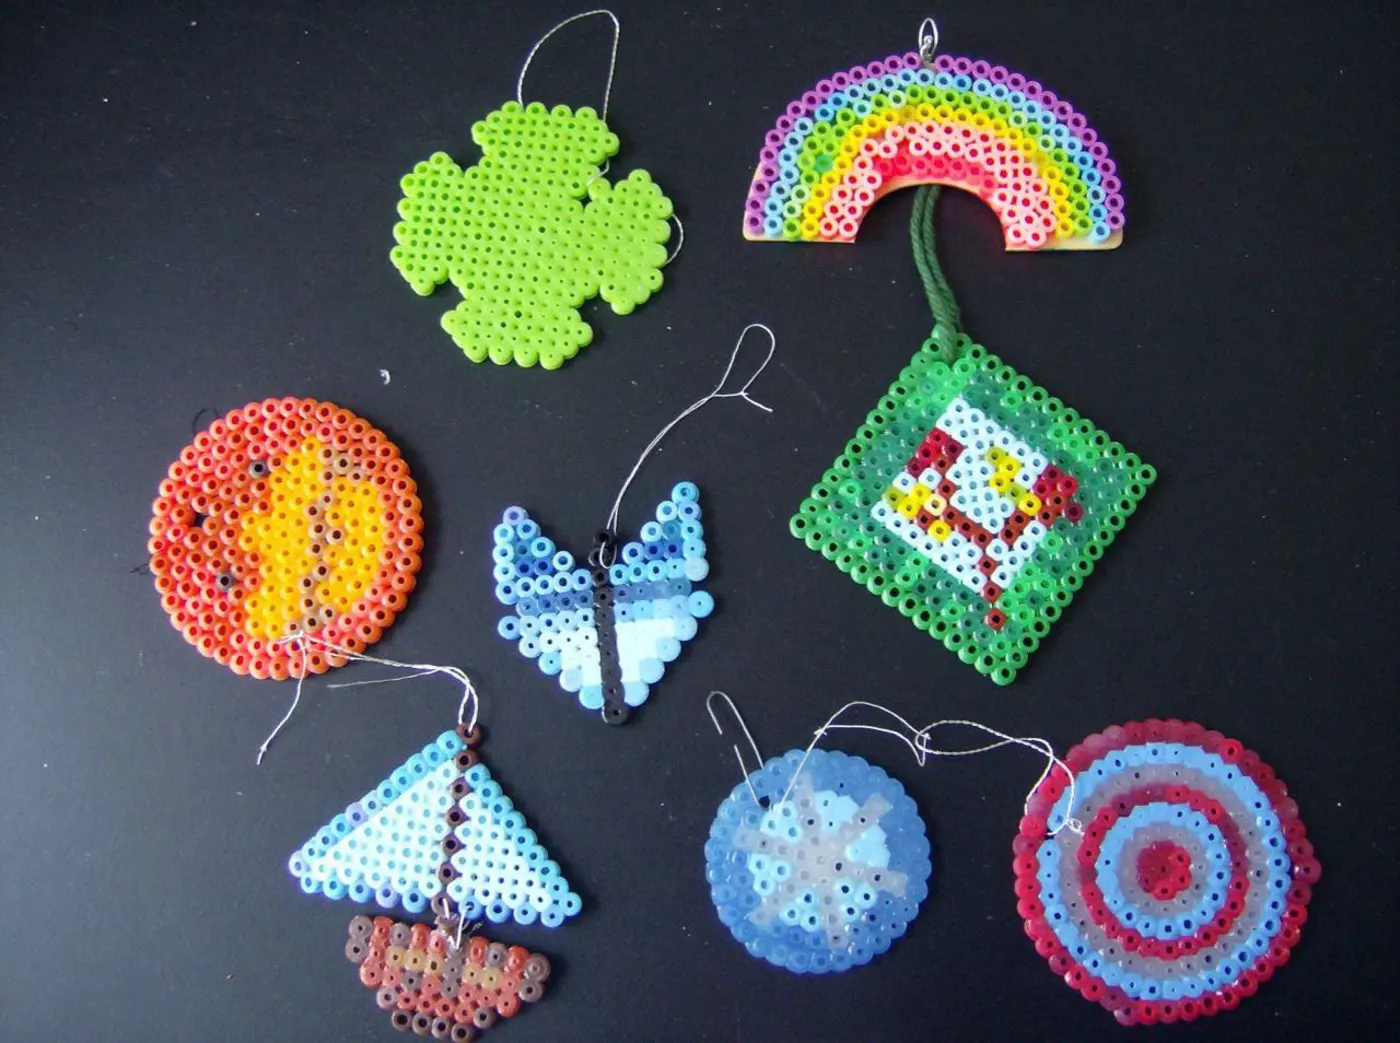
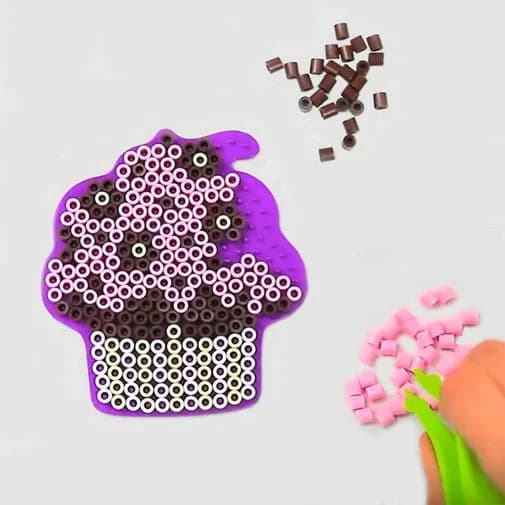
When choosing Perler beads for beginners, start with a small grid that becomes an object you can hold. Place the hollow plastic beads on a pegboard, follow a picture or grid, cover the design with ironing paper, and apply heat so the edges fuse. Compatible sizes and controlled fusing separate a clean result from a warped one.
This Perler beads for beginners guide covers the complete setup without becoming a shopping list. You will compare sizes, identify essential tools, complete a small design in seven steps, and catch mistakes before heat makes them permanent. Pattern design and ironing have their own guides, so this page stays focused on getting started.
What are Perler beads?
Perler beads are small, hollow plastic cylinders made for fuse-bead crafts. A maker arranges them on a pegboard as if each bead were one pixel, then an adult uses a household iron and protective paper to join the edges. A finished Perler project can become a magnet, ornament, coaster, charm, sign, or part of a larger three-dimensional build.
You will also see the craft described as fuse beads, iron beads, melty beads, or fusible beads. Perler is a brand name that became a common way to describe the category in the United States; Hama, Artkal, and MARD are other names shoppers may encounter. Bead colors, peg spacing, and melting behavior can vary, so check size compatibility before mixing products in one project.
This craft works naturally with pixel art because both use a fixed grid. One square in a pattern becomes one bead on the board. You do not need drawing experience: a clear pattern, careful row counting, and a small palette are enough for a first build. Our guide to the pixel art grid explains why lower-resolution patterns are often easier to read and assemble.
Regular and mini bead sizes
The two sizes most beginners encounter are regular beads, commonly about 5 mm across, and mini beads, commonly about half that diameter. Product names are not perfectly standardized across brands, so match the bead package to the pegboard rather than relying only on words such as “midi” or “mini.”
| Format | Best first use | Main tradeoff |
|---|---|---|
| Regular, about 5 mm | Small icons, coasters, ornaments, classroom crafts | Easier to see, place, correct, and fuse |
| Mini, about 2.6 mm | Earrings, badges, detailed portraits, compact display pieces | More detail in less space, but slower and less forgiving |

For a first Perler project, regular beads are usually the practical choice. They tolerate small placement errors and make fused edges easier to inspect. Mini beads are useful when a design needs more detail without becoming physically large.
Size also controls the finished dimensions. A 20-bead-wide design made with 5 mm beads is roughly 100 mm wide; the same grid made with 2.6 mm beads is roughly 52 mm. Multiply the cell count by the approximate bead diameter, then treat the result as a planning estimate.
What you need to get started
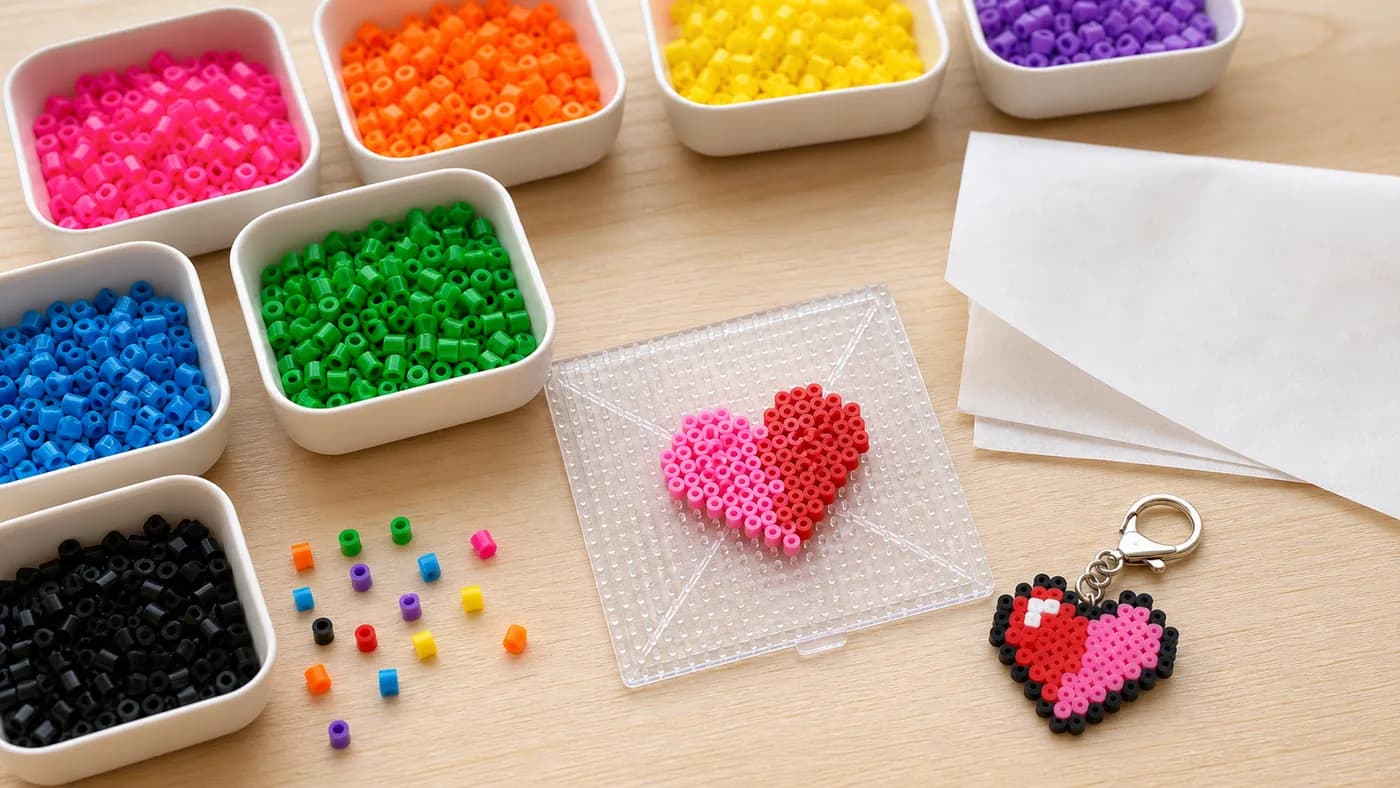
A beginner does not need a huge box of accessories. The essential setup is a compatible bead-and-board pair, a readable pattern, protective paper, and a dry household iron used by an adult. Tweezers improve corrections; pens and scrapers improve speed later.
Beads, colors, and pegboards
Start with regular beads in a small set of clearly separated colors. Black, white, gray, red, yellow, blue, green, and brown cover many simple icons. Add skin tones or extra shades when a chosen pattern needs them. A divided box or labeled bags save more time than a giant mixed bucket, because sorting every color while building interrupts the grid-checking rhythm.

A clear square pegboard is the most flexible first board. You can place a printed pattern underneath, align its cells with the pegs, and build directly over it. Shaped boards are convenient for fixed hearts, circles, and animals, while interlocking squares support larger work. Whatever the shape, the board must sit flat and its peg spacing must match the beads.
A compact 16x16 to 30x30 pattern is easier to verify and fuse than a multi-board character. It teaches the same skills with fewer chances to bump a row, miscount a section, or overheat a seam.
Bead pens, tweezers, and scrapers

A single-point bead pen can place one bead at a time with more control than fingertips. Dispenser pens are faster for long runs of one color, but changing colors repeatedly can erase that advantage. Tweezers remain the most useful correction tool: lift a wrong color vertically instead of pushing sideways and disturbing its neighbors.

A scraper or bead shovel helps gather loose beads, align rows in a tray, or fill large blocks. It is optional for small designs. If a starter kit forces a choice between a decorative scraper and good tweezers, choose the tweezers; precise corrections matter before speed does.
What belongs in a starter kit?
Use this requirements checklist when comparing Perler bead kits:
| Item | Priority | What to check |
|---|---|---|
| Beads | Required | One consistent size and enough separated colors for the pattern |
| Square pegboard | Required | Flat board with spacing that matches the beads |
| Ironing paper | Required | Large enough to cover the design completely |
| Dry household iron | Required | Adjustable heat; an adult handles the fusing step |
| Tweezers | Recommended | Tips can lift one bead without catching adjacent rows |
| Bead pen | Optional | Comfortable single-bead control before multi-bead speed |
| Scraper or tray | Optional | Useful for sorting and large same-color areas |
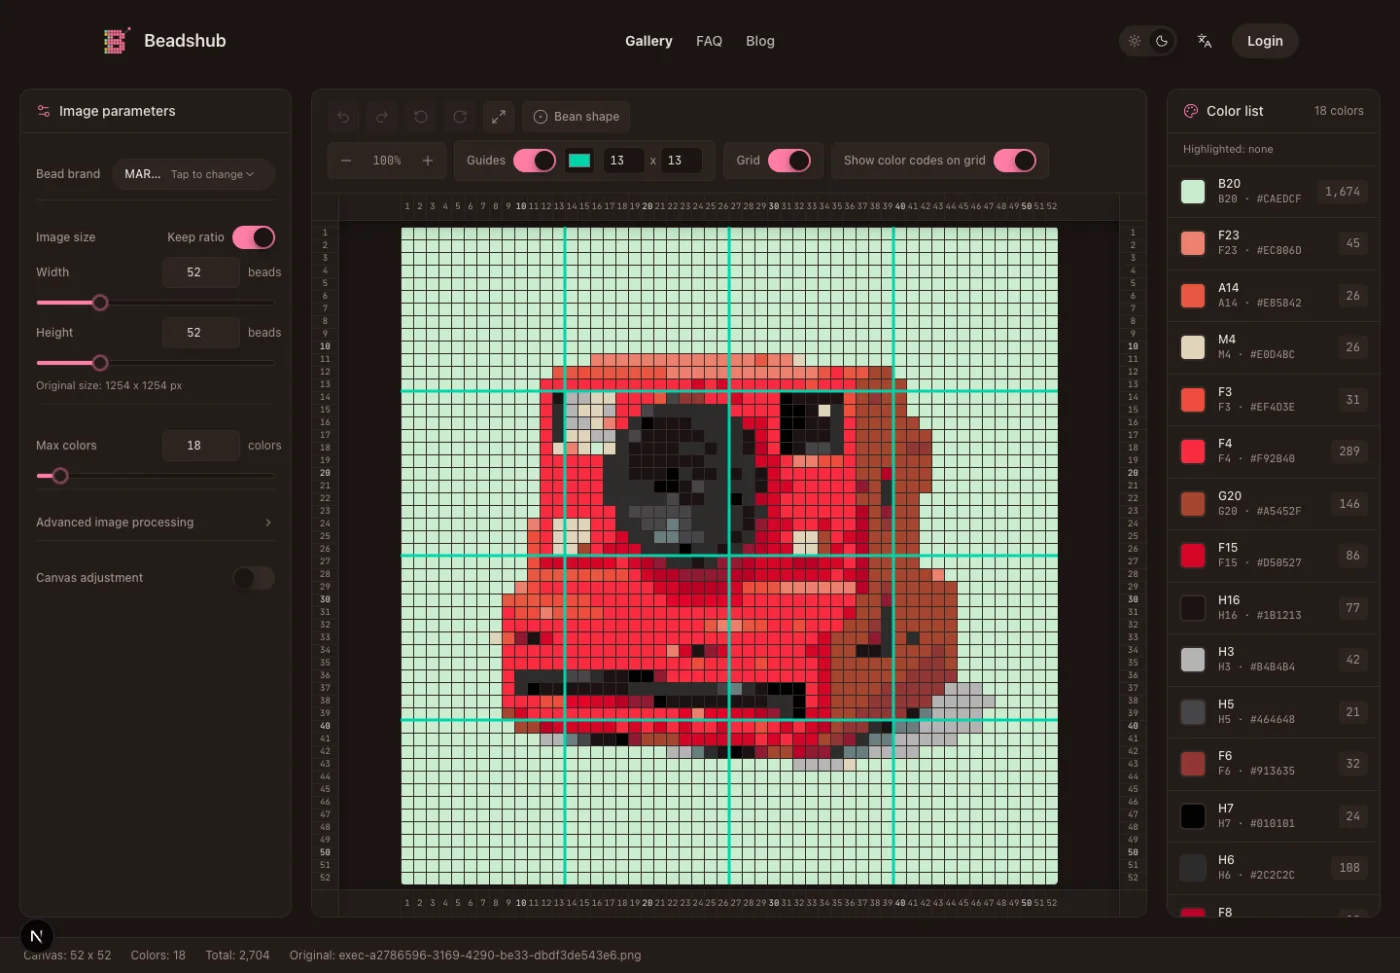
Choose a kit around the first project, not the largest bead count on the box. Good Perler bead patterns for beginners include a simple heart, fruit, small animal, or geometric badge. These simple Perler bead patterns teach counting and fusing more clearly than a giant character. Browse the Perler bead pattern gallery for a manageable grid, or use the Perler bead pattern maker to prepare your own image.
How to make Perler beads: a seven-step overview
Making a fuse-bead design means turning loose beads into one finished piece. Use this overview for the whole workflow, then open the linked specialist guides for detailed pattern or heat guidance.
- Choose a small pattern. Start under about 30x30 cells, use a limited palette, and confirm that the pattern grid matches the available board.
- Prepare a stable workspace. Put the pegboard on a flat surface away from edges, pets, fans, and sleeves that could knock the beads loose.
- Place the outline and color blocks. Build a recognizable outline first, then fill larger areas. Compare every few rows with the source rather than checking only at the end.
- Correct the grid. Look for missing cells, duplicate colors, tilted beads, and shifted rows. Use tweezers to lift mistakes straight up.
- Cover the complete design. Move the board to a flat, heat-safe area and cover every bead with proper ironing paper. An adult should handle the iron.
- Fuse and cool the piece. Use the iron and paper according to the product instructions, move evenly, and stop before the centers close more than intended. Let the design cool flat before lifting it.
- Inspect the result. Check edges and weak sections after cooling. Follow the product instructions if the reverse side also needs fusing, then cool the piece flat again.

Perler's official standard fusing method says to work on a flat, heat-safe surface, use ironing paper, keep the iron moving, and let the design cool. Irons, bead colors, project sizes, and desired finishes differ, so a tiny test patch is more useful than memorizing one universal time.
For a step-by-step treatment of heat, pressure, open holes, cooling, and warping, use our guide to how to iron Perler beads. If the difficult part is creating the grid before placement, follow how to make Perler bead patterns instead. Keeping those jobs separate makes troubleshooting much easier.
Common beginner mistakes
Starting too large. A multi-board portrait magnifies every counting and heat-control problem. Complete one small design first, learn how your materials behave, and scale up only after the edges fuse consistently.
Mixing incompatible sizes. Regular and mini formats cannot share the same peg spacing. Similar-looking products may also melt at different rates. Read the packaging and test a few spare beads before committing to a long project.
Checking only after placement is finished. One shifted row can affect everything above it. Pause after each small section, compare landmarks rather than individual cells, and count from a known edge when something looks wrong.
Treating heat as a race. Pressing hard or leaving the iron still can flatten beads, close holes, and warp the pegboard. The goal is an even bond, not maximum melting. Keep the protective paper in place and let the finished piece cool flat.
Buying tools before identifying a bottleneck. A bead pen helps precise placement and a scraper helps large color fields, but neither fixes a confusing pattern or an unstable work surface. Add tools after a few projects reveal what actually slows you down.
Using unsafe material substitutions. Do not place a hot iron directly on plastic, and do not let a child handle the fusing step. Use the paper and heat instructions supplied for the beads; if packaging guidance conflicts with a general tutorial, follow the product guidance.
Beginner FAQ
Are fuse beads and Perler beads the same thing?
Fuse beads are the general craft category; Perler is one brand within it. People often use the names interchangeably, along with iron beads and melty beads. Compatibility still depends on physical size and melting behavior, not on the category name alone.
What size are regular Perler beads?
Regular fuse beads are commonly about 5 mm in diameter. Mini beads are commonly around 2.6 mm, or roughly half the regular diameter. Check the current package and matching pegboard because naming and exact specifications can vary by product line.
Do I need a Perler bead pen or scraper?
No. Fingers or tweezers, a pegboard, beads, ironing paper, and an adult-operated iron are enough for a first project. A pen improves placement speed and a scraper helps with sorting or broad color areas, but both are optional.
How does the craft work?
The hollow beads sit on pegs that preserve a grid. Heat softens adjacent edges so they join into one piece, while cooling lets the plastic become firm again. Protective paper keeps the iron away from the plastic and helps distribute contact across the design.
How many beads should a beginner project use?
A useful first design fits within roughly 16x16 to 30x30 cells and uses three to six colors. The exact bead count can be lower than the full grid when the design has empty background space. Small Perler projects are easier to check, fuse, cool, and redo if needed.
Can I turn a photo into a bead pattern?
Yes, but reduce the grid and palette before placing beads. A full-resolution photo contains more detail and colors than a physical board can express cleanly. The image-to-pixel-art guide explains how grid size, cropping, and color reduction change the result.
A practical setup for Perler beads for beginners can stay small: one compatible board, a few sorted colors, a clear pattern, tweezers, protective paper, and careful adult fusing. Finish one compact design, note what felt slow or uncertain, and let that experience decide whether the next purchase should be more colors, a larger board, or a placement tool.