Pixel Art Grid: How to Choose the Right Size and Use It
Learn how a pixel art grid works, choose a practical grid size, use guides and color codes, and make pixel art or bead patterns that stay readable.
BeadsHub Studio
Author
A pixel art grid turns a picture into deliberate, countable cells. Each square holds one color, so the grid controls resolution, proportions, detail, and physical size when a design becomes a fuse-bead, cross-stitch, or mosaic pattern. The best grid is the smallest one that keeps the subject readable for its intended use.
A simple icon may fit 16 x 16, while a face, pet, vehicle, or wordmark may need 32 x 32, 52 x 52, 64 x 64, or a custom rectangle. This guide explains how to choose a size, use grid lines, guides, and color codes, and test readability. The examples use the free BeadsHub pattern maker, where each cell can also represent one fuse bead.
What is a pixel art grid?
Pixel art is created or edited at the level of individual pixels, with deliberate control over each color and position. The overview of pixel art on Wikipedia describes this pixel-level editing as a defining part of the medium. A pixel grid makes that structure visible by drawing boundaries around the cells.
Canvas width counts cells from left to right; height counts them from top to bottom. A 16 x 16 canvas has 256 possible cells, a 32 x 32 canvas has 1,024, and a 64 x 64 canvas has 4,096. Doubling both dimensions creates four times as many positions and decisions.
One cell is one output pixel in digital art, one bead position in a Perler pattern, or one stitch in cross-stitch. The visual logic stays the same when the material changes.
Grid size is not display size
A 16 x 16 design can be displayed at 16 pixels or enlarged with sharp nearest-neighbor scaling, but it still contains only 16 cells across. Display size changes its appearance on screen; grid size changes how much information it contains. Zoom in to edit, then zoom out or hide the lines to judge the result.
A pixel grid is different from a grid effect
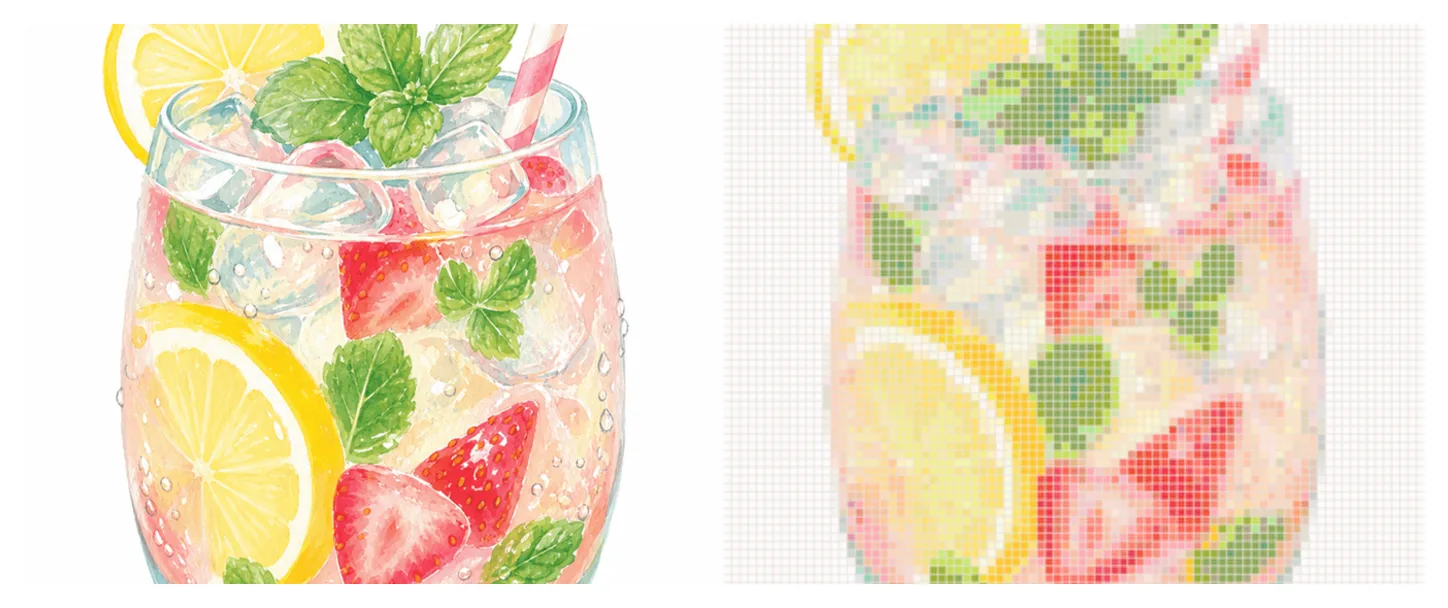
Adding square lines to a photograph does not make pixel art. Each cell needs one controlled color. If you start from a photo, convert and reduce it before editing important cells; the image to pixel art guide covers that process.
How to choose the right pixel art grid size
Start from the output. A game sprite has technical constraints, a bead project must fit real pegboards, a printable grid must stay legible, and an avatar must read at a small size.
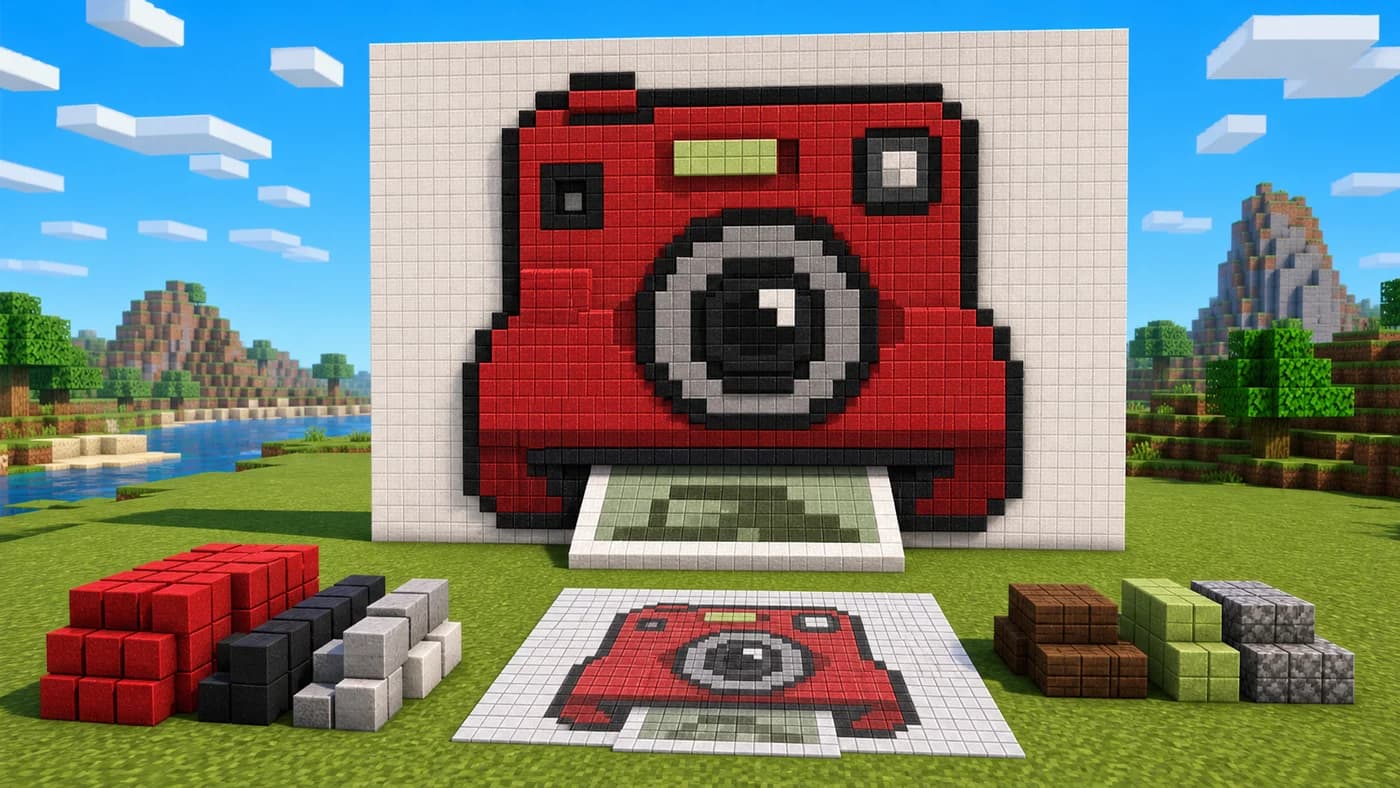
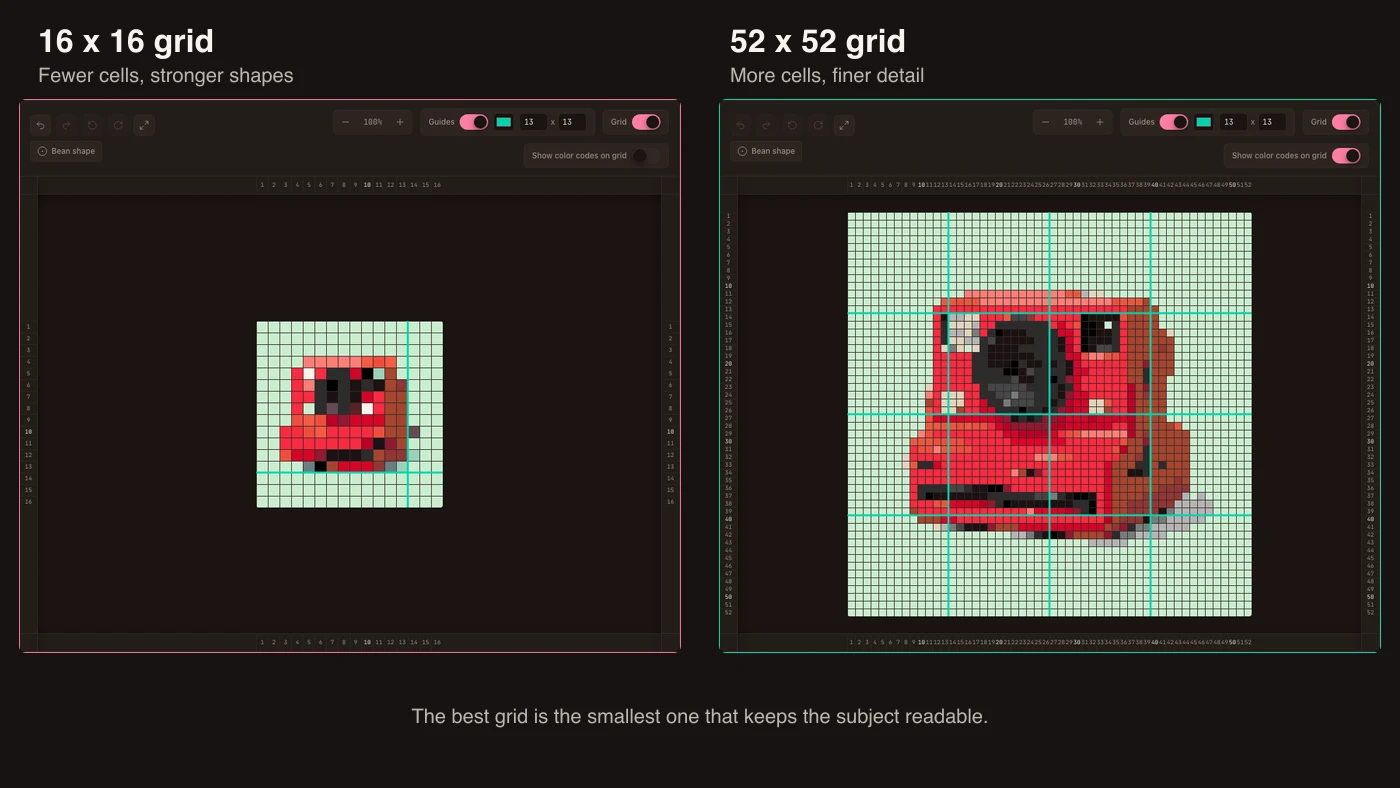
The comparison below uses the same camera source on two grids. The 16 x 16 version keeps the red body, lens, and basic silhouette but loses small controls and edge changes. The 52 x 52 version preserves more curves, highlights, and separation between parts. Neither is automatically better; they serve different levels of complexity.
16 x 16: icons and simple silhouettes
Use 16 x 16 for strong shapes such as hearts, fruit, arrows, simple faces, small game items, and bead charms. Each cell has a large effect, so prioritize contrast and silhouette over texture.
24 x 24 or 32 x 32: balanced detail
These sizes give icons and sprites room for facial features, simple lettering, accessories, and smoother curves while still forcing useful simplification. A 32 x 32 grid is a practical first test before deciding whether more cells add meaningful detail.
48 x 48, 52 x 52, or 64 x 64: complex subjects
Larger grids suit portraits, pets, vehicles, buildings, and craft patterns that need recognizable shading. They require more editing and materials: a 52 x 52 bead design has 2,704 possible positions. Use guides to divide it into countable sections.
Rectangular and custom grids
A banner, landscape, standing character, or word may need a wide or tall canvas. Preserve the aspect ratio unless stretching is intentional. Match bead grids to pegboard capacity, game art to engine requirements, and printable grids to a legible page size.
| Use case | Useful starting grid | Main constraint |
|---|---|---|
| Tiny icon or bead charm | 12 x 12 to 16 x 16 | Strong silhouette |
| Game item or simple sprite | 16 x 16 to 32 x 32 | Readability at actual size |
| Avatar or detailed icon | 32 x 32 to 48 x 48 | Face and edge clarity |
| Portrait or detailed craft pattern | 48 x 48 to 64 x 64+ | Time, colors, and materials |
| Lettering or landscape | Custom rectangle | Aspect ratio and line thickness |
These are starting points, not fixed standards. Choose the smallest dimensions that preserve the specific details your subject needs.
How to use a pixel art grid step by step
Start from a blank grid or converted image, then make structural decisions before editing individual cells.
1. Define the final use
Define the output before drawing: a game icon, bead charm, printable reference, or multi-board wall piece. This prevents an attractive draft from becoming impossible to export or build.
2. Block the silhouette on a small grid
Fill the largest shapes first and postpone highlights or texture. If the silhouette is unclear, detail will not fix it. When converting an image, crop tightly so empty scenery does not consume useful cells.
3. Preserve proportions
Match the width-to-height ratio to the source. Keep-ratio controls prevent faces, circles, and letters from stretching when one dimension changes.
4. Add only identity-carrying details
Protect identity-carrying cells such as an eye, ear, lens, wheel, letter stroke, or color boundary. Reduce noise elsewhere.
5. Check the image with the grid on and off
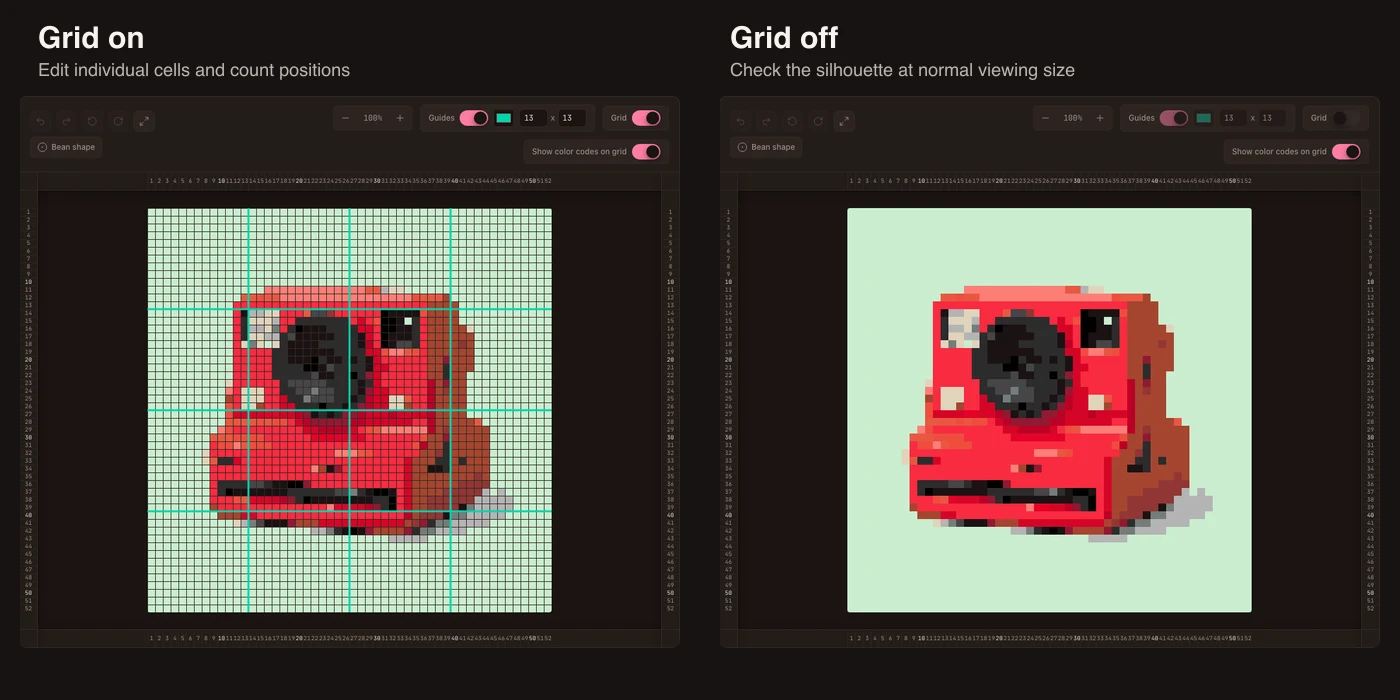
Keep the grid on while placing or counting cells. Then turn it off and view the design at normal size. The line-free view reveals whether the artwork reads as one image rather than a collection of well-organized squares.
The Corel pixel art tutorial also recommends a visible document grid for pixel-level drawing. Use boundaries for precision, then judge the image without them.
6. Export for the actual task
Export digital art at native resolution or enlarge it with nearest-neighbor scaling. For a physical pattern, include row numbers, color codes, palette names, and counts. The free pixel and bead grid maker creates custom canvases and printable references.
Grid lines, guides, and color codes do different jobs
These controls can appear together, but they solve separate reading problems.
Grid lines show individual cells
Grid lines outline every pixel position. Turn them on when drawing, erasing, counting, or comparing neighboring cells. Turn them off when checking the silhouette, contrast, and overall composition.
If lines blend into the artwork, change their color or zoom level. A contrasting accent works better across mixed colors.
Guides divide a large canvas into sections
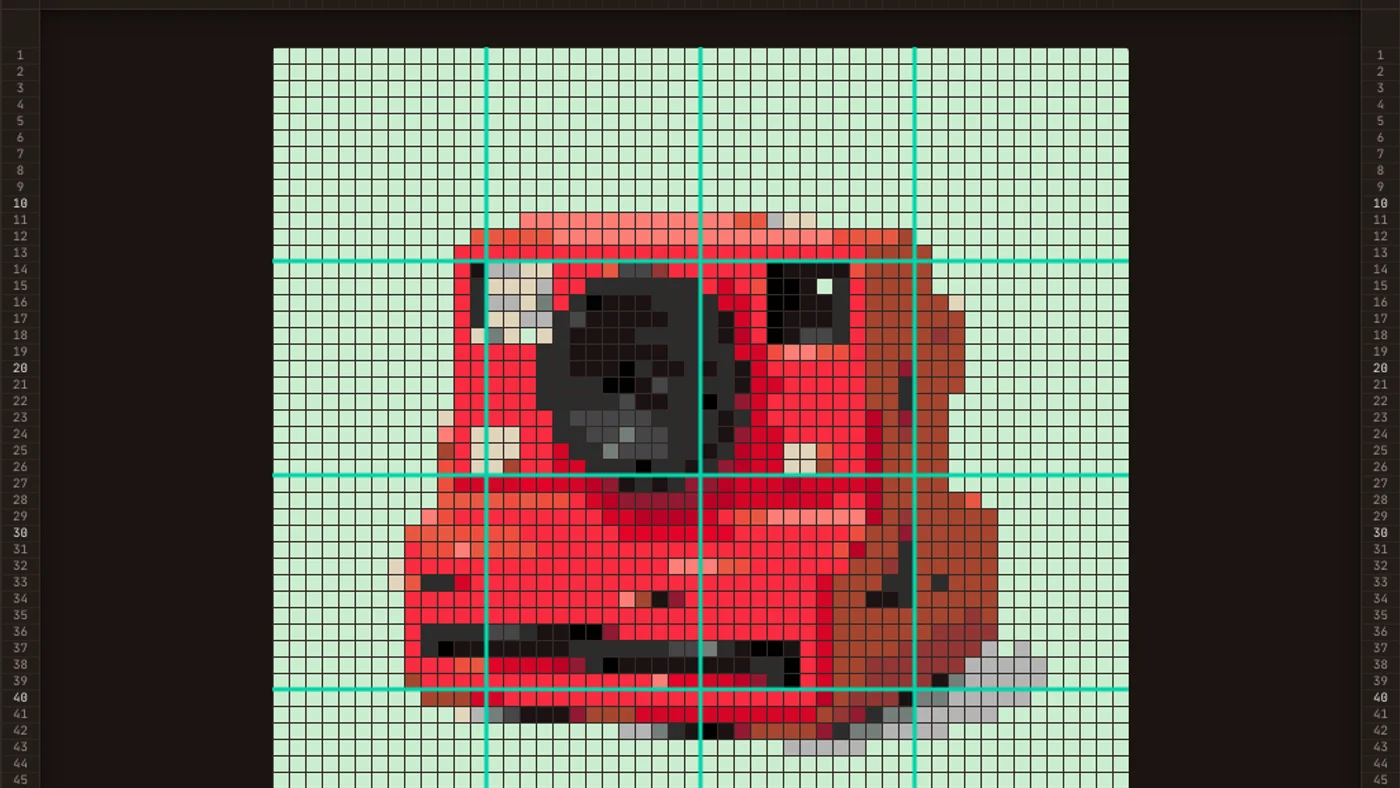
Guides are stronger lines placed every few cells. Here, a 52 x 52 pattern is divided at 13-cell intervals into four sections per direction, making rows and quadrants easier to locate.
Ten-cell guides suit general counting; 13-cell guides divide 52 evenly. Choose useful sections without hiding the artwork.
Color codes identify exact palette choices
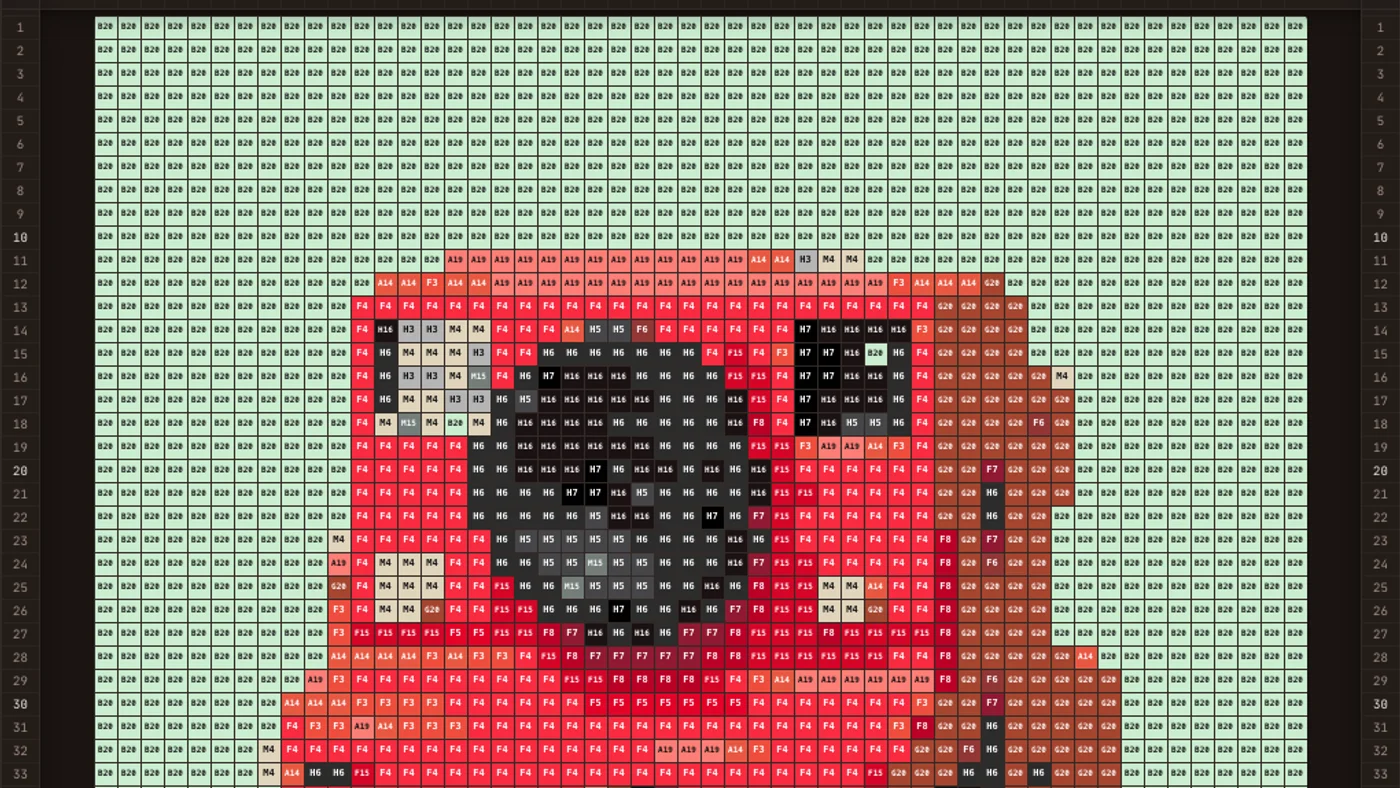
A colored cell shows the design; a code identifies the exact material. Codes help when similar shades are hard to distinguish on screen or paper.
Hide codes when judging the image because text adds visual noise. Show them when sorting beads or following a printed pattern. For physical projects, verify that the codes belong to the bead brand you own before building.
Common pixel art grid mistakes
Mistake 1: Choosing a large grid before testing the silhouette
A larger canvas can postpone decisions by offering more cells, but it also allows more noise. Draft at 16 or 32 cells first. Increase the size only when a specific feature cannot be represented cleanly.
Mistake 2: Confusing more colors with more detail
Grid size controls spatial detail; palette size controls color variation. If an eye or letter disappears, adding shades will not create space for it. Increase the relevant dimensions or simplify the shape. If the outline is clear but the surface looks flat, then an additional color may help.
Mistake 3: Editing only while zoomed in
At high zoom, a single-cell highlight can look carefully placed while making no sense at actual size. Alternate between close editing and normal viewing. The recognizable image is the goal, not a technically tidy close-up.
Mistake 4: Stretching the source to fit a square canvas
Do not force every subject into a square. Preserve the source ratio or crop intentionally. Stretching changes circles into ovals, faces into unfamiliar proportions, and diagonal lines into inconsistent steps.
Mistake 5: Printing a grid that is too dense to read
A large pattern compressed onto one page may produce cells and codes that are too small. Split it across pages, use stronger guides, or export a version without codes for visual reference and another with codes for placement.
Mistake 6: Treating every generated cell as final
A pixel grid generator or image converter can create a useful draft, but it cannot know which small feature carries identity. Remove isolated colors, repair outlines, and inspect lettering or faces manually. For the complete craft workflow after the grid is ready, read how to make your own Perler bead patterns.
Pixel art grid FAQ
What is the best grid size for pixel art?
There is no universal best size. Use the smallest grid that preserves the silhouette and essential details at the intended viewing size. Start around 16 x 16 for simple icons, 32 x 32 for balanced sprites, and 48 x 48 or larger for complex subjects.
How do I make a grid for pixel art?
Open a blank canvas in a pixel grid maker, set the width and height in cells, and turn on visible cell boundaries. Block the silhouette first, add identity-carrying details, and check the result with the grid hidden. BeadsHub can also convert an owned image into an editable grid.
Should pixel art keep the grid lines when exported?
Usually not for a final digital image. Grid lines are an editing aid. Keep them in printable bead, cross-stitch, mosaic, or classroom references when the reader must count and place individual cells.
Can I print a pixel art grid?
Yes. For a useful printable grid, include readable row numbers, guides, and color information. Check the page at actual print size; if the cells are too small, divide the design over multiple pages.
Can I draw pixel art on graph paper?
Yes. Treat each square as one pixel, outline the main shape, fill colors, and count the final width and height. Graph paper is effective for simple designs, although a digital grid makes resizing, palette changes, and error correction faster.
Can a pixel art grid become a Perler bead pattern?
Yes. Treat one grid cell as one bead, match the colors to a real bead palette, confirm the design fits your pegboards, and export codes and counts. After placement, follow the Perler bead ironing guide to fuse the physical piece safely.
A useful pixel art grid makes constraints visible. Choose dimensions from the finished use, protect the subject's proportions, spend cells on recognizable features, and alternate between the precise grid view and the clean image view. When every cell also represents a physical material, add guides and color codes only when they help the person building the pattern.