How to Make Pixel Art in Minecraft: Blocks, Grid, and Easy Steps
Learn how to make pixel art in Minecraft by choosing a grid, matching colored blocks, marking guides, building row by row, and planning materials.
BeadsHub Studio
Author
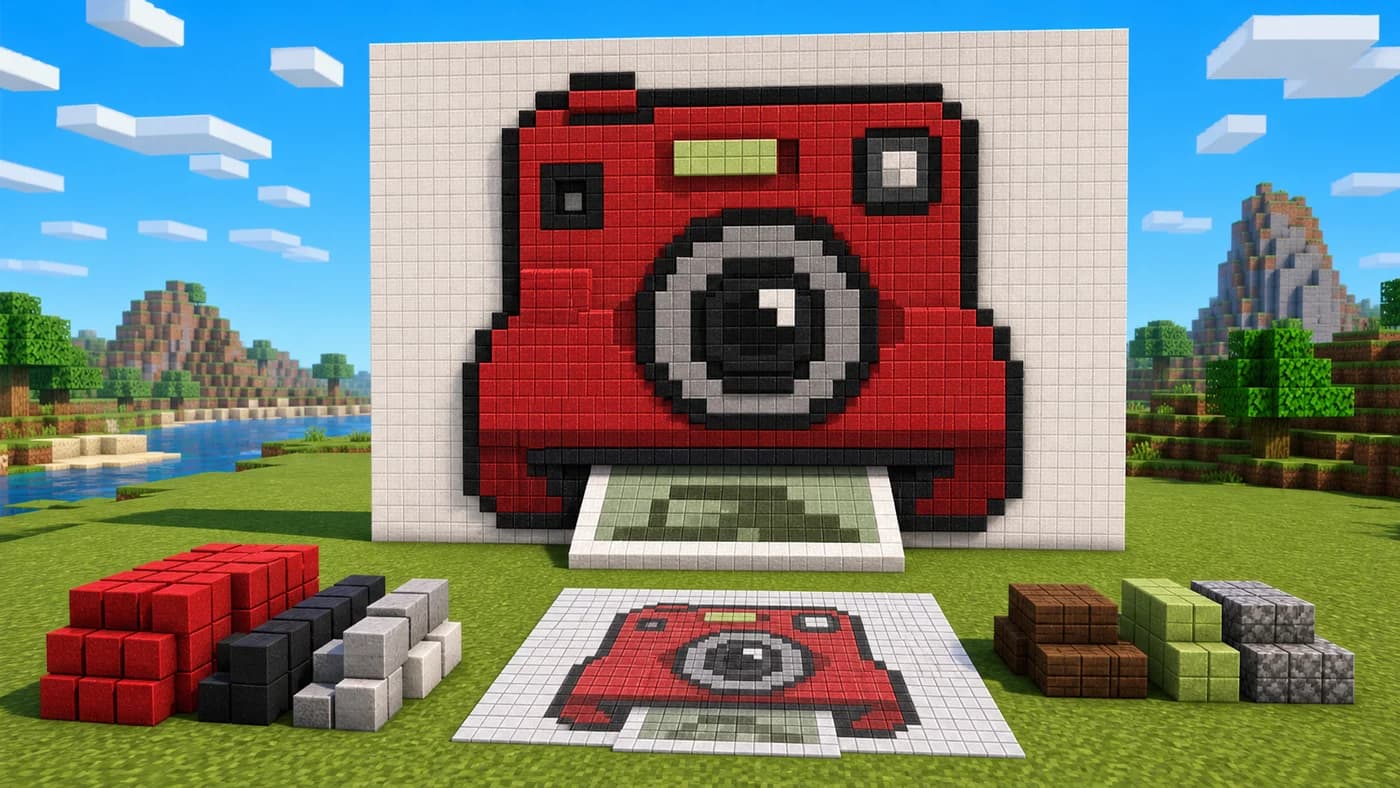
To learn how to make pixel art in Minecraft, start with a small grid, treat one grid cell as one block, limit the design to blocks you can gather, and build from a measured outline. Place the darkest outline first, fill one row or section at a time, and step back often to check whether the picture remains recognizable.
This is a manual building guide, not an automatic generator. It does not promise image-to-block conversion, commands, map art, or schematic files. It explains how to turn a clear reference into a 2D wall or floor build in Creative or Survival mode.
How to make pixel art in Minecraft: the quick answer
The basic method is simple:
- Choose a reference with a clear silhouette.
- Reduce it to a practical square grid.
- Decide whether the artwork will be vertical or horizontal.
- Match each reference color to one available block.
- Mark the full width, height, and guide sections.
- Build the outline, then fill the picture row by row.
- Check the finished art from its intended viewing distance.
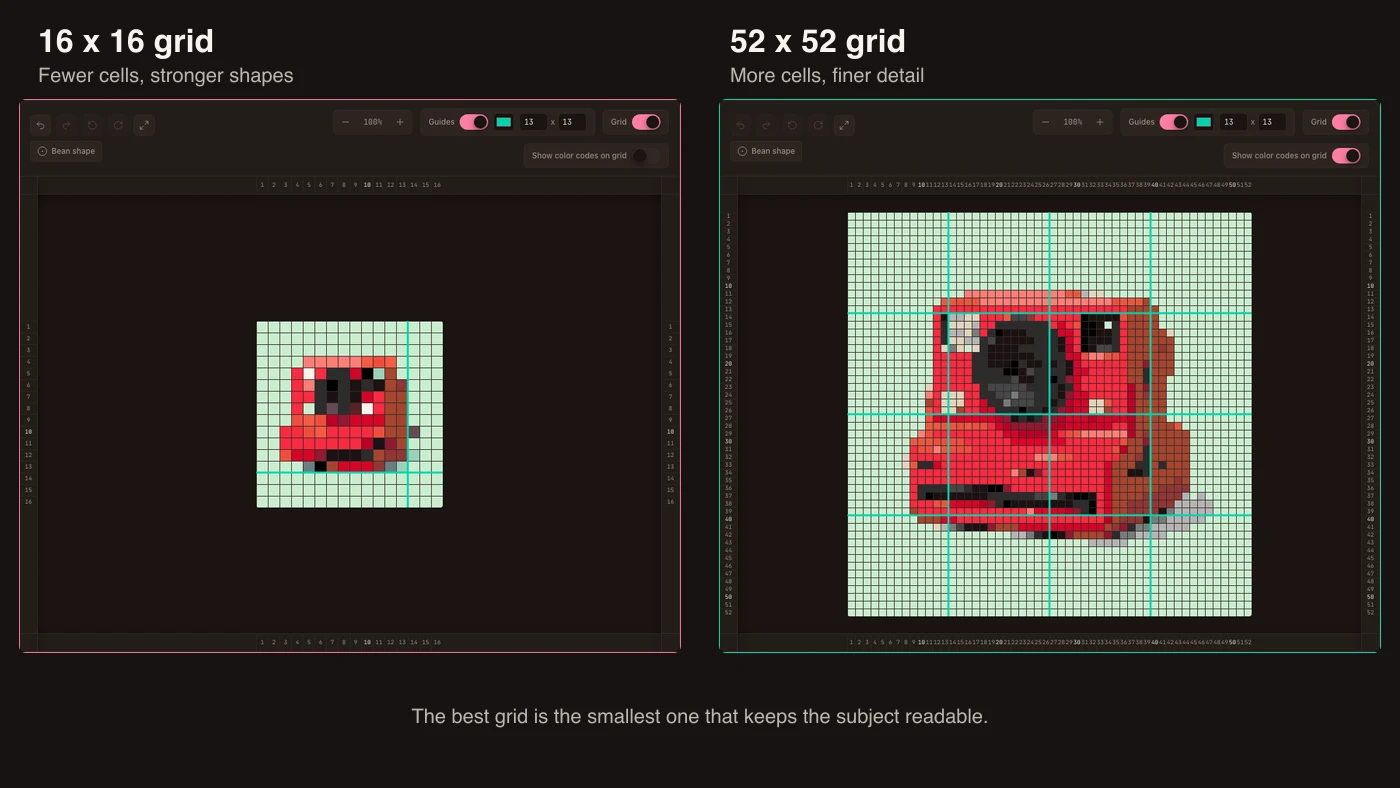
One pixel becomes one block. A 16 x 16 design needs space for 16 blocks across and high. A 32 x 32 design has four times as many possible positions, while 64 x 64 has sixteen times as many. Empty cells may reduce materials, but the dimensions still determine the construction area.
Minecraft Education's official Pixel Portraits challenge uses 16 x 16 and 32 x 32 portraits, which are useful starting scales for comparing a compact design with a more detailed one. Larger art can look impressive, but the best first project is the smallest version that keeps the subject readable.
Plan the pixel art before placing blocks
Before deciding how to make pixel art in Minecraft at full scale, settle the subject, grid, orientation, location, palette, and material count. Planning prevents expensive mistakes.
Choose a reference that survives simplification
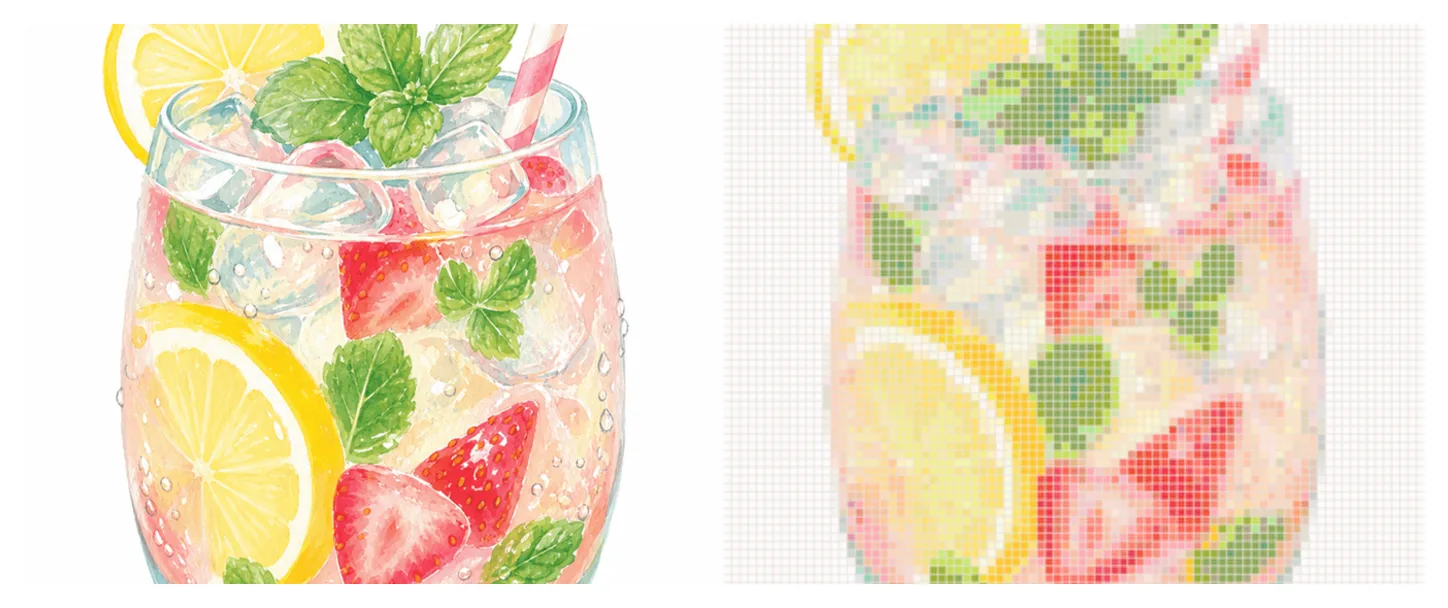
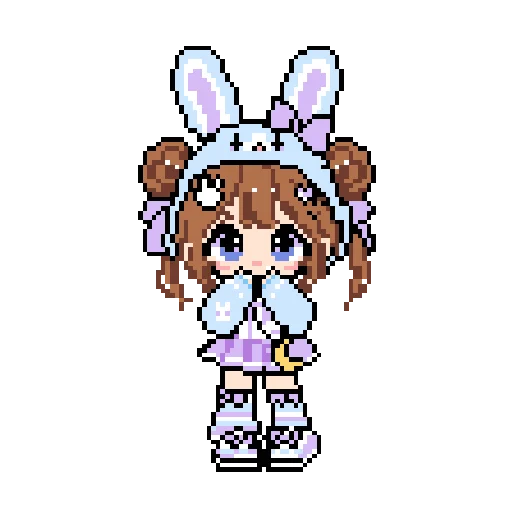
Icons, game items, permitted logos, simple animals, high-contrast faces, and native pixel art are easier than detailed photographs. Avoid tiny text, transparent edges, busy scenery, and subtle gradients. If the outline remains recognizable at thumbnail size, it is a promising reference; otherwise crop closer or simplify it.
Pick a useful grid size
Use 16 x 16 for symbols and simple sprites, 32 x 32 for characters and moderate detail, and 48 x 48 or 64 x 64 only when the subject needs more features. A rectangular picture can use a custom width and height; do not stretch it into a square.
Every increase affects both the building area and materials. Doubling the width and height can quadruple the number of blocks. For a deeper explanation of resolution, proportions, and guide intervals, use the pixel art grid size guide.
Choose a wall or floor orientation
A vertical wall works well for signs and portraits but needs scaffolding as it rises. A floor build is easier to place from above in Creative mode but needs an elevated viewing point. Leave open space to see the complete image, avoid uneven terrain, and check nearby shadows.
Prepare a readable reference grid
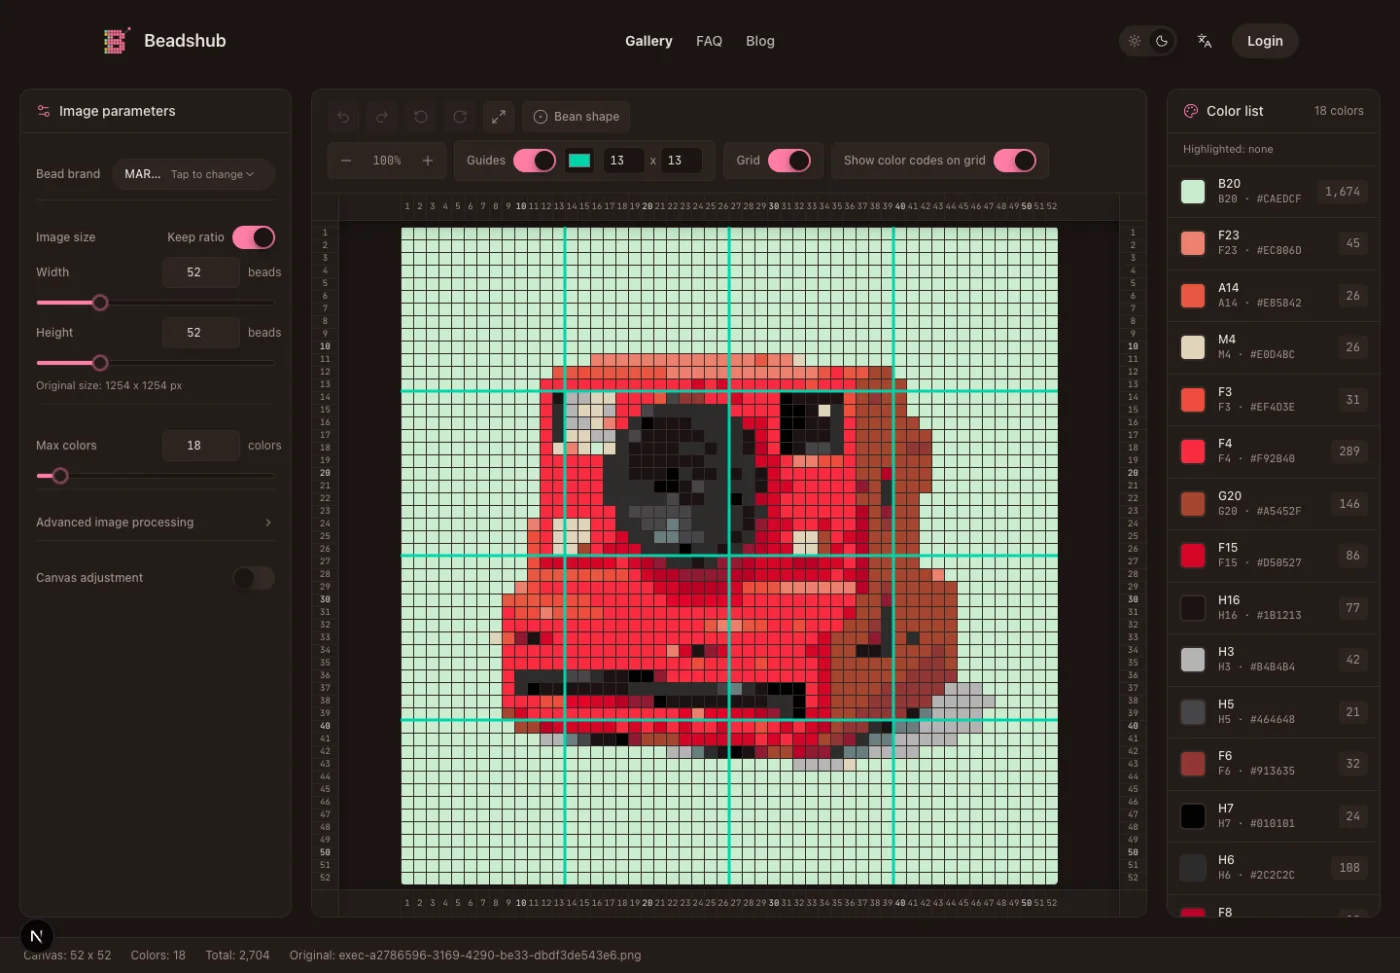
You can draw the design on graph paper or use a digital reference. The BeadsHub pattern maker can turn an owned image into a countable pixel grid and printable PDF. Use it only as a visual planning aid here: its palette codes describe fuse beads, not Minecraft blocks, so you must choose the in-game block for each color yourself.
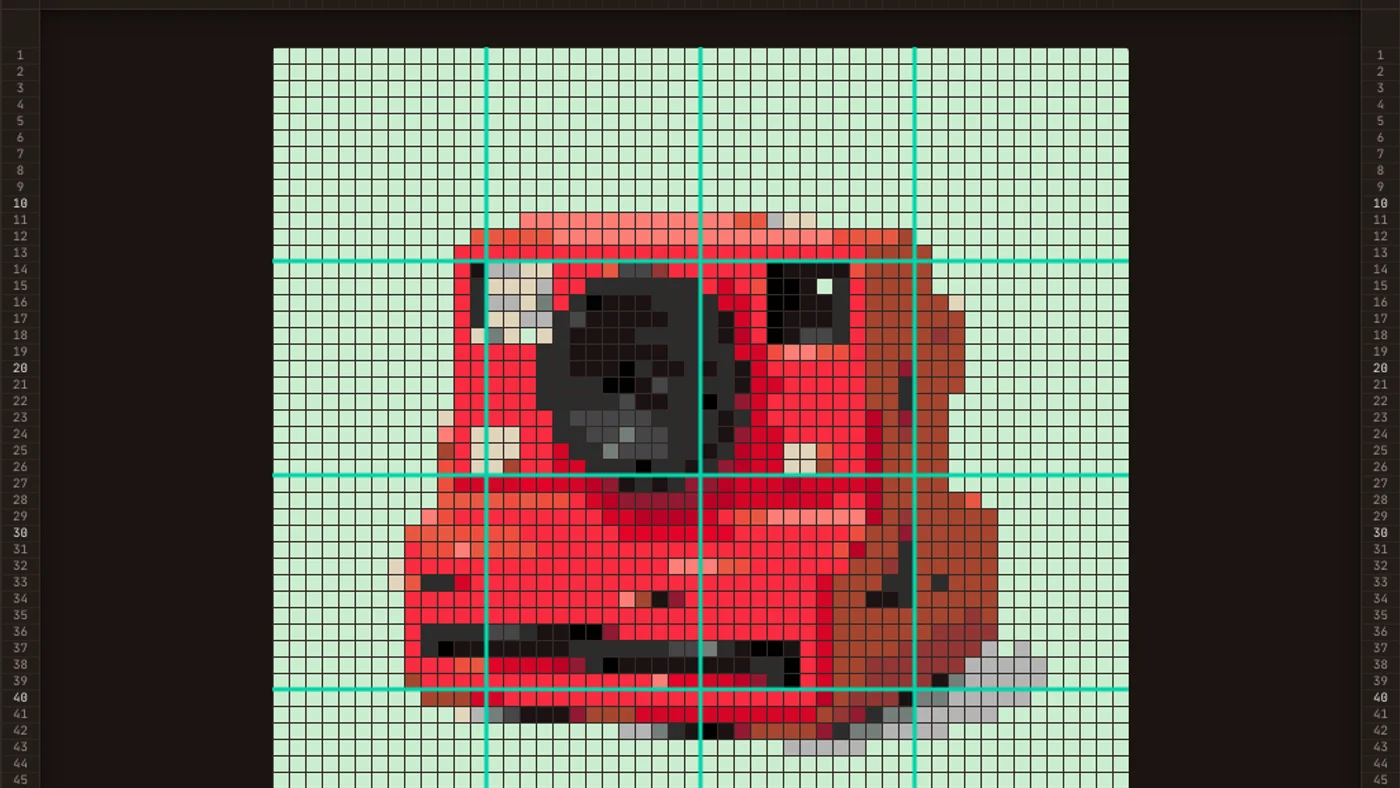
Keep the reference on a second screen or print it. Row numbers and strong guides reduce counting errors, especially when the build is wider than your field of view.
Choose a practical block palette
Color matching in the game is not only about the inventory swatch. Block texture, lighting, biome color, shadows, and neighboring colors all change how the finished picture reads.
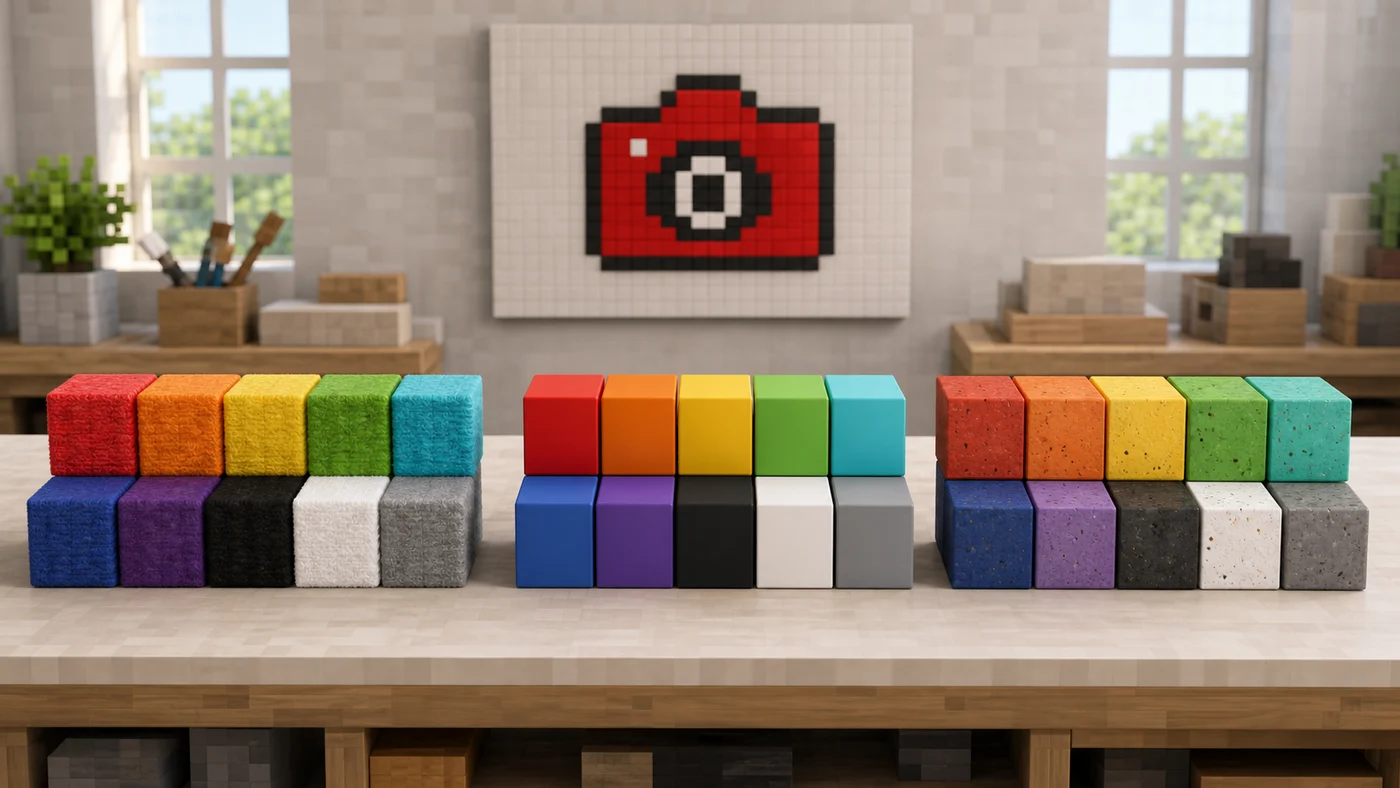
Concept illustration: concrete, wool, and terracotta textures compared in voxel style. Test your block palette at the build location in-game before committing, as Minecraft lighting affects color perception.
Concrete for clean, flat color
Concrete has a relatively smooth visual surface and works well for graphic shapes, lettering, and strong outlines. The official Minecraft Block of the Week article on concrete describes it as a way to build large areas of flat color. It is a strong default when you want the grid to read clearly from a distance.
Wool for accessible color and texture
Wool provides a broad familiar palette and may be easier to obtain when a Survival project begins near sheep and dye resources. Its visible texture can soften large areas. That texture may suit characters or fabric-like subjects, but it is less neutral than concrete.
Terracotta for muted shades
Regular terracotta offers earthier, less saturated colors that can help with skin tones, shadows, stone, and warm backgrounds. Glazed terracotta has strong patterns, so test it carefully before using it for one-pixel color cells. A decorative texture can distract from the intended shape.
Build a material key
Place one sample of every candidate block in the actual location and lighting. Compare them from the intended viewing distance, assign each reference color to one block, and keep the palette easy to gather and distinguish.
For example:
| Reference role | Possible block role | Check before building |
|---|---|---|
| Dark outline | Black or very dark solid block | Does it separate all neighboring colors? |
| Main red | Smooth red block | Does sunlight make it too bright? |
| Deep red shadow | Darker red or brown block | Does it remain distinct from the outline? |
| Lens gray | Medium neutral block | Does its texture create unwanted noise? |
| Highlight | White or pale block | Is it visible without dominating the image? |
Do not use five nearly identical shades simply because they exist. Distinct color regions are easier to build, count, and recognize.
Build Minecraft pixel art step by step
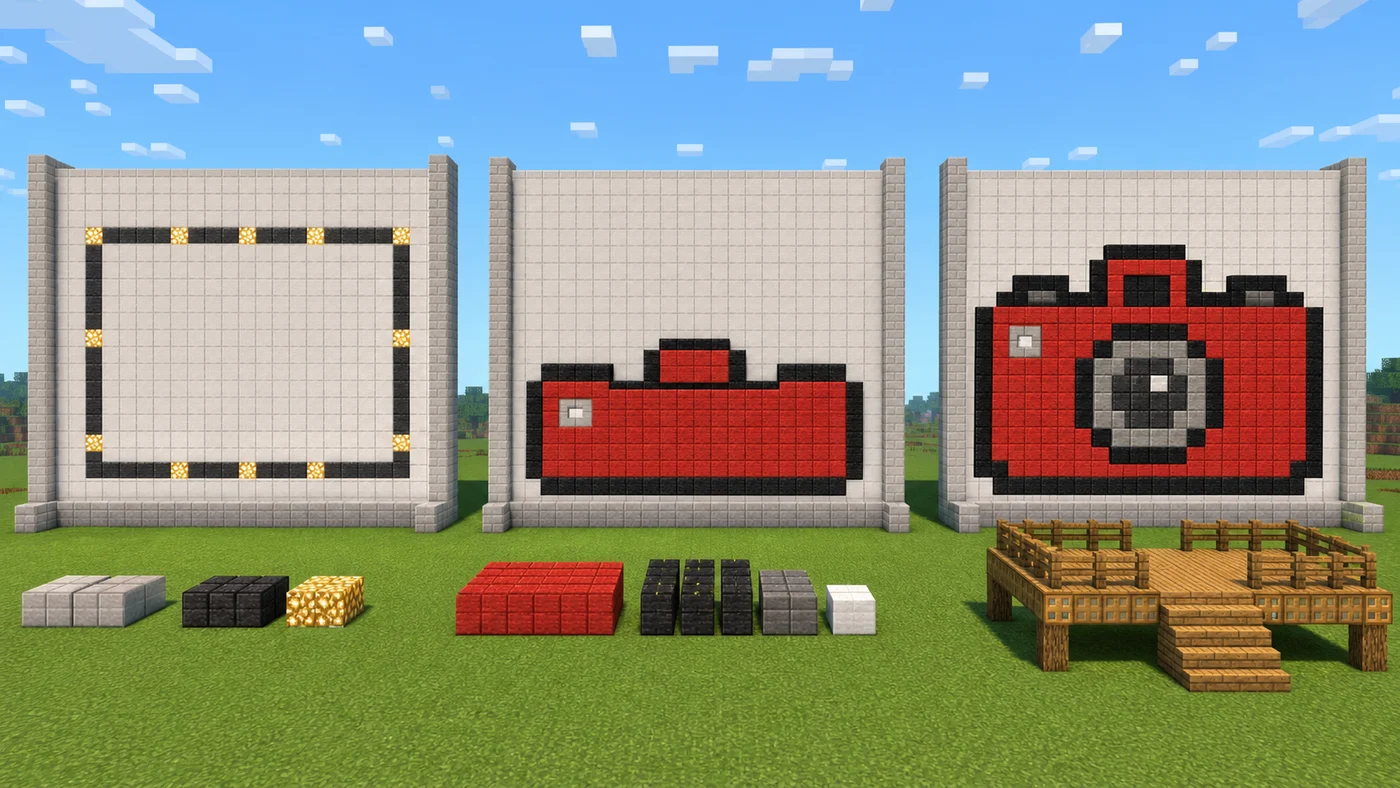
Concept illustration: boundary marking, partial fill, and the finished build. Follow the same sequence in your Minecraft world; the principles are identical regardless of scale.
The steps below show how to make pixel art in Minecraft without automatic conversion.
1. Mark the full width and height
Place the four corners first. Count every side twice; a one-block border error shifts all following rows. Add a backing wall only when the design needs a solid background. Otherwise, leave empty cells open.
2. Add temporary guide markers
Divide a large design every 8, 10, or 16 blocks with a temporary contrasting block that matches the reference guides. Remove each marker when its neighboring section is complete.
3. Build the outline and landmarks
Start with the outer silhouette and the darkest lines. Then place a few recognition points such as eyes, a lens center, the corners of a letter, or a major color boundary. These anchors expose proportion errors before the wall is full.
Do not complete every detail in the first corner while the rest remains blank. Establish the whole shape first.
4. Fill one row or section at a time
Choose one direction and keep it consistent. For a wall, building from the bottom upward provides access. Read each reference row in runs, such as six red, three black, two gray, and five red, instead of treating every block as a separate decision.
After a row is finished, compare its color transitions with the rows above and below. A missing block can move an entire feature sideways.
5. Check the art from a distance
Close inspection finds counting mistakes; distance reveals design mistakes. Step back after each major section and check the silhouette, contrast, and face or symbol. If the image only works when the grid is visible, strengthen the important shapes.
Lighting matters. Test the artwork during the conditions in which visitors will see it, and add separate lighting around the display rather than replacing important color cells with light-producing blocks.
6. Finish edges and remove temporary blocks
Replace all guide markers, scaffolding, and access blocks. Inspect the border for accidental gaps and the background for leftover construction materials. Take one final screenshot from the intended viewing point and compare it with the reference at the same apparent size.
Creative mode vs Survival mode
Creative mode is the fastest place to test how to make pixel art in Minecraft at a chosen scale. You can fly to inspect a floor build, access blocks immediately, and correct sections without gathering replacements. Prototype here before committing rare materials elsewhere.
Survival mode adds planning work:
- Count every color before starting and add a small reserve.
- Confirm that each chosen block is obtainable with your available resources.
- Store colors in labeled or consistently ordered containers.
- Build safe scaffolding for a tall mural.
- Complete one guide section at a time so mistakes stay local.
- Protect the work area from hazards and accidental block changes.
For a large project, create a materials table from the reference. Count filled cells by color, convert each count to the chosen block, and gather the hardest material first. If the rarest shade is unavailable, revise the palette before construction rather than halfway through the picture.
Common Minecraft pixel art mistakes
Starting too large: A 64 x 64 portrait can contain 4,096 positions. Test the subject at 16 or 32 cells first and enlarge only when a specific feature needs more room.
Using too many similar blocks: Small shade differences may disappear from a distance or under game lighting. Prefer a limited palette with clear separation.
Losing count inside a row: Work in short runs and use guides. Recount each transition, not only the total row length.
Building on uneven ground: A floor design crossing slopes changes shape and viewing angle. Flatten the area or build a level platform first.
Ignoring the viewing point: A floor mosaic needs height; a tall wall needs open space in front. Choose the camera position before the site.
Treating a converted grid as a finished block plan: A general image grid does not know Minecraft materials. Manually map every color to a block and verify it in the actual world.
Minecraft pixel art FAQ
These answers cover the practical details of how to make pixel art in Minecraft by hand.
What is a good size for Minecraft pixel art?
Start with 16 x 16 for a simple icon or 32 x 32 for a character or portrait. Use a larger grid only when important details cannot fit. Remember that doubling both dimensions can quadruple the possible block count.
What blocks are best for Minecraft pixel art?
Concrete is useful for smooth, strong colors; wool adds texture and may be accessible in Survival; terracotta provides muted shades. Test samples in the build location before deciding because lighting changes their appearance.
Does one block equal one pixel?
For a standard 2D mural, yes. One reference cell maps to one block. You can scale each source pixel to a 2 x 2 or larger square, but that increases the finished dimensions and materials without adding new detail.
Can I build Minecraft pixel art from a photo?
Yes, but simplify the photo first. Crop around one subject, reduce it to a readable grid, limit the colors, and manually match those colors to available blocks. The image to pixel art guide explains the reference-preparation stage.
Should pixel art be built on a wall or the ground?
A wall is easier to see from the front, while a floor build is easier to place from above in Creative mode. Pick the orientation that provides a clear viewing position and safe construction access.
Is this a Minecraft pixel art generator?
No. This page teaches manual planning and building. It does not convert images to Minecraft block palettes or export commands, maps, or schematic files.
Knowing how to make pixel art in Minecraft comes down to disciplined counting and visual checks. Start with a clear reference, use the smallest readable grid, choose blocks in the real lighting, mark sections, and build consistently. The grid tells you where each block belongs; stepping back tells you whether those blocks form the picture you intended.