LEGO Photo Mosaic: How to Plan a Build From a Picture
Learn how to turn a picture into a practical brick-mosaic plan by controlling the crop, grid, palette, parts, and build order.
BeadsHub Studio
Author
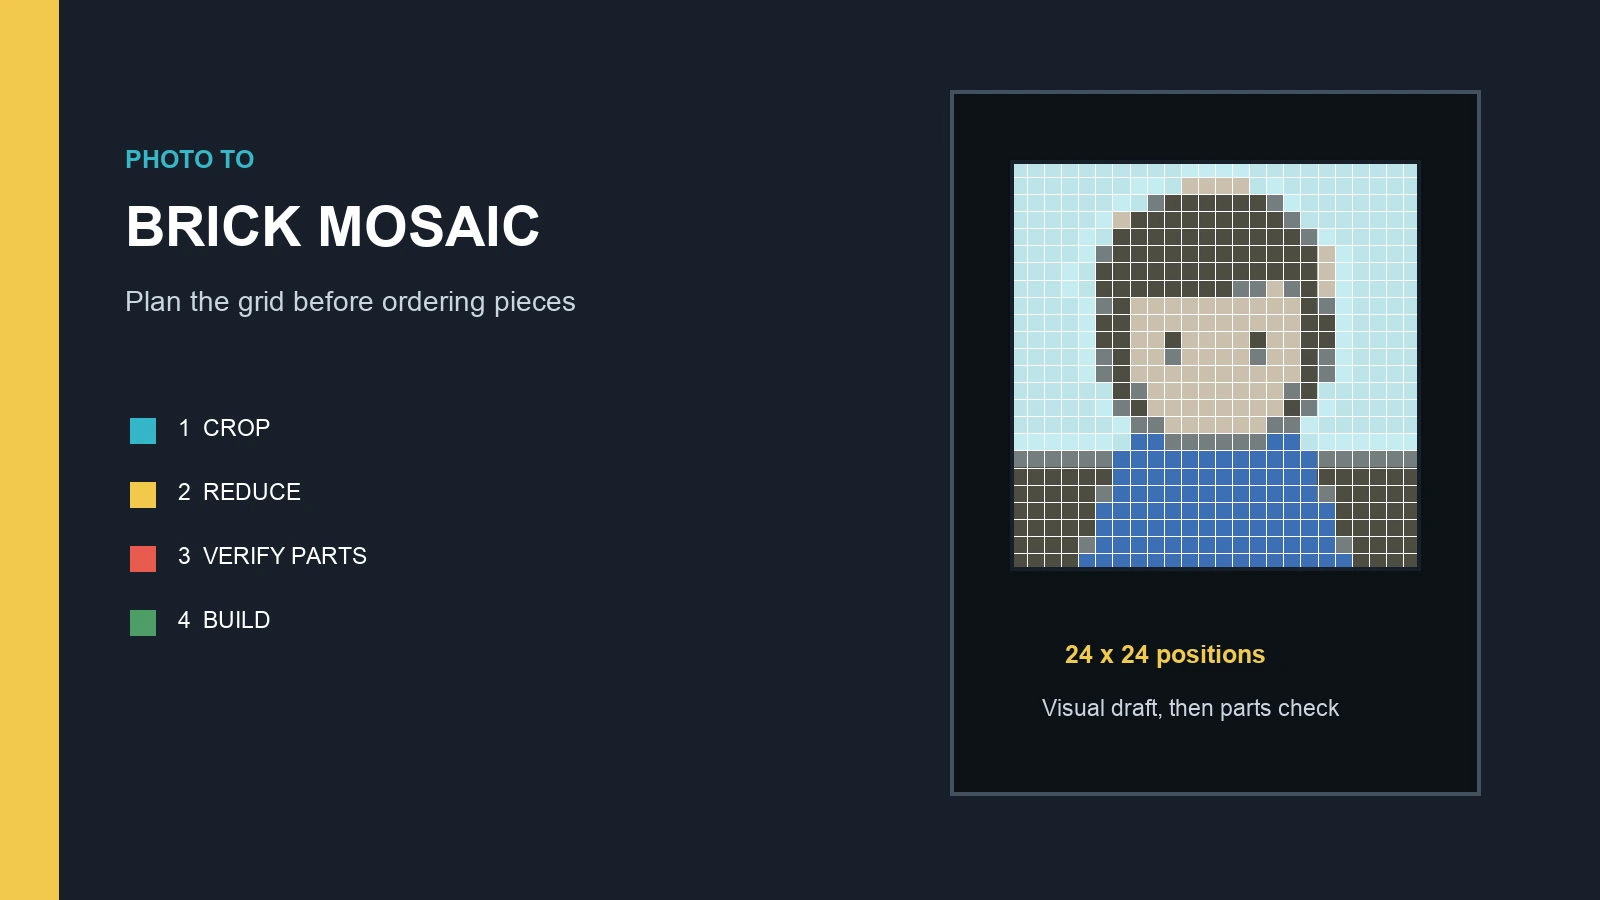
A LEGO photo mosaic turns a picture into a countable grid in which each image cell becomes one physical building position. A successful plan preserves the subject at a practical resolution, limits the palette to obtainable colors, identifies exact parts, and divides the build into checkable sections.
Choose the backing and part type before finalizing the image, crop before reducing resolution, and verify real colors before ordering. A screen preview remains a visual draft until every position maps to an available part.
This guide covers the planning workflow for an independent DIY build. The BeadsHub pattern maker can help test crops, grid sizes, and simplified color areas, but it uses fuse-bead palettes. It does not generate LEGO color names, element IDs, plate or tile choices, a parts list, or a LEGO-specific instruction file.
LEGO is a trademark of the LEGO Group, which does not sponsor, authorize, or endorse this independent guide or BeadsHub.
What is a LEGO photo mosaic?
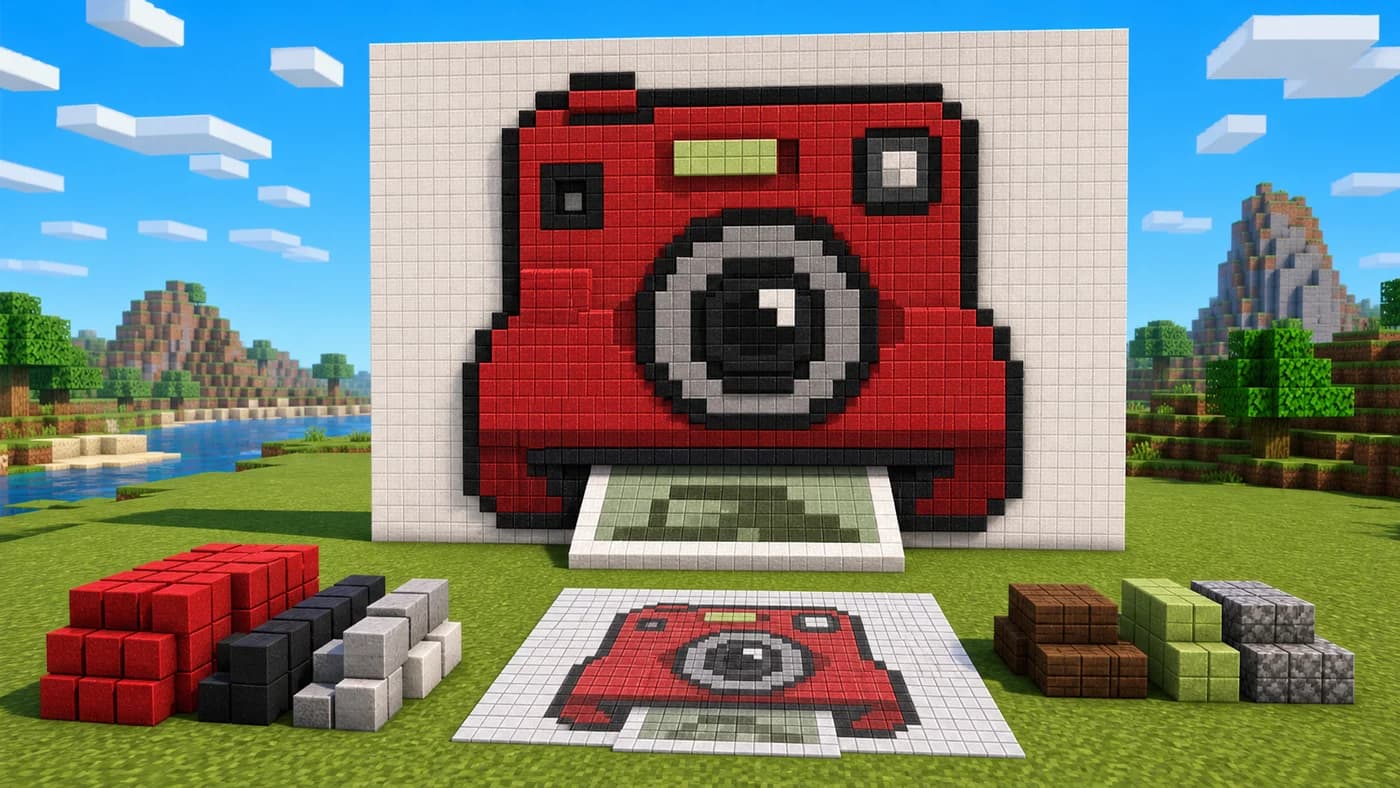
A LEGO photo mosaic is a flat or shallow image assembled from repeated building elements on a fixed grid. The method works for portraits, pets, landscapes, logos you own, and simple illustrations.
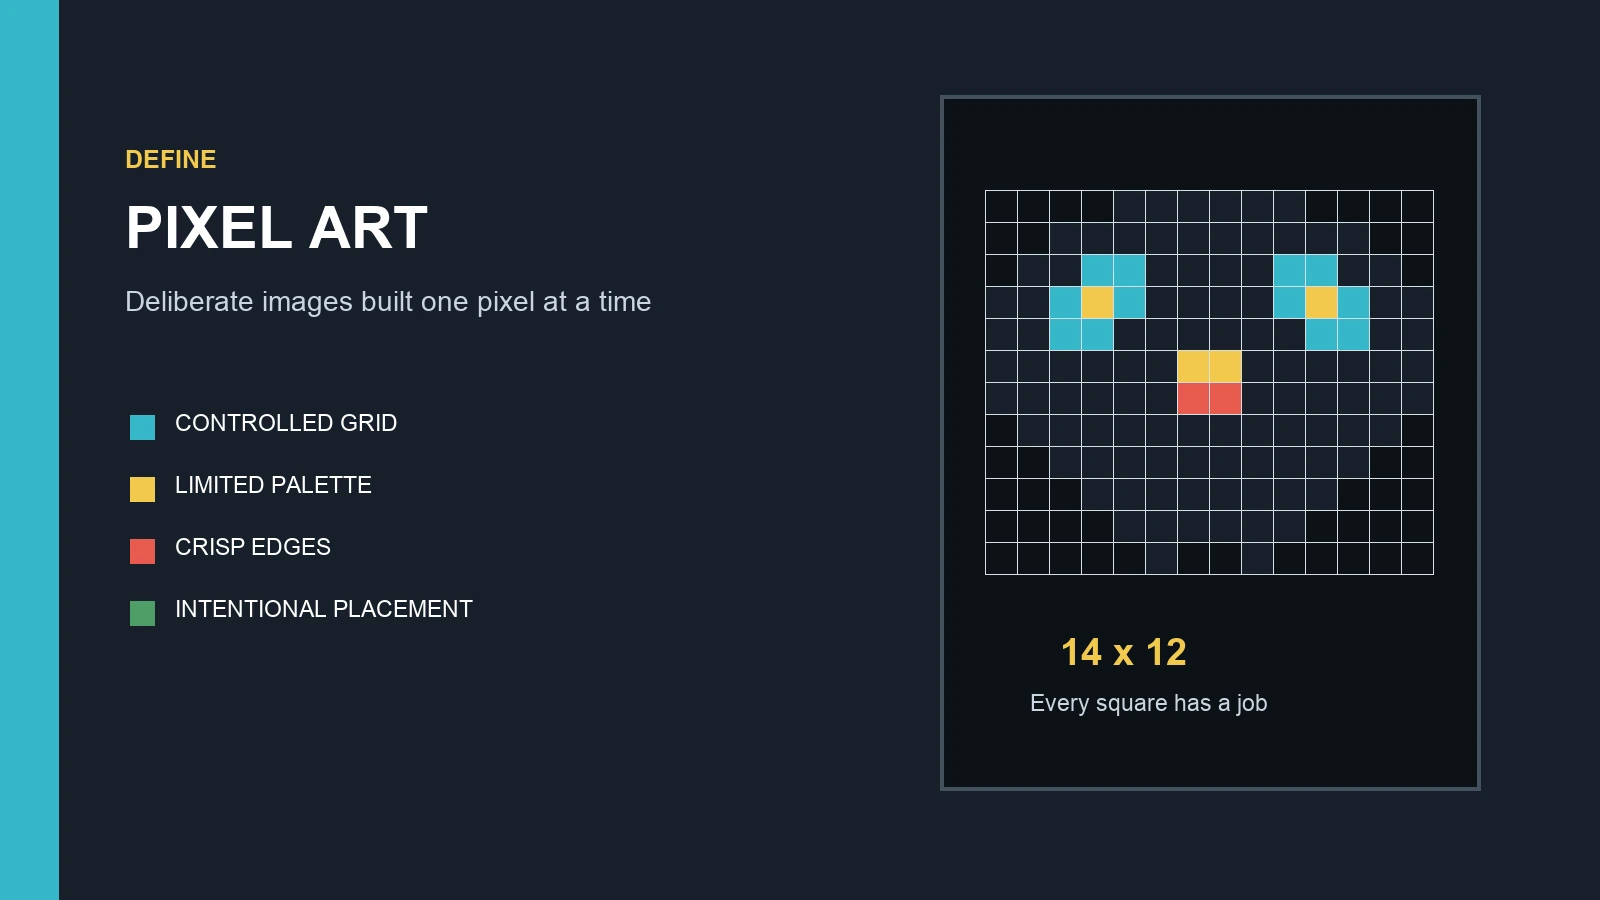
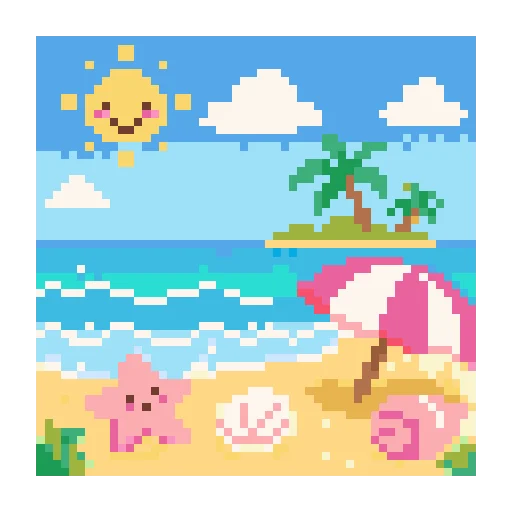
The planning model resembles pixel art: one cell holds one color, and the width and height determine how much information the image can contain. Physical construction adds constraints that digital pixel art does not have:
- Each cell needs a specific, available part and color.
- The design must fit a real backing or joined modules.
- Part count, weight, support, and budget rise with the grid.
- The build needs orientation marks and a readable guide.
Official Mosaic Maker vs. an independent DIY plan
The official LEGO Mosaic Maker experience converts a portrait and supplies a coordinated set and printed building grid. An independent DIY plan is different: you choose the dimensions, part family, palette, source image, and procurement method yourself.
Do not describe a general image grid as official output. A DIY preview is not purchase-ready until all parts are verified. BeadsHub does not claim LEGO-specific maker, generator, parts-list, or export functions.
Choose and crop the photo first
The source image determines whether the final mosaic will read clearly. A good source has one dominant subject, a recognizable silhouette, useful contrast around the face or object, and limited background clutter. Soft studio lighting is helpful, but clear value separation matters more than photographic resolution.
Give the subject most of the grid
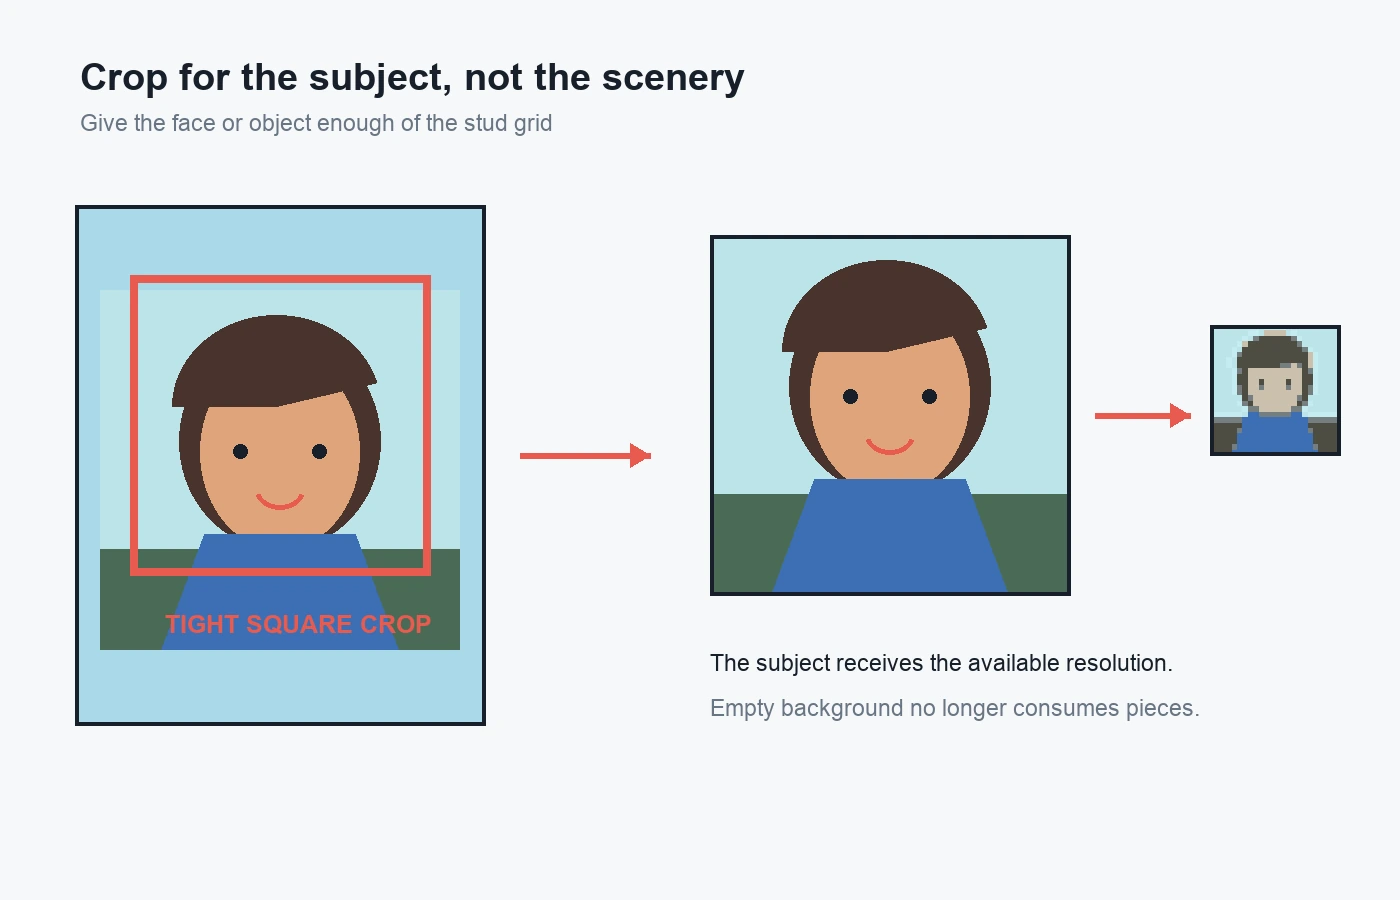
Crop tightly around the important area. If a person occupies only one quarter of the photo, most physical positions will reproduce scenery instead of the face. A square crop often fits a square backing, but use a rectangle when that matches the planned support.
Protect identity-carrying features: eye spacing and jaw in a portrait, ears and muzzle in a pet, or the defining contour of an object.
Remove details that cannot survive
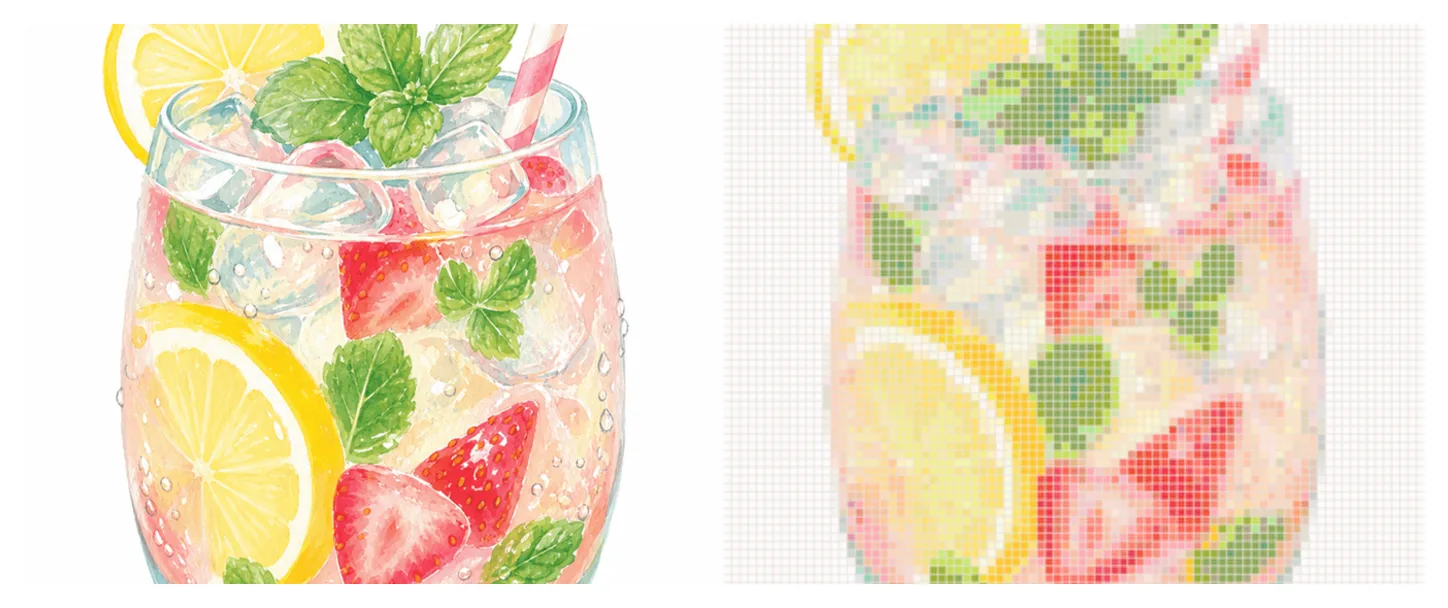
Fine hair, patterned clothing, leaves, text, and reflections may collapse into scattered cells. A clean silhouette and broad value regions survive better than small textures.
If you need a deeper crop and cleanup process, follow the image to pixel art guide. Use only a photo you own or have permission to transform, especially when the finished build will be sold or displayed commercially.
Set the stud grid and physical backing
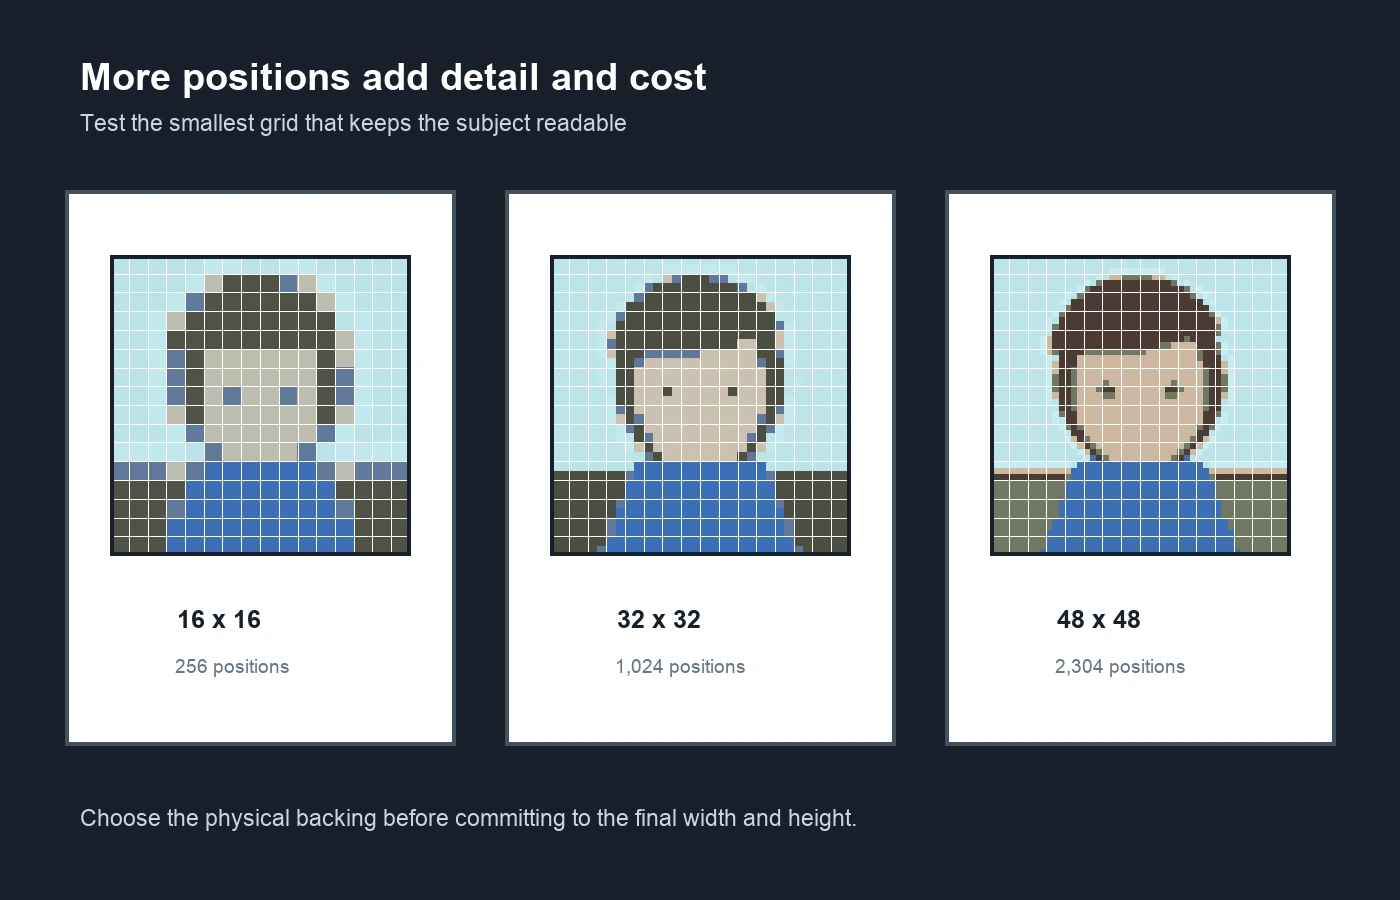
The grid controls both image resolution and material quantity. A 16 x 16 draft contains 256 positions, 32 x 32 contains 1,024, and 48 x 48 contains 2,304.
Start from the backing you will actually use
Measure usable positions on the exact plate, base, or modular support. If it uses multiple modules, include their boundaries and joining method in the plan.
Match the image aspect ratio to that structure. Stretching a portrait to force it into a square changes face proportions. Crop intentionally, add a background band, or use a rectangular layout instead.
Choose the smallest readable resolution
Test several drafts at normal size. At 16 x 16, the portrait keeps only a basic face and hair mass. At 32 x 32, eye spacing stabilizes. At 48 x 48, smaller contours survive, but the piece count more than doubles from 32 x 32.
Choose the lowest resolution that preserves the features your subject needs. The pixel art grid guide explains why grid size changes information while display size only enlarges the same cells.
Decide between visible studs and smooth tiles
Studded elements create a dotted surface; flat tiles create a smoother image. Square and round parts also produce different texture and spacing.
Choose one primary part family before matching colors because availability differs by shape.
Map screen colors to real parts
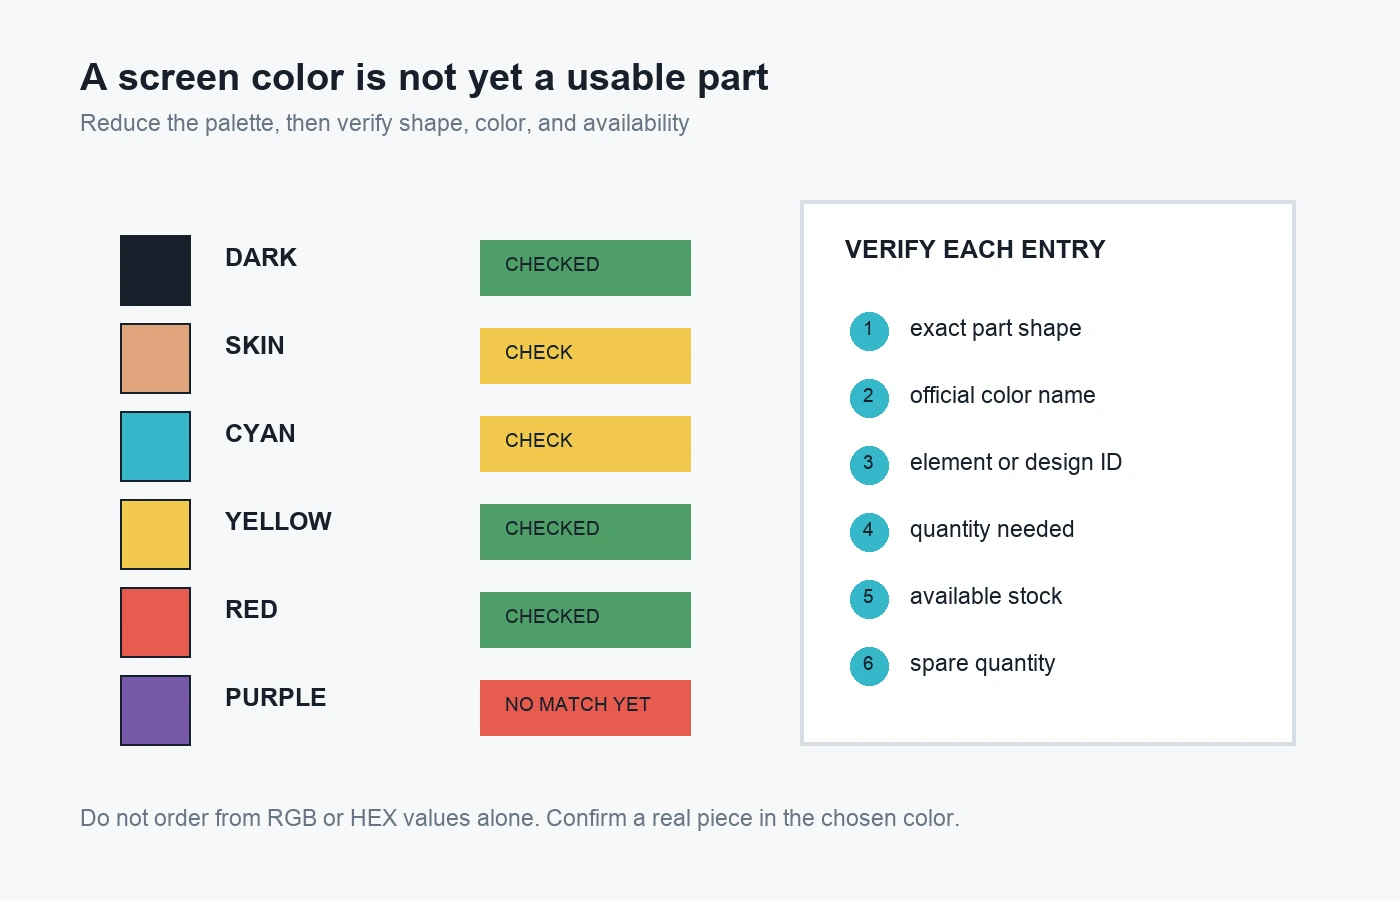
Color reduction makes a mosaic easier to read and build, but RGB or HEX values on a screen are not a parts catalog. The goal is a small palette whose entries can each be tied to an available element.
Limit the palette before manual cleanup
Begin with five to ten colors for a simple portrait. Give each a role such as outline, shadow, midtone, highlight, background, or accent. More shades can add subtlety but increase sourcing complexity.
View the result at thumbnail size. If the face disappears, repair the value structure. Replace isolated colors with a nearby verified shade unless those cells carry identity.
Verify shape, color, ID, stock, and quantity
For every palette entry, record part shape, official color name, design or element ID, quantity, availability, and spares. The official LEGO Pick a Brick catalog supports piece and color filters, but stock can change.
Do not infer availability from a screen swatch. Replace unavailable entries before calculating the final order.
Use BeadsHub only for the visual draft
The BeadsHub pattern maker can test a crop, grid, color count, and important edges. Its output is for fuse beads, so ignore its material names and counts. Use it to ask whether a crop reads at 32 cells wide, not which exact tiles to order.
Build the mosaic in labeled sections
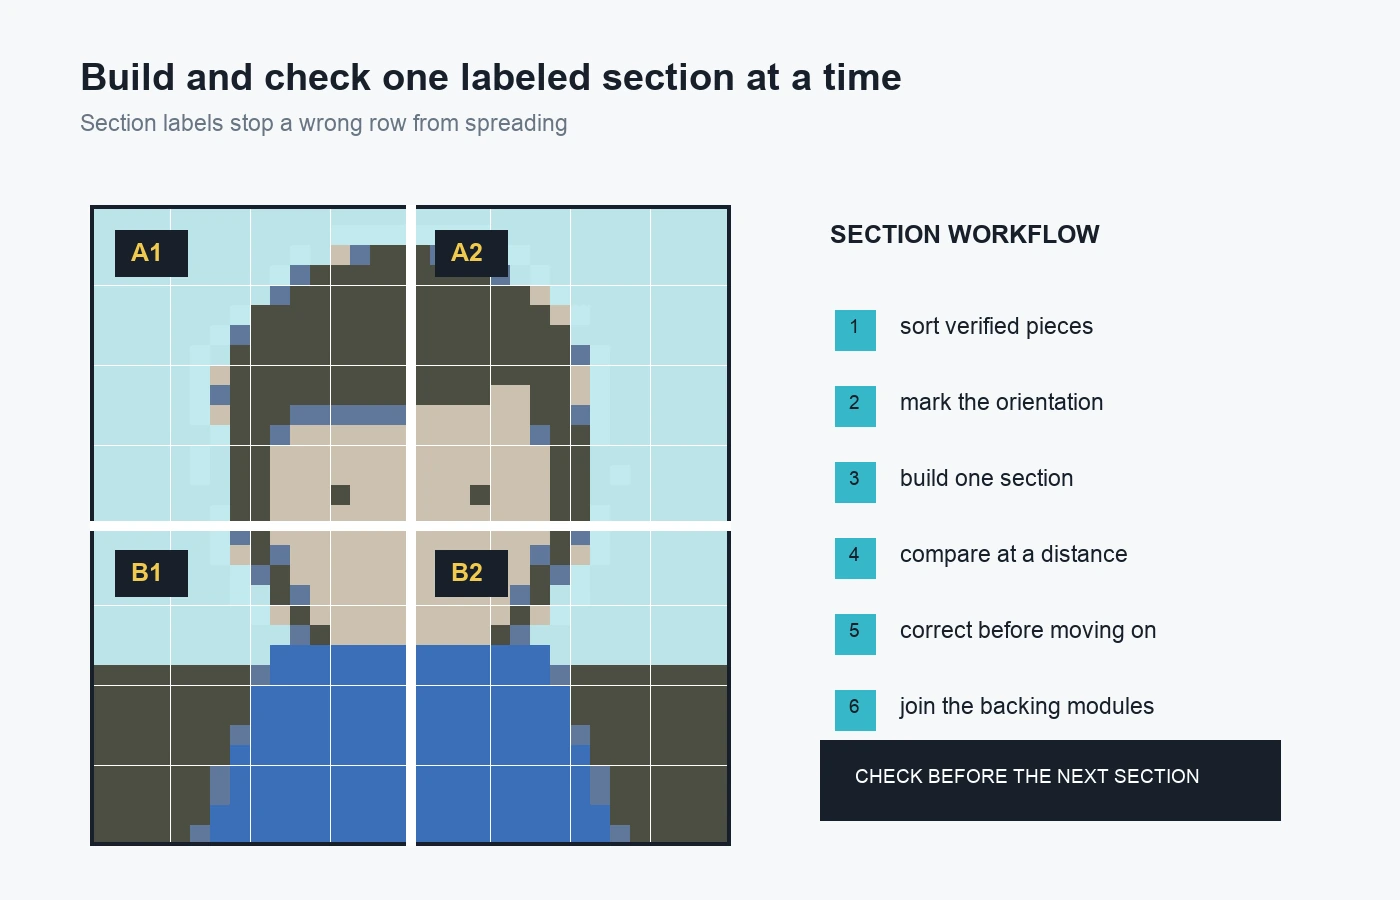
Once the image, grid, part family, palette, and inventory agree, create a placement reference with row or section labels. Large undivided grids are difficult to count and easy to rotate.
1. Lock the final orientation
Mark the top edge and corners, including an unseen orientation mark if the backing can rotate.
2. Create section boundaries
Divide the plan into labeled regions such as A1, A2, B1, and B2. Align them with backing modules when possible.
3. Sort only verified parts
Sort by exact color and shape, and keep labels with the trays. Similar shades can create visible patches when mixed.
4. Build one section in one direction
Use one fixed direction and count from a labeled edge rather than from the last piece placed.
5. Check from close and far away
Inspect placement up close, then step back to judge silhouette and contrast. Correct a wrong row before continuing.
6. Join and support the finished modules
Connect multiple backing sections according to the chosen support and display method. Plan framing, mounting, or a stand before completion.
Common LEGO photo mosaic planning mistakes
Using a busy photo. A complex background consumes positions and palette entries. Crop to one subject and simplify competing shapes.
Choosing resolution before the backing. A 40 x 40 preview is not useful if the available structure only supports a different arrangement. Start from real dimensions.
Adding colors before fixing values. Several similar shades will not repair a weak silhouette. Establish dark, middle, and light regions first.
Assuming every screen color has a matching part. Verify exact part shape and color together. Availability for tiles, plates, and other elements is not identical.
Ordering the converter's first count. Clean the image, replace unavailable colors, and lock the final grid before calculating quantities. Add practical spares only after the plan is stable.
Building without labels. A large grid can be rotated, mirrored, or shifted by one row. Mark orientation, sections, and count guides before placing the first piece.
Treating a fuse-bead export as LEGO-ready. The image can be a helpful visual reference, but its palette, material counts, and PDF do not describe LEGO inventory.
LEGO photo mosaic FAQ
What kind of photo works best?
Use one clearly lit subject with a strong silhouette and simple background. Portraits with visible eyes, hair shape, jaw, and separation from the background usually reduce more cleanly than group photos or distant full-body images.
What grid size should I use?
Use the smallest grid that preserves the required features and fits your chosen backing. Test 16 x 16, 32 x 32, and 48 x 48 as comparisons, but measure the actual physical support before selecting the final size.
Should I use tiles or plates?
Choose based on the desired surface and the colors you can source. Smooth tiles produce a flatter finish; studded plates create a dotted texture. Verify the selected 1 x 1 shape in every required color before finalizing the pattern.
How do I calculate the maximum piece count?
For a one-part-per-position design, multiply grid width by grid height. A 32 x 32 grid has 1,024 positions. The actual count by color comes from the finalized pattern, and the order may include spares.
Can I use a pixel art or bead converter?
Yes, for crop, resolution, and visual color reduction. Do not use a fuse-bead palette or count as a LEGO parts list. Remap every color to a verified part and recalculate quantities afterward.
Is this the official LEGO Mosaic Maker?
No. This is an independent planning guide. The official Mosaic Maker is a separate LEGO service and product experience. BeadsHub does not provide an official or LEGO-specific mosaic generator.
A buildable LEGO photo mosaic begins with physical constraints, not a finished screen effect. Choose the backing and part family, crop the subject, test the smallest readable grid, reduce the palette, verify every real element, and create a labeled section plan. When the visual draft and inventory agree, the image becomes a project you can confidently assemble rather than a preview you cannot source.