Minecraft Map Art: Sizes, Colors, and How to Plan a Build
Plan Minecraft map art with the correct scale-0 grid, readable map colors, aligned multi-map tiles, material estimates, and a reliable building order.
BeadsHub Studio
Author
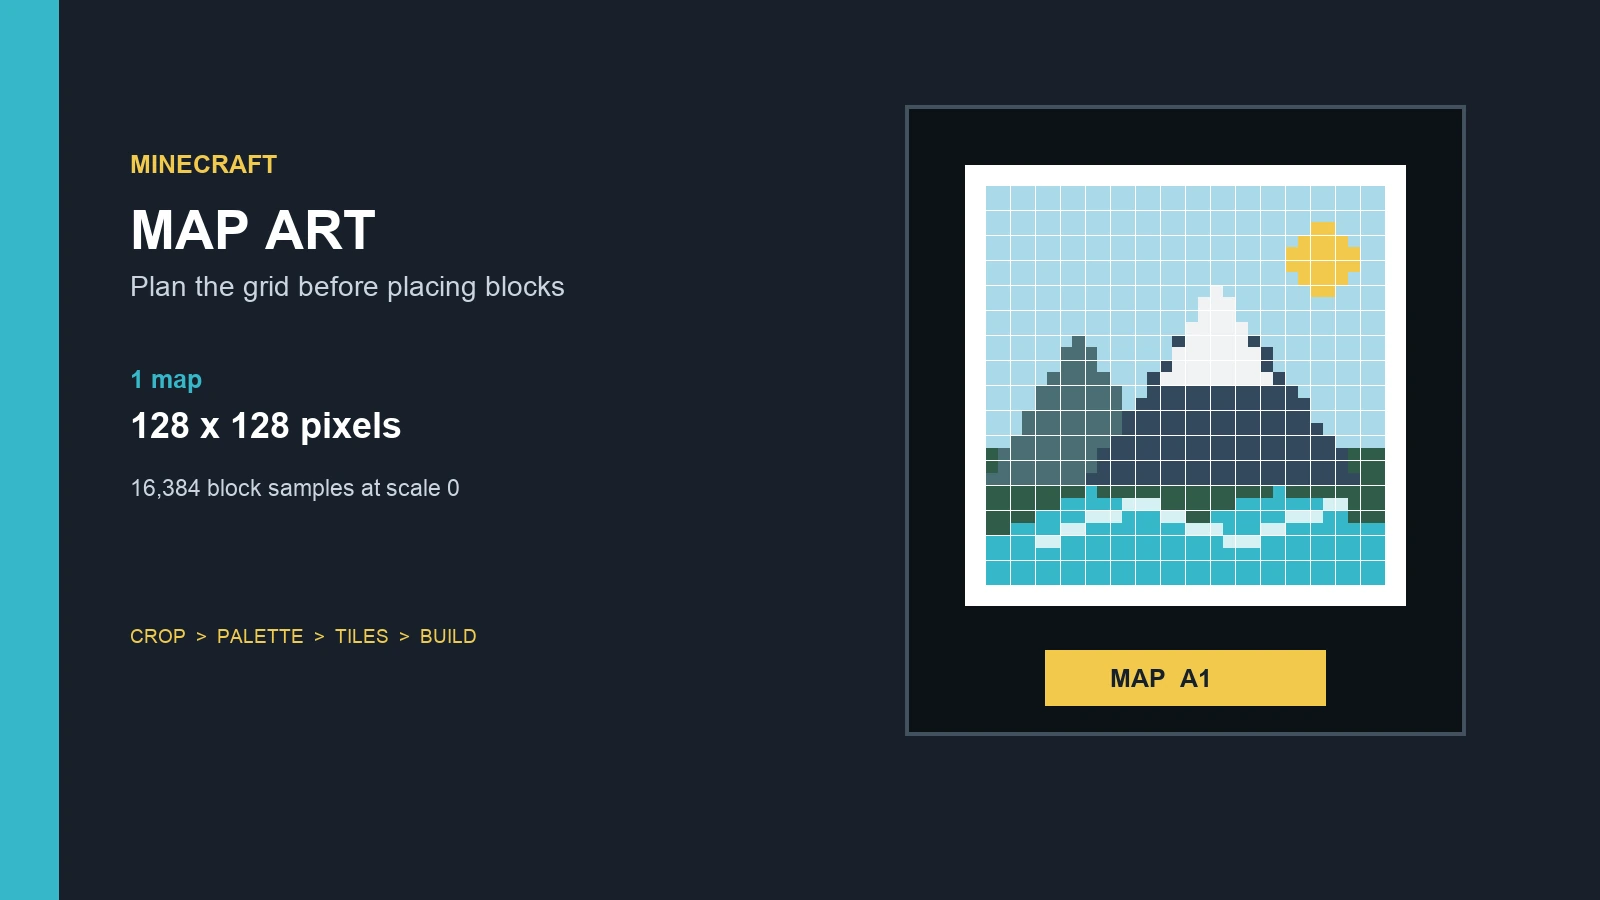
Minecraft map art is a large image built into the world for display on a filled item. The result may fit inside one frame, but a conventional scale-0 build uses a 128x128 sample grid and can involve 16,384 block positions.
Plan before placing the first block. You need a square crop, restricted colors, confirmed boundaries, one row direction, and frequent progress checks. This guide covers that planning layer; it does not provide data files, schematics, commands, or automatic conversion.
What is Minecraft map art?
A normal Minecraft pixel-art mural is viewed directly in the world, can use flexible dimensions, and shows visible block textures. Minecraft map art is arranged inside a sampled area and viewed on the filled item.
| Planning question | Regular block mural | Map art |
|---|---|---|
| Where is the result viewed? | Directly in the world | On a filled item or framed wall |
| Basic size rule | Chosen by the builder | 128x128 samples for one scale-0 tile |
| What determines color? | Visible block face and lighting | The rendered color sampled for the top surface |
| Multi-panel method | Extend the wall or floor | Align several fixed tiles |
| Common failure | Wrong proportions or visible texture | Wrong boundary, scale, tile order, or color |
For a picture that players view directly, use the guide to building regular pixel art on walls or the ground. Map pixel art instead produces a portable display for holding, copying, or mounting in frames.
The renderer does not reproduce a block's full texture. It chooses a designated color for the sampled top surface, then may apply tint behavior. Microsoft's current Bedrock documentation defines this through the minecraft:map_color component. A block that looks right in the world can therefore look different in the finished item.
Test in the target edition, version, dimension, and biome. Java and Bedrock may render differently, while tints or height changes can affect the palette. An in-world color strip is more reliable than inventory thumbnails.
How to plan a map art build
Understand the 128x128 grid
For a one-block-per-pixel plan, use scale 0. The 128x128 image has 128 rows with 128 sampled positions each, creating a fixed square canvas and detail ceiling.
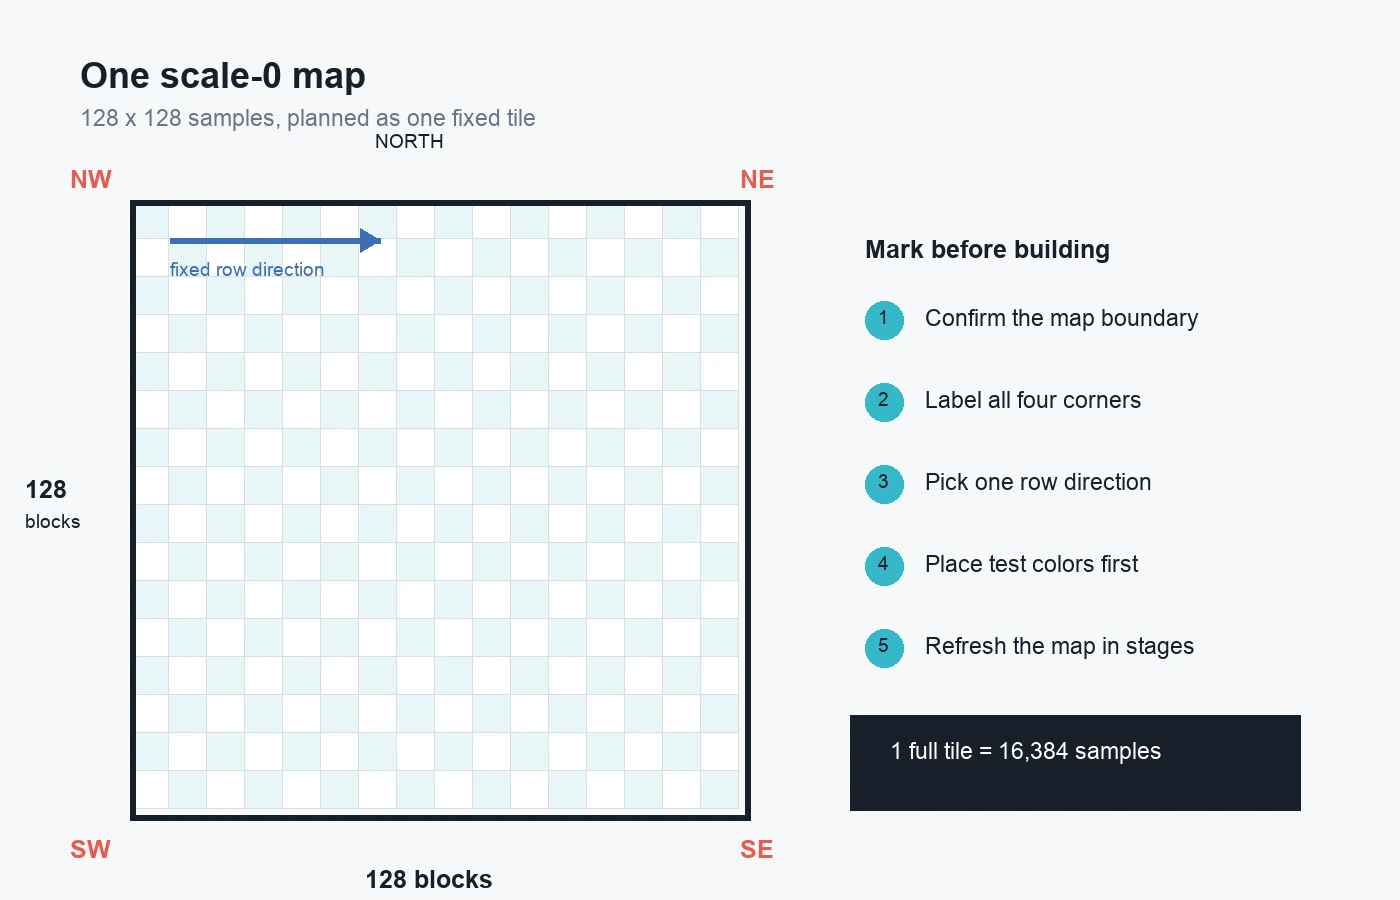
Original planning diagram: mark the four corners and choose one row direction before filling the tile.
Do not round 128x128 to “about 130.” A two-block error can shift every later row. Verify the sampled boundary in the target world, place temporary markers at all four corners, and label the same corners on the reference.
A logo may leave large areas unchanged, but its reference should still use the full 128x128 coordinates. Count positions that require replacement separately from total canvas area.
| Layout | Scale-0 dimensions | Items | Maximum sampled positions |
|---|---|---|---|
| 1x1 | 128x128 blocks | 1 | 16,384 |
| 2x1 | 256x128 blocks | 2 | 32,768 |
| 2x2 | 256x256 blocks | 4 | 65,536 |
| 3x3 | 384x384 blocks | 9 | 147,456 |
These are ceilings, not material totals. Existing terrain and unchanged backgrounds affect what must be placed. A 3x3 design is nine full tiles, not one image that happens to use nine frames.
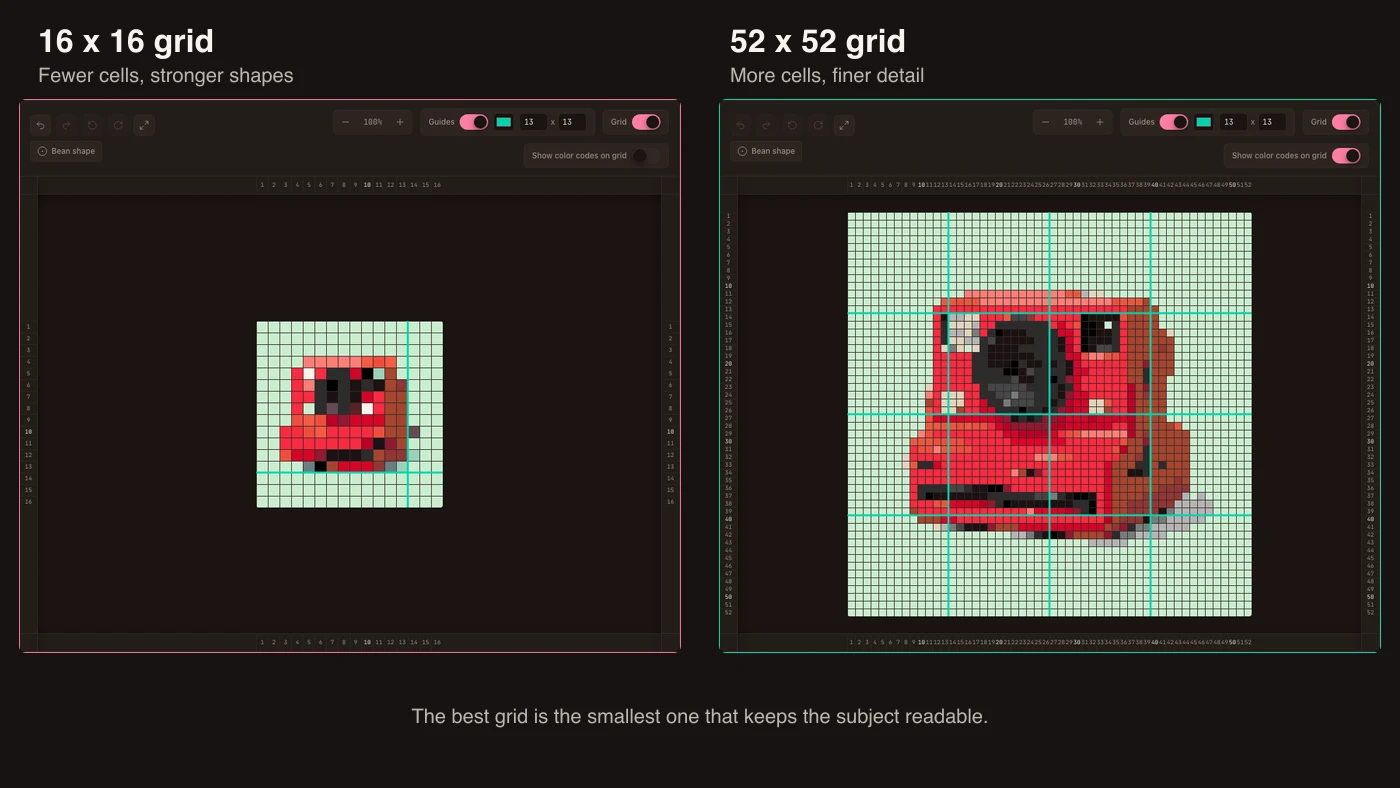
Read how pixel art grids work for the source-to-cell principle. Here, the tile fixes the output grid instead of letting the builder choose any resolution.
Choose colors that read clearly
Start by cropping the subject to a square. Remove distant scenery, tiny lettering, thin outlines, and low-contrast details that cannot survive 128 samples. A bold silhouette with six to twelve reliable colors usually reads better than a photograph reduced without editing.
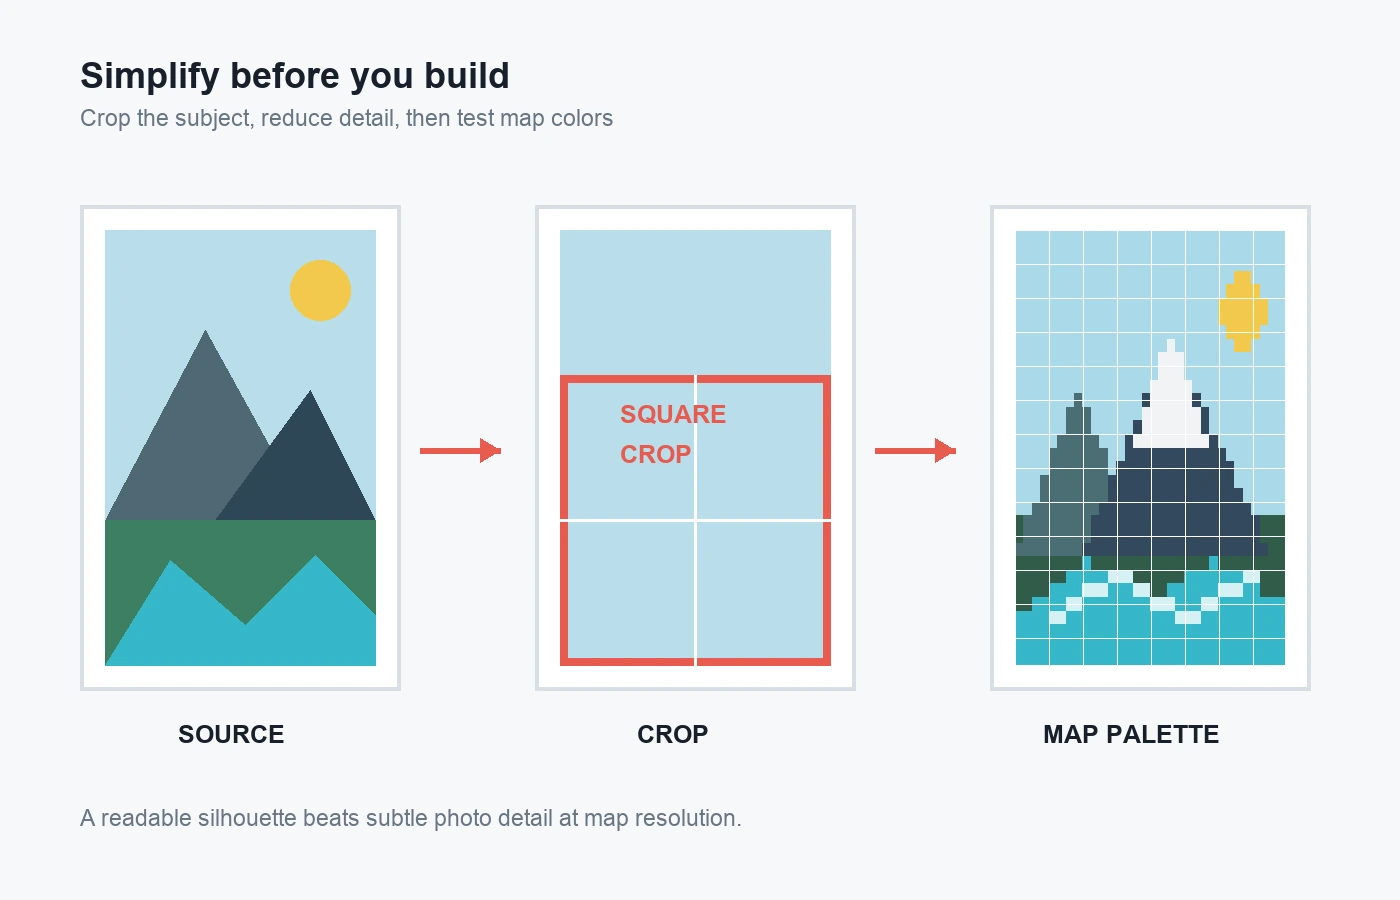
Original color-planning diagram: crop first, then reduce the source to shapes and colors that remain legible at this resolution.
Build a palette test before committing to thousands of blocks. Place candidate materials together, refresh the preview, and record each accepted color with its material and count. If two choices render almost identically, keep the easier one to gather.
Avoid planning from RGB values alone. A nearest-color match does not know the target world, edition, or Survival constraints. Treat any outside preview as a draft until its colors pass an in-game test.
Split a large design into fixed tiles
A larger Minecraft map art wall needs separate 128x128 files with one crop, scale, orientation, and palette. A 2x2 wall uses four items and 256x256 blocks; a 3x3 wall uses nine tiles and 384x384 blocks.
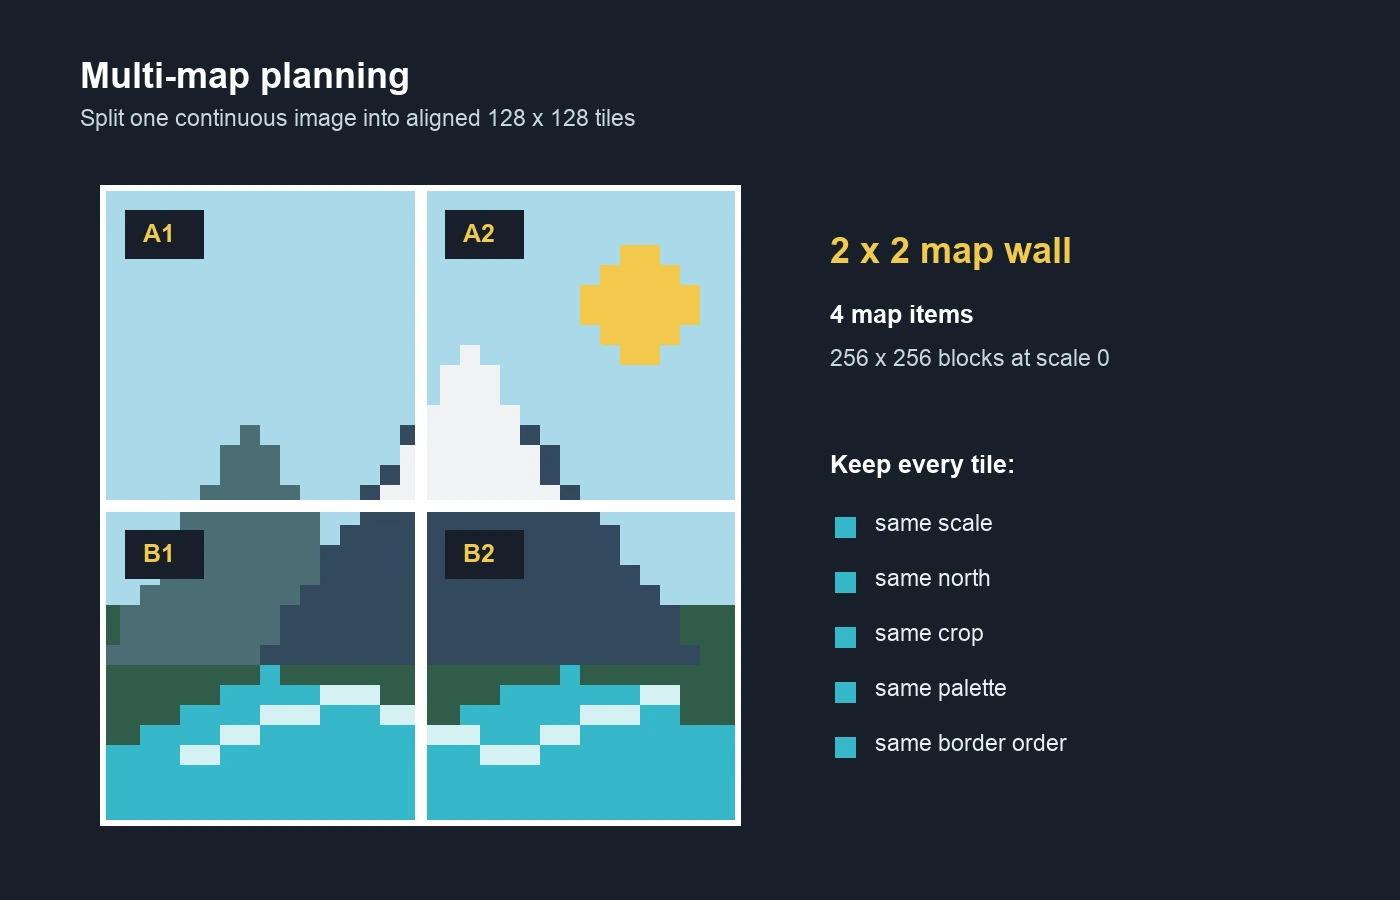
Original tiling diagram: A1, A2, B1, and B2 are independent sections that preserve one continuous image.
Name tiles by row and column: A1, A2, B1, and B2. Repeat those labels on references, boundary markers, storage, and frames. Keep north at the top so a correct tile is never rotated or mounted in the wrong position.
Check shared edges before filling interiors. Compare a one-cell border from both neighbors and confirm that colors continue correctly. Fix seams while boundary markers remain visible.
Building workflow
- Prepare the source. Crop to the final aspect ratio, remove unreadable detail, and reduce the palette before calculating materials.
- Choose the world area. Prefer terrain that can be cleared and accessed safely. Confirm the scale and exact sampled boundary with a filled item.
- Mark corners and direction. Label north and all four corners. Decide whether each row runs west-to-east or east-to-west, and keep that convention on the reference.
- Test the palette. Place a short strip of candidate blocks, refresh the preview, and replace colors that merge or shift unexpectedly.
- Build one controlled section. Work in bands or numbered squares, complete one section, then compare the result before continuing.
- Verify tile edges and finish. Check every border, update the completed item, label it immediately, and mount the wall tiles in order.
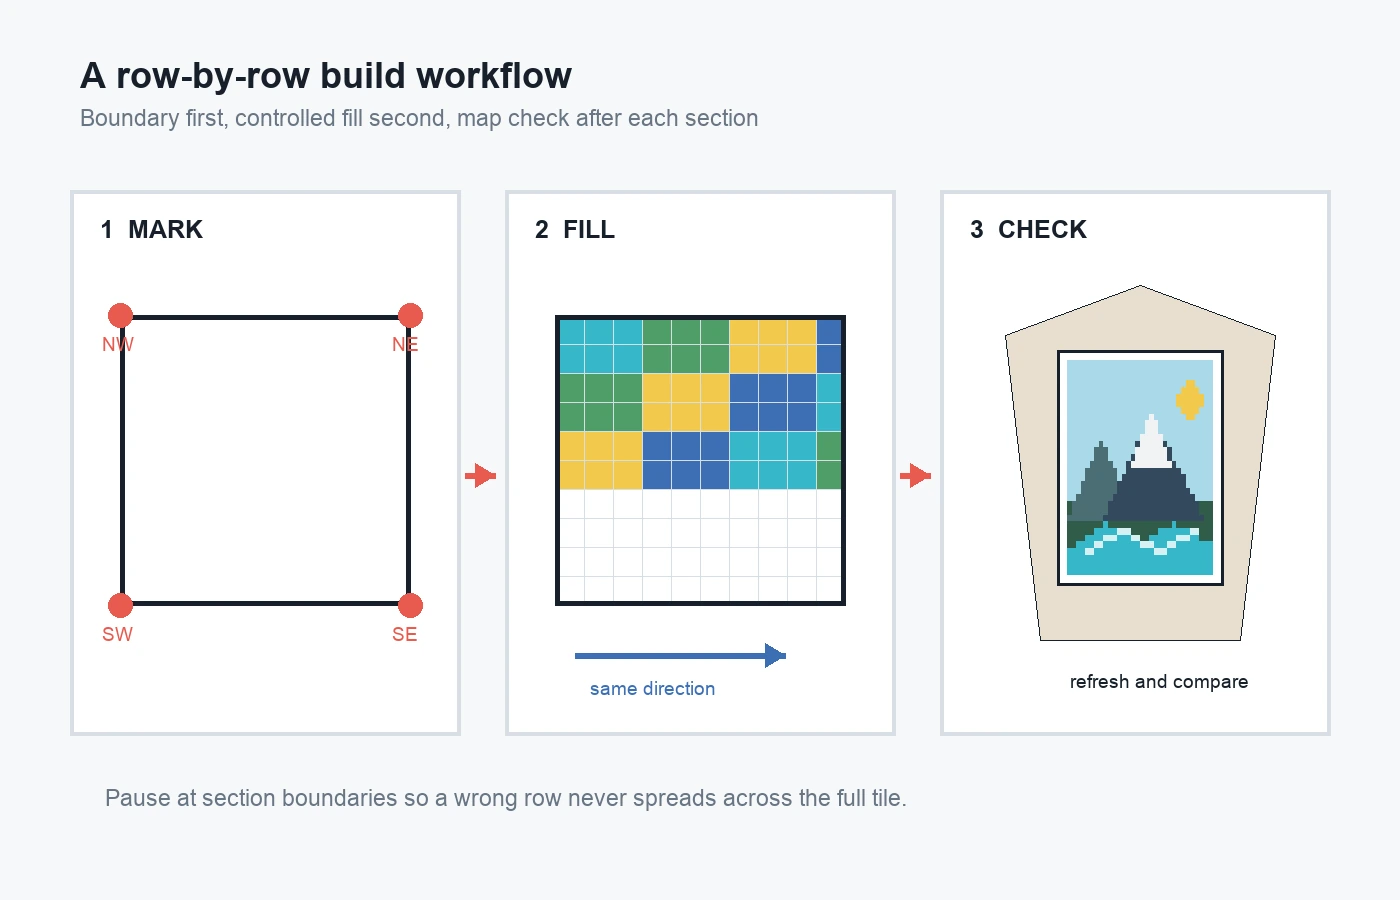
Original workflow diagram: mark the boundary, fill in one consistent direction, then refresh and compare the result.
Creative removes material gathering, but not boundary or orientation errors. Survival adds counts, storage, transport, lighting, tools, and safe movement. Divide each count by 64 to estimate stacks, round upward, and bring replacements.
Keep a material ledger and completion grid. Track remaining blocks by color and mark finished sections. A printed reference and pencil are enough to preserve progress between sessions.
Common planning mistakes
Building before confirming the sampled boundary. The picture can be perfect on the ground and still appear shifted or cut off. Inspect the correct item first, then mark its area in the world.
Using a beautiful source with no readable silhouette. Fine hair, small text, soft shadows, and busy backgrounds collapse at this resolution. Simplify the source before matching blocks.
Choosing blocks by visible texture. The renderer uses designated colors, not a miniature of every top texture. Test candidate blocks in the target environment.
Changing direction midway through a row. A reversed band mirrors part of the image and is difficult to notice from the build surface. Draw arrows on the reference and follow a fixed serpentine route.
Treating a multi-map design as one unbroken checklist. Without tile names and border checks, it is easy to rotate, duplicate, or swap a section. Finish, label, and verify each map item independently.
Waiting until the end to update the map. A small offset can spread through thousands of positions. Refresh and compare after every planned section so the correction stays local.
Minecraft map art FAQ
How big is one Minecraft map art tile?
A conventional scale-0 tile uses a 128x128 sample grid. At one block per sample, that is a 128x128 block area and up to 16,384 positions. Larger walls combine complete tiles rather than increasing the resolution of one map item.
Is map art the same as Minecraft pixel art?
Map art is one form of Minecraft pixel art, but it is designed for the map renderer. A regular mural is viewed directly and can use flexible dimensions; a map build must respect map scale, sampled boundaries, map colors, and tile orientation.
Should I build Minecraft map art in Creative or Survival?
Use Creative for testing boundaries, colors, and workflow with minimal cost. Survival is viable when the simplified palette uses obtainable materials and the project has a material ledger. Test a small tile before committing to a large Survival wall.
Why do map colors differ from the blocks I placed?
Maps use designated map colors and can apply additional tint or shading behavior. Edition, version, biome, dimension, terrain, and height changes may affect the result. Verify the palette in the target world instead of trusting a generic swatch.
Can BeadsHub create a Minecraft-ready map file?
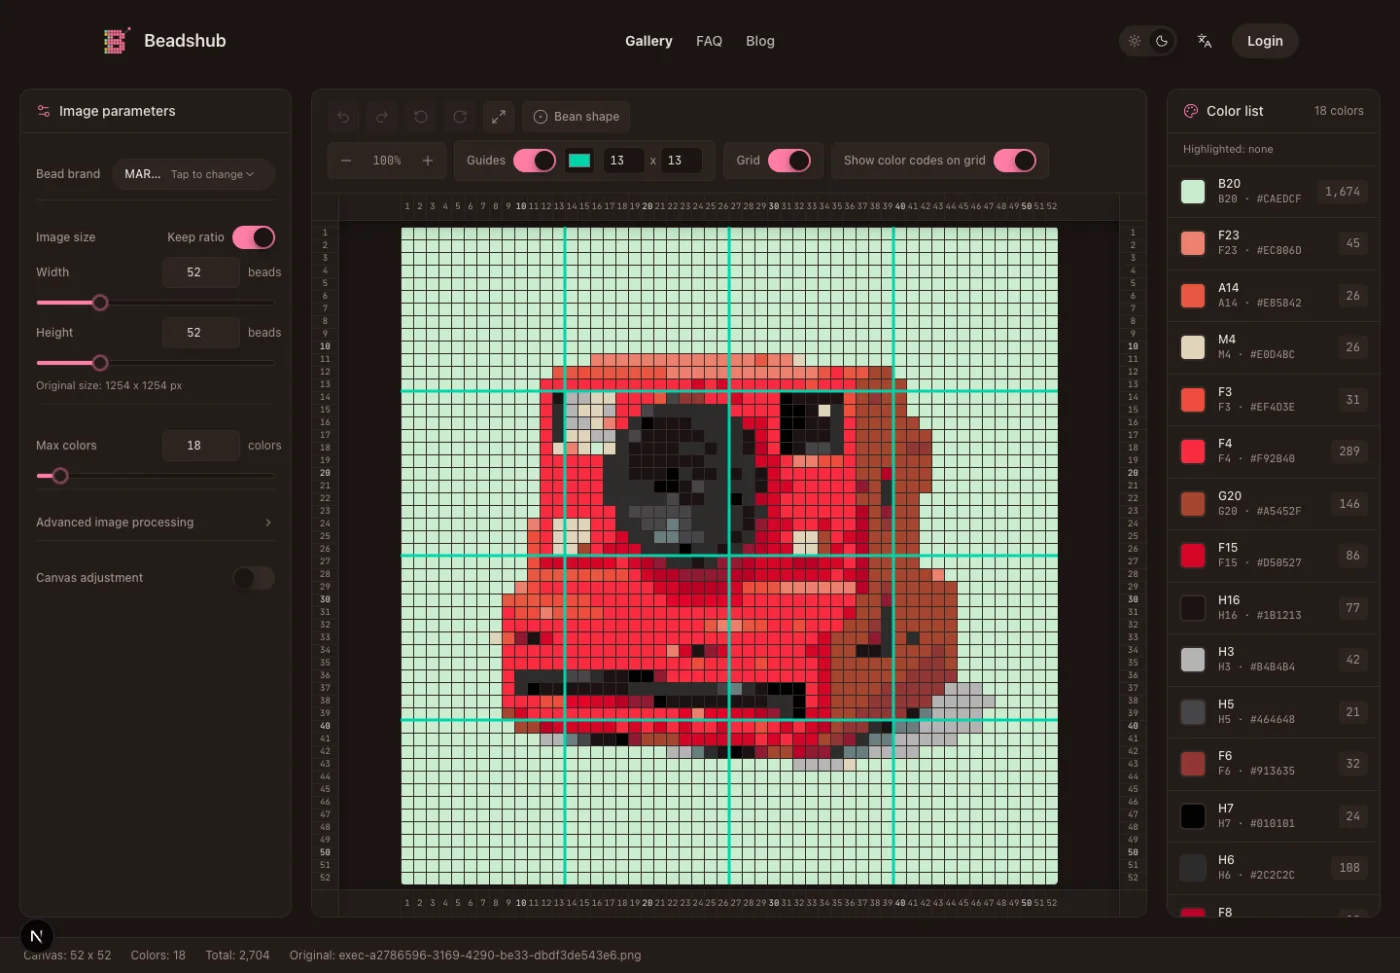
No. The BeadsHub pattern maker and image-to-pixel-art guide can help prepare a visual grid, but they do not know the current Minecraft map palette and do not export map data, schematics, block commands, or a verified material list. Use that grid only as a draft, then validate every color and boundary in-game.
The most reliable Minecraft map art plan is deliberately boring: one confirmed boundary, one north direction, one tested palette, numbered tiles, and frequent map checks. Those constraints prevent expensive mistakes and leave the creative work where it belongs: choosing an image that still reads after the world turns it into 128 rows of blocks.
Minecraft is a trademark of Microsoft. BeadsHub is not affiliated with or endorsed by Microsoft or Mojang.