Filet Crochet Chart: How to Read and Plan One
Read open and filled mesh cells, follow alternating row direction, make a gauge swatch, and plan a simple filet crochet chart without mistaking a visual grid for a complete pattern.
BeadsHub Studio
Author
A filet crochet chart is a block grid that tells you where the fabric should be open and where it should be solid. The crocheted mesh turns those two cell states into letters, flowers, borders, silhouettes, and larger pictorial panels.
The chart is only one part of a usable pattern. You still need the pattern's stitch key, foundation setup, row direction, turning instructions, gauge, thread or yarn, and finishing notes. This guide explains how to read and plan the grid without pretending that every square image is ready to crochet.
Scope and real-photo credits
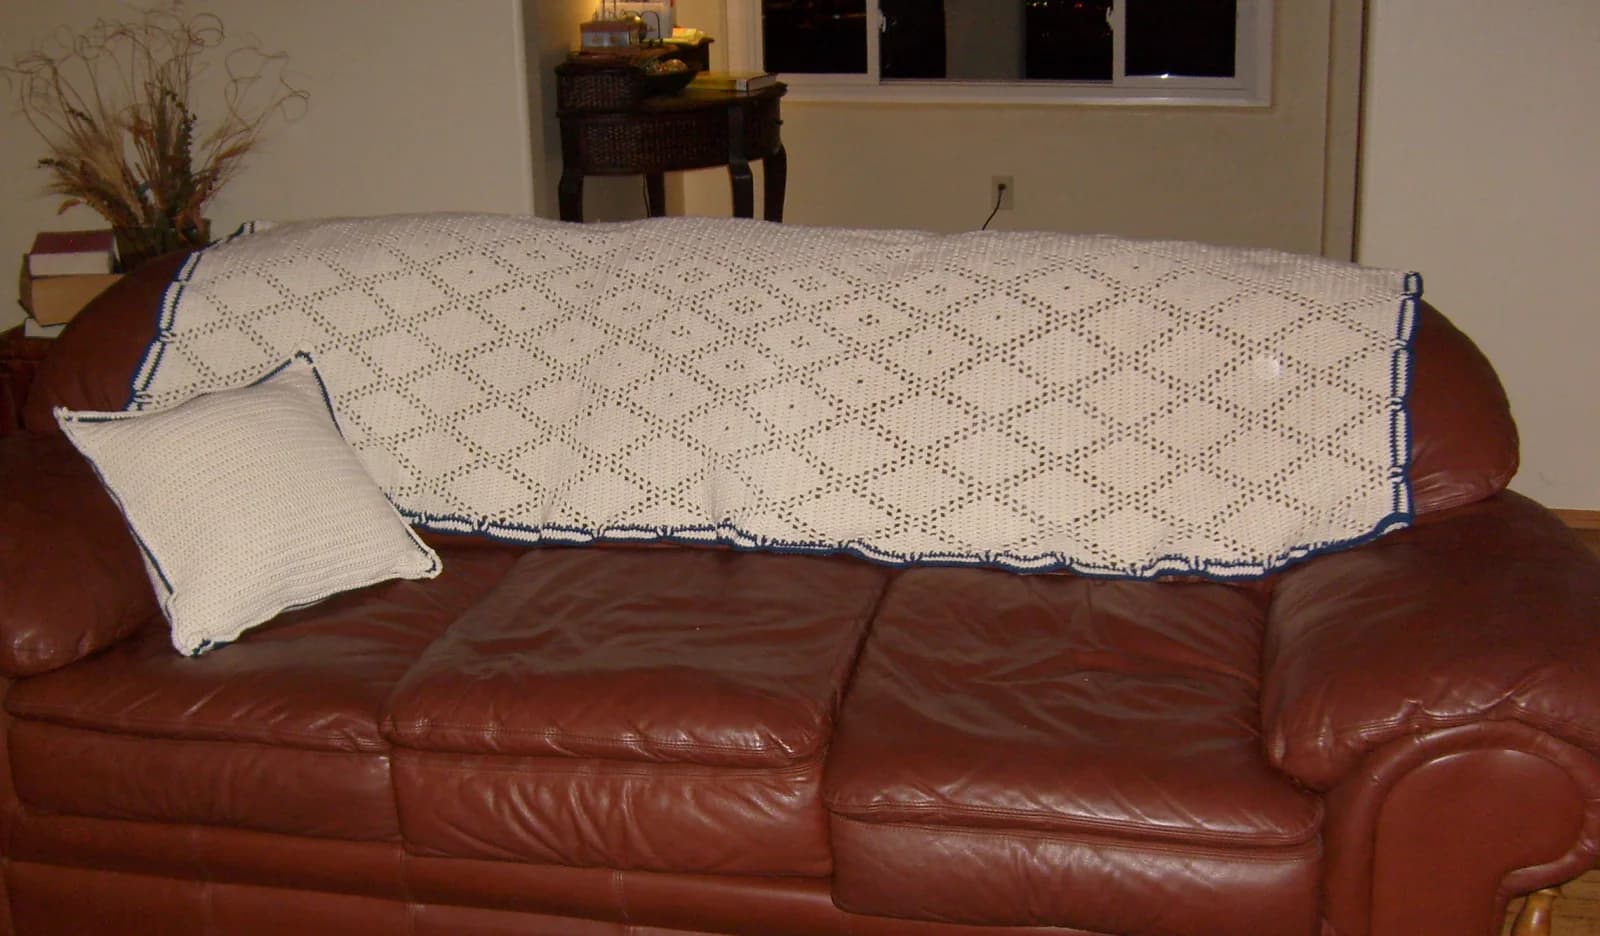
The finished-work photographs in this article are real, not AI generated. The Hero is Filet crochet sofa blanket by Durova, licensed CC BY-SA 3.0. The other photos are credited in their captions. Local WebP copies preserve the image content and are used under the stated licenses.
For stitch conventions, this guide follows the Yarnspirations filet crochet guide and the Craft Yarn Council crochet symbol standards. Always follow the key supplied with your selected pattern when it differs from a general convention.
What a filet crochet chart shows
At its simplest, the chart is a rectangular arrangement of open and filled cells. Open cells create background mesh. Filled cells place enough stitches across the cell to make it visually solid. Groups of filled cells form the subject while open cells provide contrast.
The finished sofa blanket in the Hero shows why the chart works: the repeated open holes and denser stitched areas are readable from across a room. The grid does not need multiple colors because light passing through the open mesh supplies the contrast.
A chart is not a stitch-symbol diagram
Crochet terminology is not perfectly consistent. Yarnspirations distinguishes a graph, such as the block grid used for filet crochet, from a symbol chart in which each mark represents an individual stitch. The Craft Yarn Council publishes standardized symbols for chain, double crochet, slip stitch, and other stitches. A filet grid normally abstracts those stitches into cells instead.
That means one chart square is not automatically one crochet stitch. It represents a mesh unit whose exact construction comes from the pattern key.
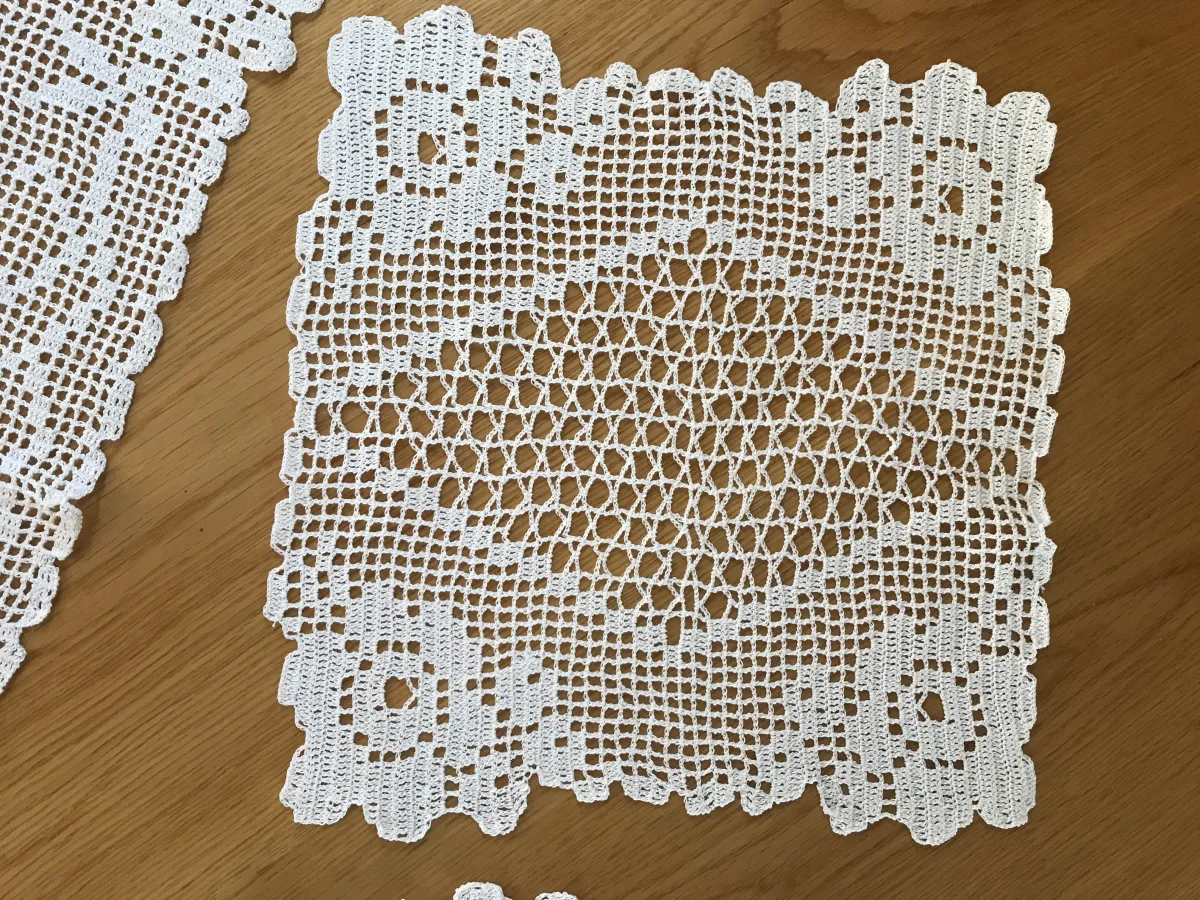
Photo: Filet crochet doilies by Daniela.Bino, licensed CC BY-SA 4.0. Converted to WebP without content changes.
Filet crochet chart vs. pattern maker: what is the difference?
A filet crochet chart is the visual grid you read. A filet crochet pattern maker, filet crochet pattern generator, or filet crochet pattern creator is software expected to turn an image or drawing into that grid and often add stitch counts, row instructions, symbols, gauge controls, and printable output.
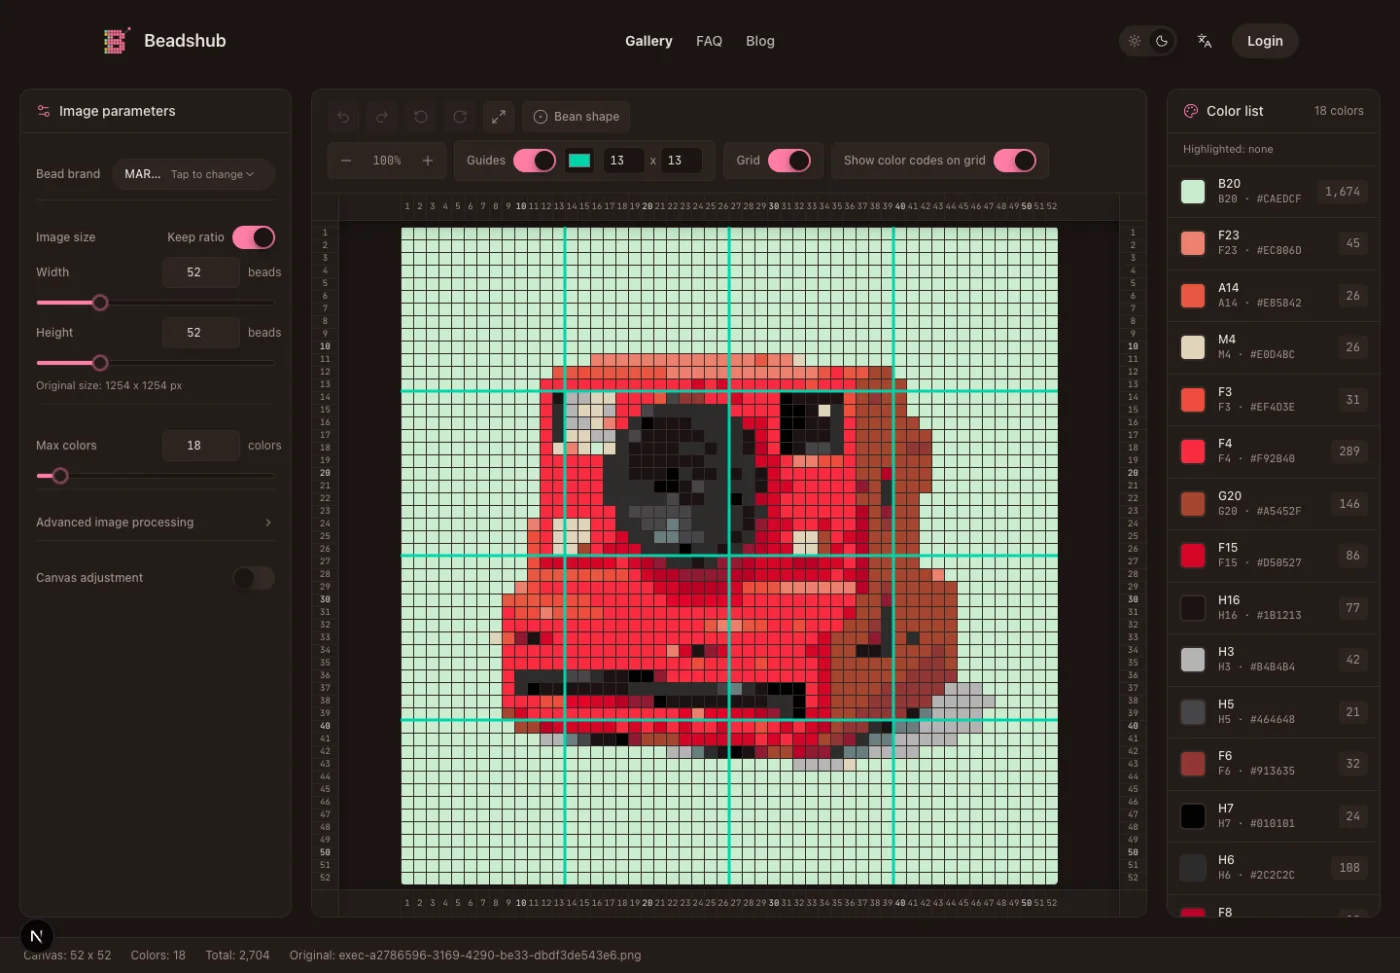
This article teaches the chart, not a generator. BeadsHub's current square-grid tools can help you simplify a silhouette visually, but they do not calculate a filet foundation chain, turning chain, mesh instructions, written rows, gauge, increases, or decreases. A colored pixel grid from BeadsHub is therefore a planning sketch, not a crochet-ready pattern.
That boundary matters because a visually attractive grid can still fail in yarn. Narrow one-cell bridges may distort, text may face the wrong direction, and a chart that looks square on screen may stretch after crocheting. The beading software guide explains the same broader principle across other grid crafts: output geometry and instructions must match the physical technique. Use dedicated crochet instructions or verify every row yourself before calling a chart complete.
Read open and filled mesh cells
Begin with the pattern key. A common traditional model uses double crochet and chain stitches:
| Cell on the grid | Common name | Typical role | Traditional 4-dc model |
|---|---|---|---|
| Empty square | Open mesh, space, or blank | Background and negative space | dc, ch 2, skip 2, dc |
| Marked square | Filled mesh, solid block, or block | Subject, outline, or border | four dc across the cell width |
Adjacent cells share a boundary post. That is why nine neighboring filled cells are not nine isolated groups of four stitches. In the traditional model described by Yarnspirations, those nine cells span 28 double crochet stitches because the last post of one cell is also the first post of the next.
Do not apply that arithmetic to every pattern automatically. Some designers use three-stitch blocks, lacets, decorative meshes, or different turning conventions. The key printed with the pattern has priority.
Practice on a tiny conceptual grid
Use X for filled mesh and . for open mesh:
Row 7  ..XXXXX..
Row 6  .XX...XX.
Row 5  .X.....X.
Row 4  .X..X..X.
Row 3  .X.....X.
Row 2  .XX...XX.
Row 1  ..XXXXX..
This is a reading exercise, not a complete pattern. It does not specify the foundation chain, turning chain, border, yarn, hook, gauge, or the exact cell model. Its purpose is to make the two-state logic visible before stitches are introduced. A spreadsheet pixel art grid can be convenient for counting and revising a draft, but it still cannot supply the missing crochet instructions.
Follow the row direction without mirroring the motif
Filet charts are generally read from the bottom upward. For a right-handed worker using the convention described by Yarnspirations, odd-numbered rows are worked from right to left and even-numbered rows from left to right. The path zigzags because the work turns after every row.
Mark the active row and place an arrow beside it. On an asymmetrical motif, label both the first and last cell. A symmetric flower may survive a direction mistake unnoticed; a word, initial, or facing animal will not.
Left-handed reading
Left-handed crocheters may need to mirror an asymmetrical chart so the finished image faces as intended. Yarnspirations' left-handed crochet guide explains that odd and even row directions reverse for the left-handed approach and shows a mirrored filet example.
Do not flip a chart that contains text without checking the expected finished face. Print a test word or arrow, label the right side of the fabric, and confirm direction before starting a large panel.
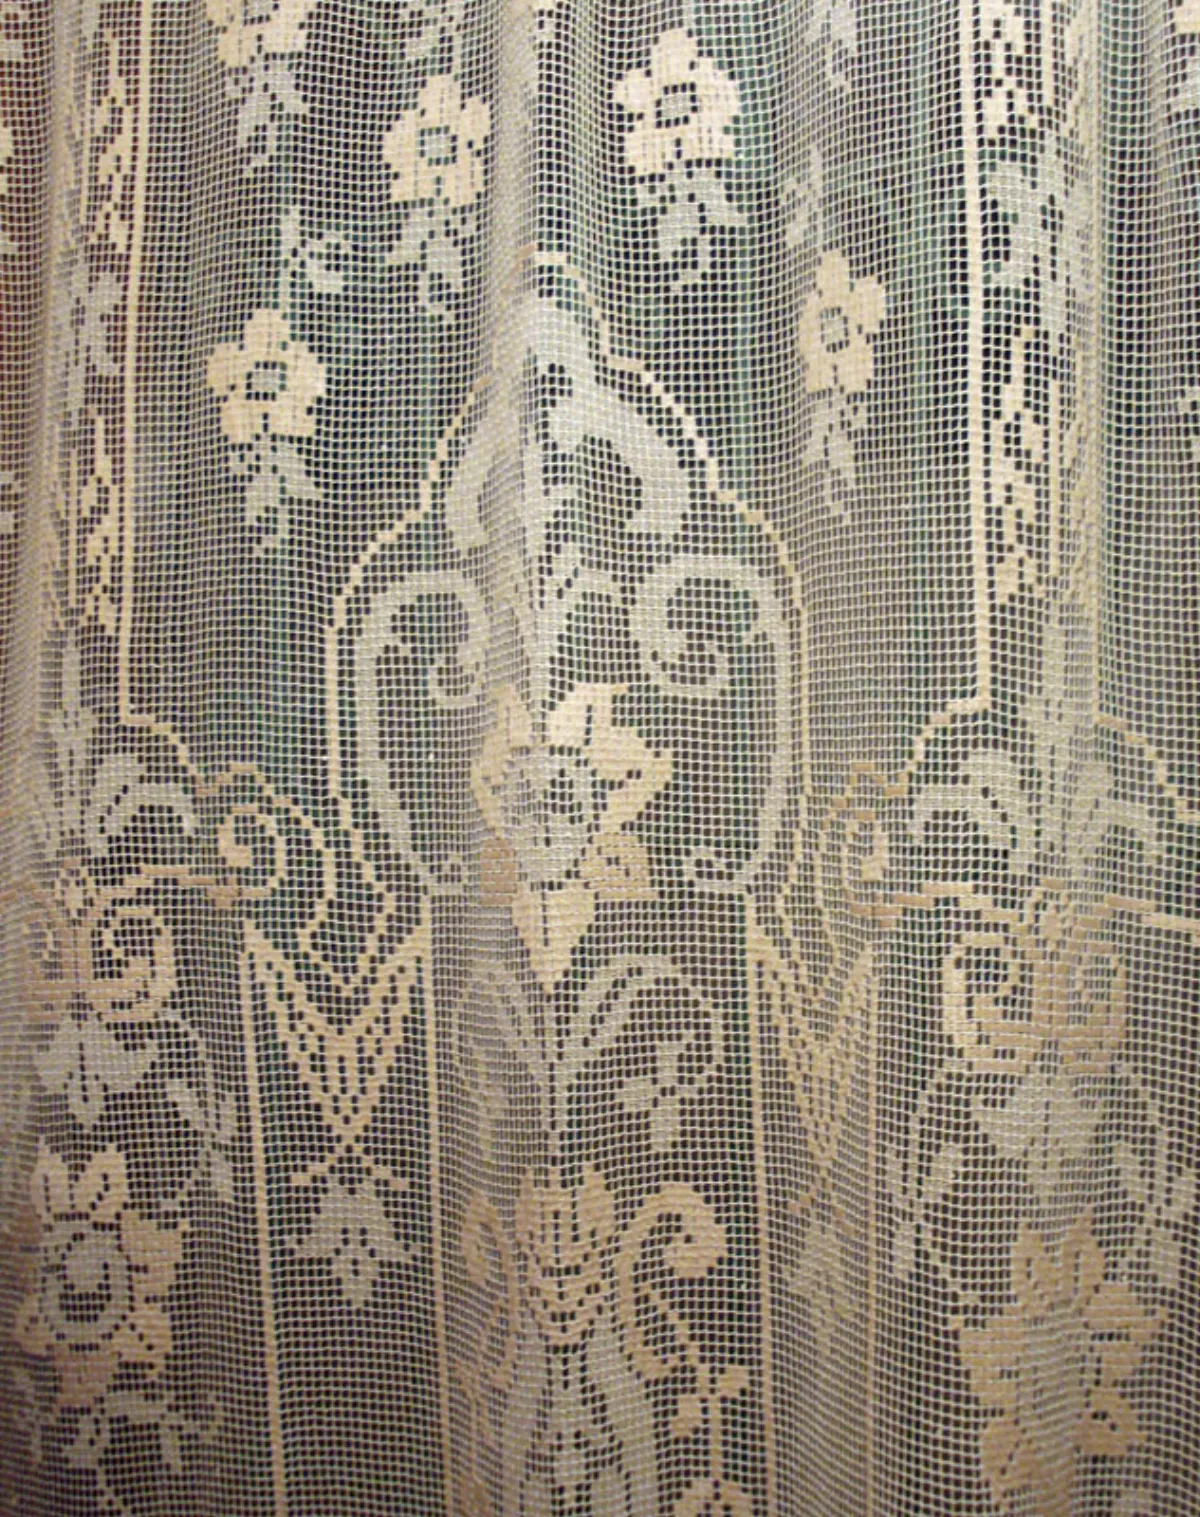
Photo: Cortina-renda by Tetraktys, from a family collection, licensed CC BY 3.0. Converted to WebP without content changes.
Translate a chart row into stitches
Take one row at a time. Do not count every cell as an independent unit because shared posts change the totals.
- Find the row number and working direction.
- Identify the first boundary post or turning setup in the written instructions.
- Group consecutive open and filled cells.
- Translate each group using the supplied stitch key.
- Count shared boundary posts only once.
- Mark the row complete after comparing the fabric with the chart.
For example, a run of three open cells in the traditional model repeats the chain-two opening between vertical posts. A run of three filled cells continues double crochet across the same overall width. At a transition, the post that closes one cell also opens the next.
Keep the written row beside the grid
If visual reading is new, write a compact row note such as 2 open, 5 filled, 2 open. Then translate that note with the pattern key. The note catches accidental additions and makes it easier to resume after a break. It should supplement, not replace, the original instructions.
Plan a simple original filet crochet chart
Start with a motif you created or have permission to adapt. A high-contrast silhouette, geometric border, or single initial is more dependable than a photograph with shading.
1. Choose the finished use and maximum size
A bookmark, curtain panel, table runner, and sofa blanket need different chart dimensions. Decide the usable width in inches or centimeters, then make a swatch to learn the physical size of one mesh cell. Screen pixels cannot answer that question.
2. Reduce the motif to two states
Every cell must be open or filled. Remove gradients, antialiasing, tiny isolated dots, and details narrower than one reliable mesh unit. The image-to-pixel-art guide explains contrast, silhouette, and grid-size decisions that can help at this visual-draft stage. If the motif becomes unclear, enlarge the grid rather than forcing more information into the same space.
3. Add a plain border
Leave at least one predictable row and column around the subject while testing. A border makes row counts easier to verify and keeps the motif from touching an unfinished edge. The final pattern may use a decorative border, but establish the core rectangle first.
4. Check weak bridges and long solid runs
One-cell connections can pull out of shape. Large solid areas add weight and may change drape. Review the chart at actual scale, swatch both an open region and a dense region, and revise before committing to hundreds of rows.
5. Write the missing pattern data
A publishable pattern needs more than the image: stitch terminology, cell model, foundation and turning instructions, row numbering, direction, gauge, materials, finished dimensions, edging, blocking, and any shaping. If those fields are absent, label the file as a concept chart.
Use gauge to convert cells into real dimensions
Crochet cells are not guaranteed to be geometrically square. Thread weight, hook size, tension, stitch height, washing, and blocking all affect the ratio. Make a swatch large enough to contain open and filled sections, finish it as you will finish the project, then measure the middle rather than the edges.
If 10 cells measure 4 inches wide and 12 rows measure 4 inches high, a 50-by-60-cell chart would be about 20 inches in each direction before borders. That example is arithmetic, not a universal gauge. Use your measured values:
| Dimension | Calculation |
|---|---|
| Estimated width | chart columns / measured columns x swatch width |
| Estimated height | chart rows / measured rows x swatch height |
Round material estimates upward and keep the swatch. It records the hook, thread, tension, and finish that made the chart proportions work.
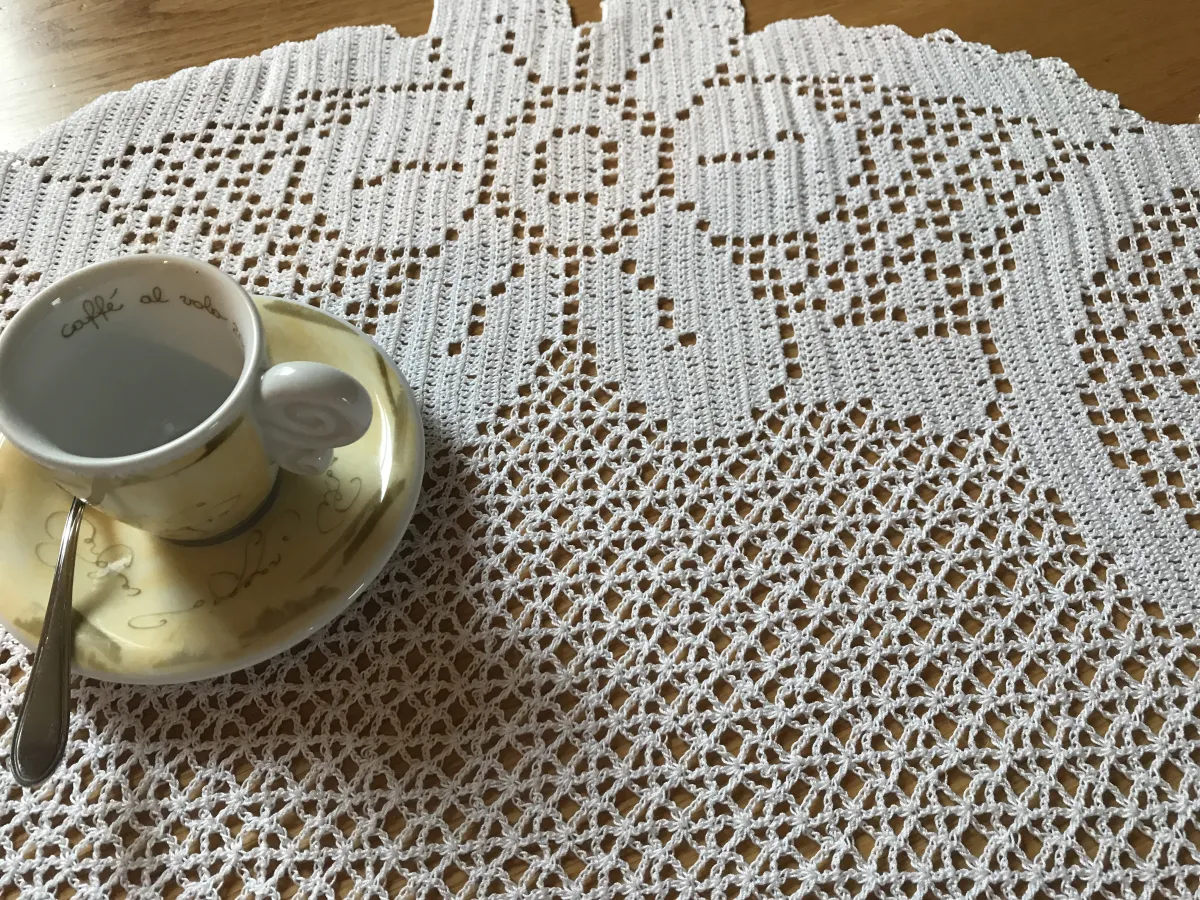
Photo: Special Net Filet by Daniela.Bino, licensed CC BY-SA 4.0. Converted to WebP without content changes.
Avoid common chart-reading mistakes
Treating one cell as one stitch. A cell represents a mesh unit. Use the key to translate it into stitches.
Reading from the top. Confirm that row 1 is at the bottom unless the pattern explicitly states otherwise.
Ignoring alternating direction. Mark right-to-left and left-to-right rows, especially for words and asymmetrical motifs.
Using a universal foundation formula. Foundation and turning counts depend on the cell model and edge convention. Follow the pattern or derive and test the count from your chosen model.
Skipping the swatch. A chart can look square on screen while the crocheted cells are tall or wide. Measure open and filled mesh together.
Calling a pixel image a finished crochet pattern. A visual grid still lacks stitch instructions, gauge, row handling, materials, and finishing details. The pixel art grid guide can help simplify shapes, but it is not a substitute for crochet engineering.
Filet crochet chart FAQ
Is a filled square always four double crochet stitches?
No. Four double crochet across a cell is common in the traditional model, with adjacent cells sharing boundary posts, but other models exist. Read the pattern key before counting.
Do I read a filet crochet chart from the top or bottom?
Usually from the bottom up. In the common right-handed convention, odd rows run right to left and even rows left to right. Verify the printed row numbers and arrows.
Can I turn a pixel-art grid into a crochet chart?
You can use a two-state pixel grid as a visual starting point for an original motif. It is not crochet-ready until you add the cell model, foundation and turning instructions, row direction, gauge, materials, dimensions, and finishing notes.
Does BeadsHub have a filet crochet pattern maker?
No. BeadsHub currently makes square-grid visual plans for fuse-bead and pixel-style work. It does not generate open/filled mesh instructions, crochet stitch counts, written rows, or gauge-aware output. The tool-intent keywords remain reserved for a future product that genuinely provides those features.
How large will my chart become?
Measure a washed or blocked swatch, divide the chart's columns and rows by the swatch cell counts, and multiply by the measured width and height. Add borders separately.
A dependable filet crochet chart keeps the visual grid, stitch model, direction, and gauge connected. Read the supplied key first, test a small mixed-mesh swatch, and treat any generic square-grid conversion as a draft until every row can be crocheted and checked.